
Inspiration can come from odd places. It may sound like an exaggeration, but I honestly get project ideas every single time I go to Home Depot. I’ve used hardware in some unique ways before, like turning an industrial light bulb cage into a Modern Tiki Torch.
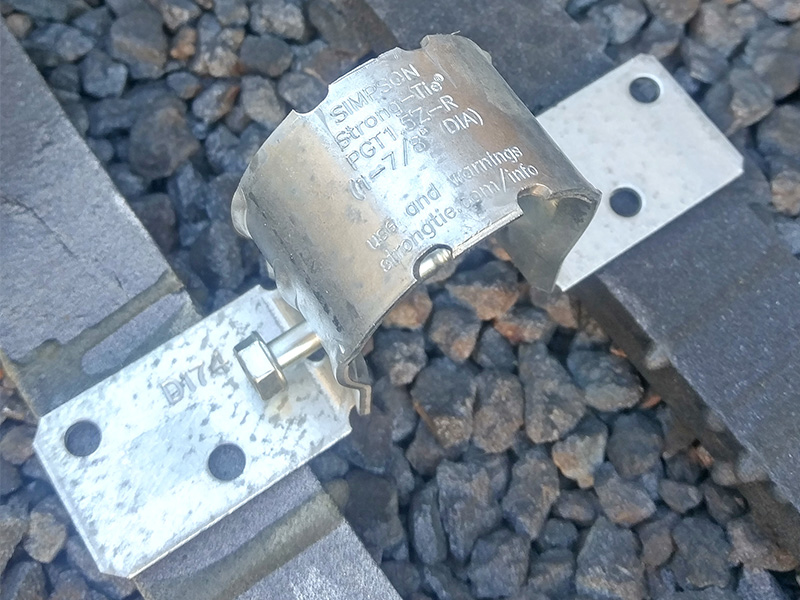
Recently, I was walking past the Simpson Strong-Tie bay and spotted boxes of the PGT Pipe Grip Tie® connectors. These are normally used to secure metal fence pipes, but I thought of something a little more unorthodox. If PGT connectors can be used to hold cylindrical pipes, why couldn’t they hold round vases?
Materials List
• (1) 1×10 x 96″
• (7) 1 7/8″ Simpson Strong-Tie® galvanized PGT Pipe Grip Tie connectors
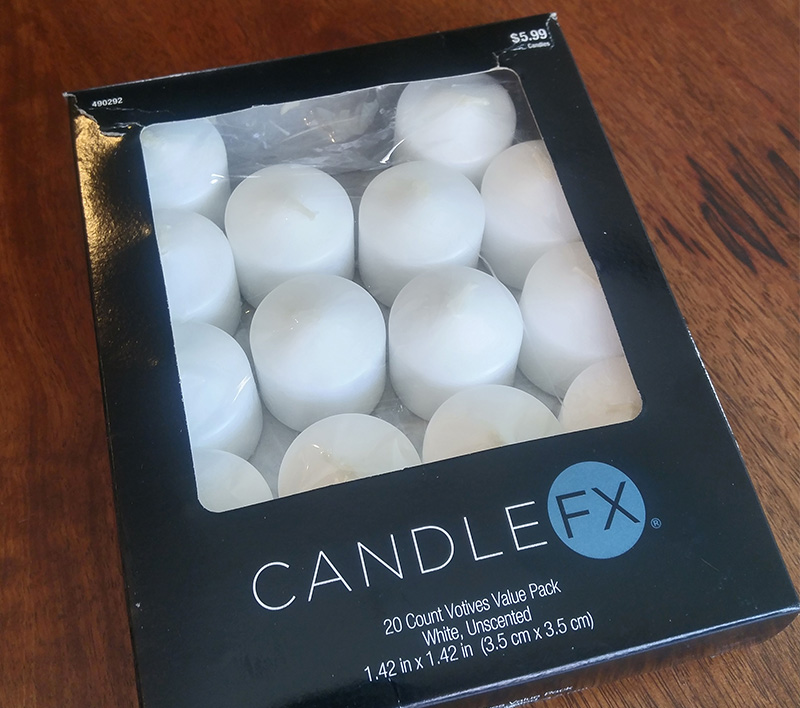
• (7) tealight candles
• (1) 8 1/2″ x 11″ craft foam sheet
• 5/8″ #10 wood screws
• Paint or stain and finish
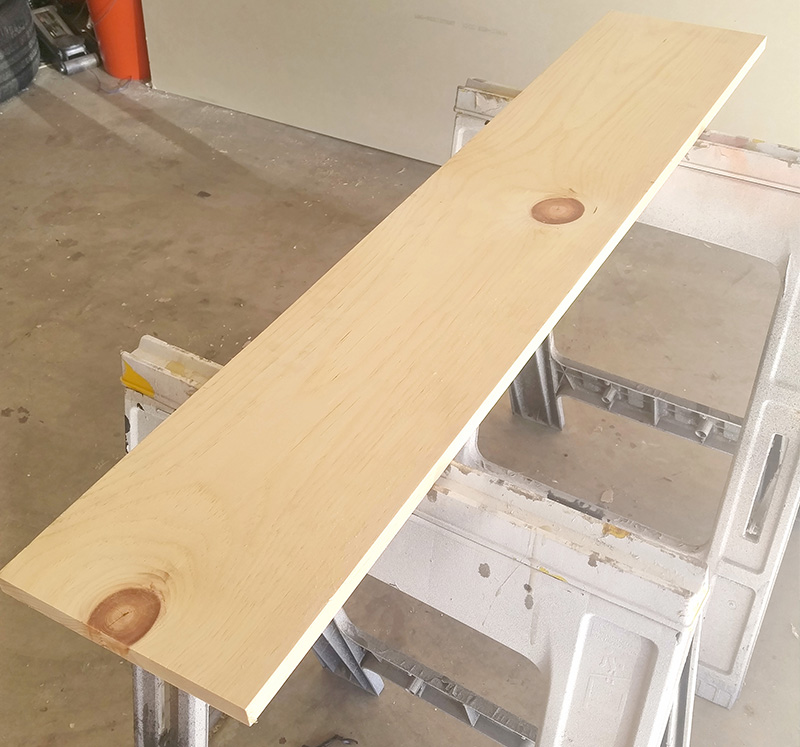
1. Prepare the wood board
The first step is to prepare the wood board that makes up the base of the candle holder. Cut a 1×10 x 48″ board and give it a good sanding. You may wish to prepare more than one sconce backing while you’re at it, since a standard board comes in 96″ lengths.
2. Apply stain or paint
Apply stain or paint if desired and allow the board to dry. While the wood is drying, wash the PGT connectors and prepare them for paint. I primed mine with a spray primer and finished with two coats of hammered black spray paint from Rust-Oleum.
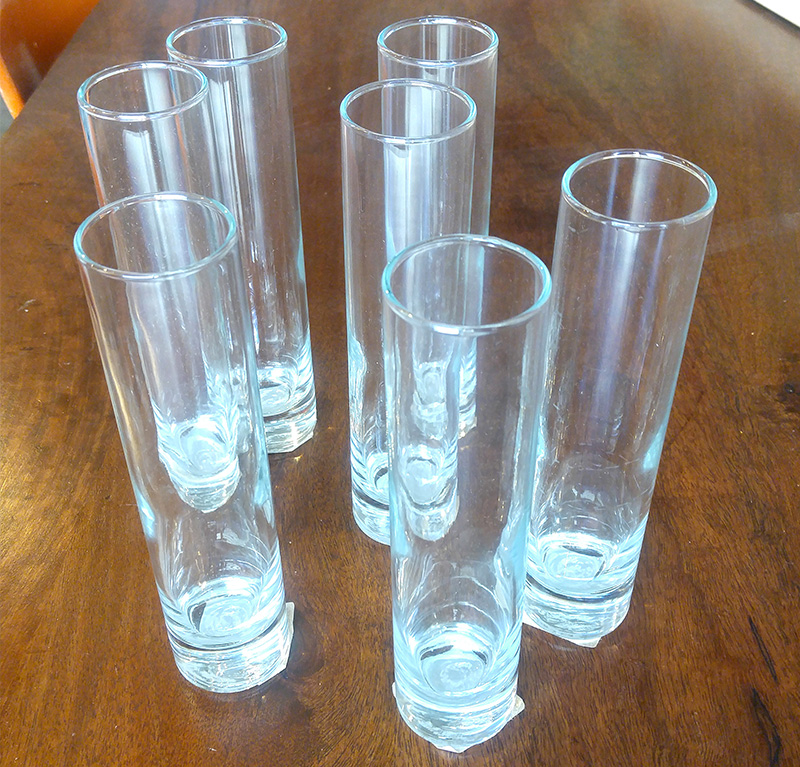
3. Gather materials
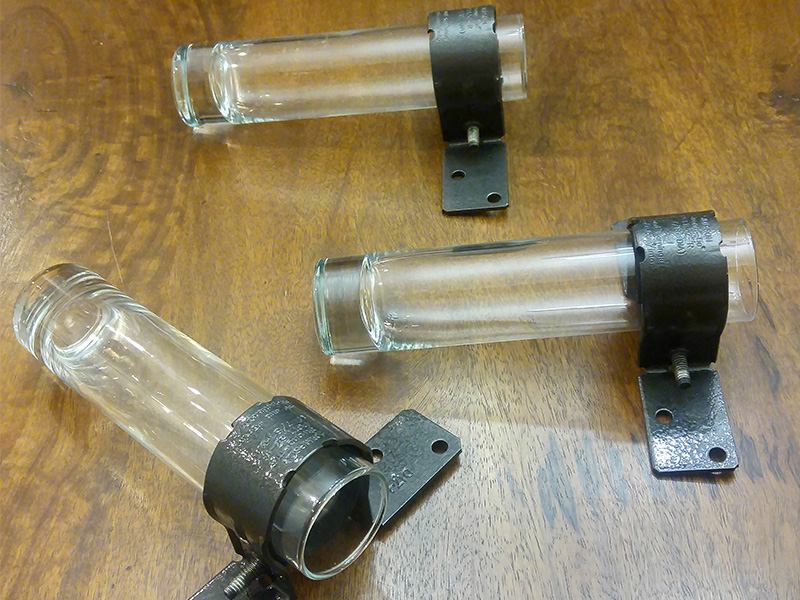
I found 7 1/2″ x 1 3/4″ glass bud vases at Hobby Lobby on sale for $1.50 each. For this project I chose to use seven vases, but you could use any quantity you’d like and make your sconce as large as you want.
Admittedly, tightening steel hardware around a delicate glass vase sounds intimidating. That’s where the secret ingredient comes in: an inexpensive sheet of craft foam.
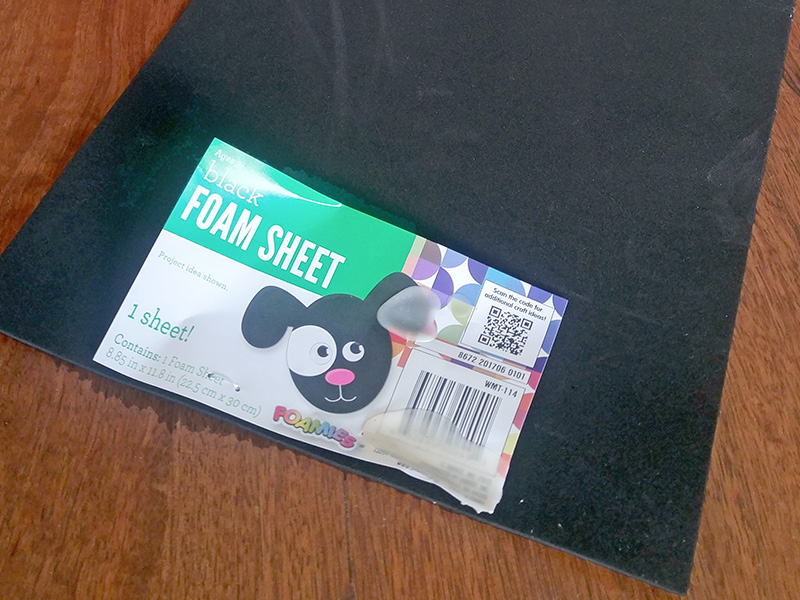
4. Cut foam
Cut one (1) 1 1/4″ x 5 1/2″ strip of foam for each vase.

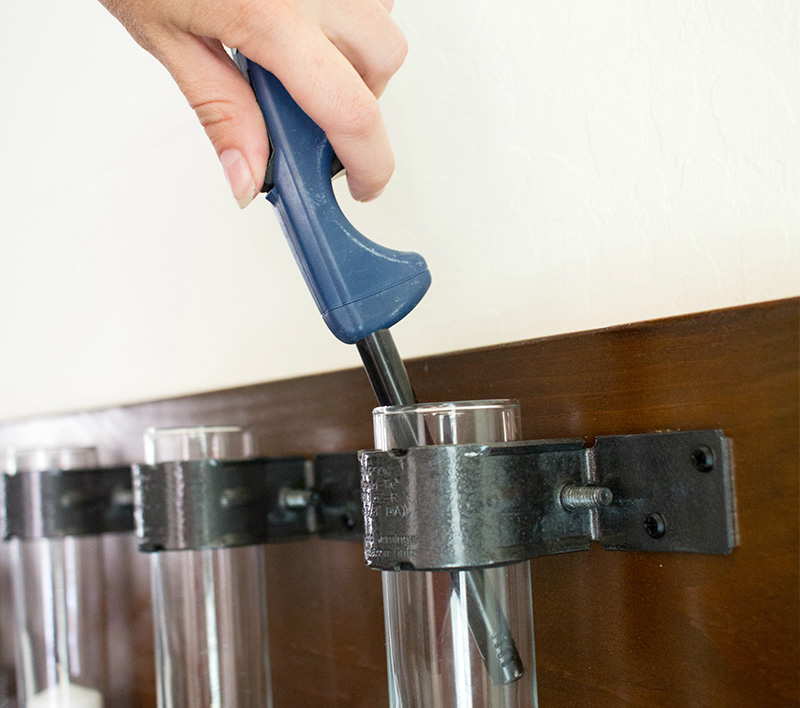
5. Wrap vase and tighten pipe grip
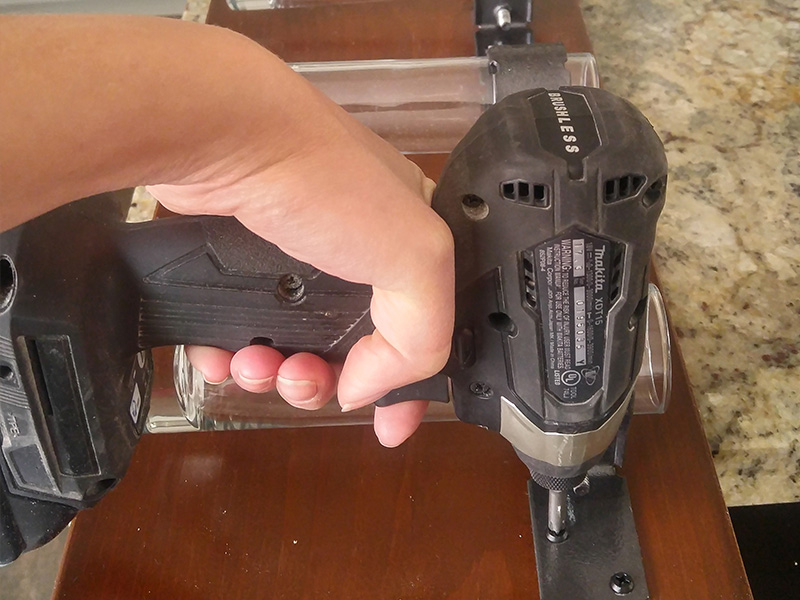
Wrap the strip around the vase before sliding it into the pipe grip. The foam works as a gasket, both protecting the glass and helping to create a snug fit. Carefully tighten the bolt, securing a connector around each vase, 1/2″ from the top.
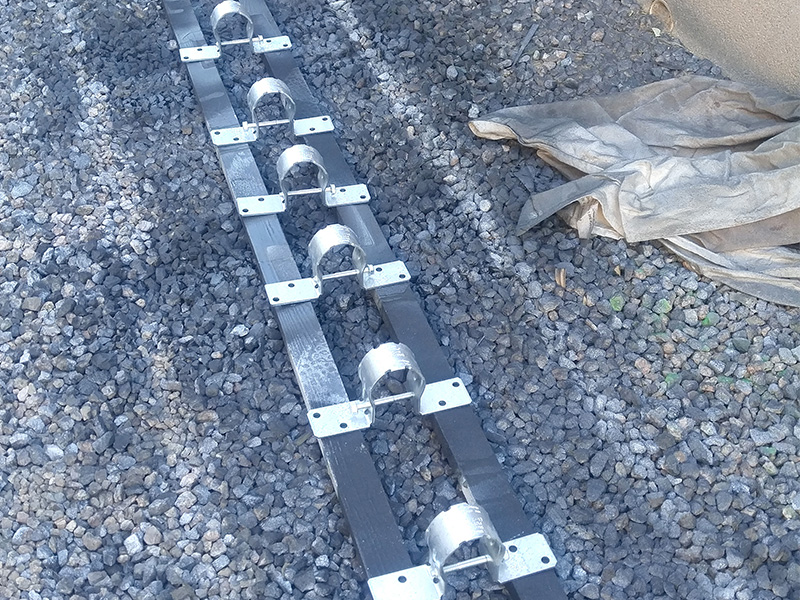
Space the candle holders evenly on the wood board. Attach, using 5/8″-long screws.
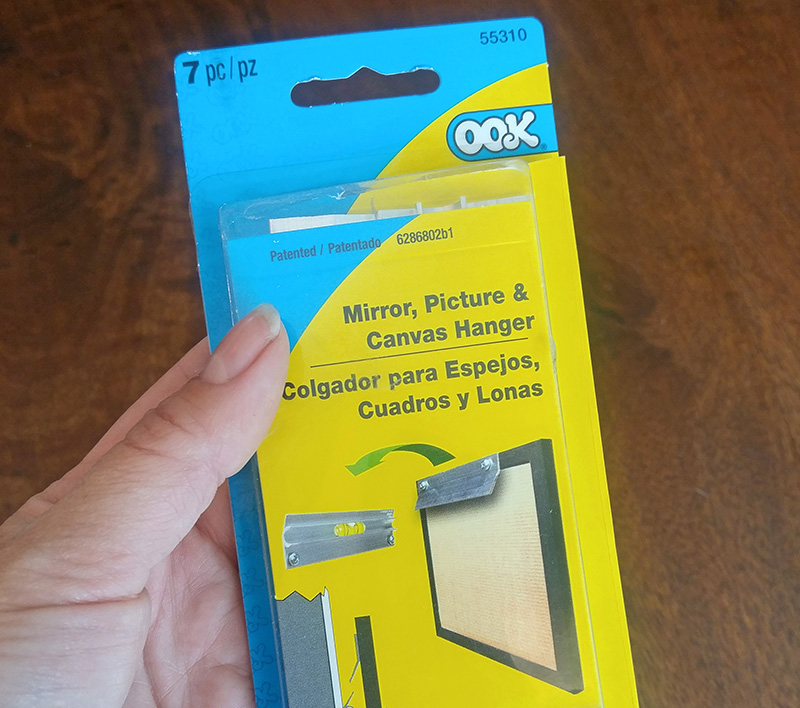
6. Attach French cleat
I find the easiest way to hang a large sign or piece of art is to use a French cleat. It’s a simple bracket that holds whatever you’re hanging tightly to the wall and makes it easy to keep everything level.
7. Insert small candles
The last step is to drop a small candle into each vase.

Simple tealights (the taller ones without a metal base) fit inside the skinny glass vases just fine.
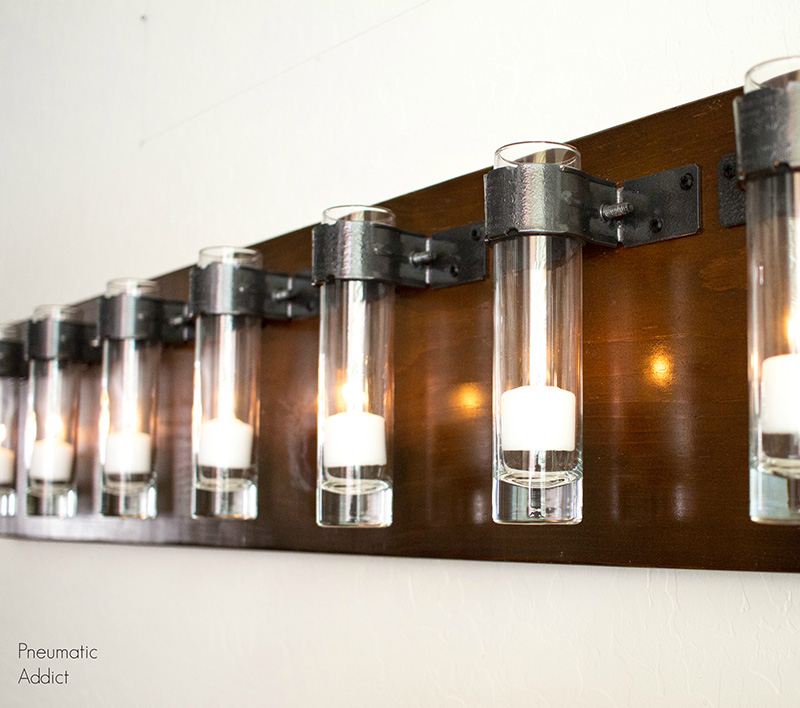
You’ll need a barbecue lighter to reach the candles, but the PGT connectors hold the vases suspended, slightly away from the board, so the heat generated from a flame won’t be a problem.
I chose a semigloss lacquer for the wood board and was pleasantly surprised to see how much it reflected the candlelight. I can’t wait to see it lit up at night!
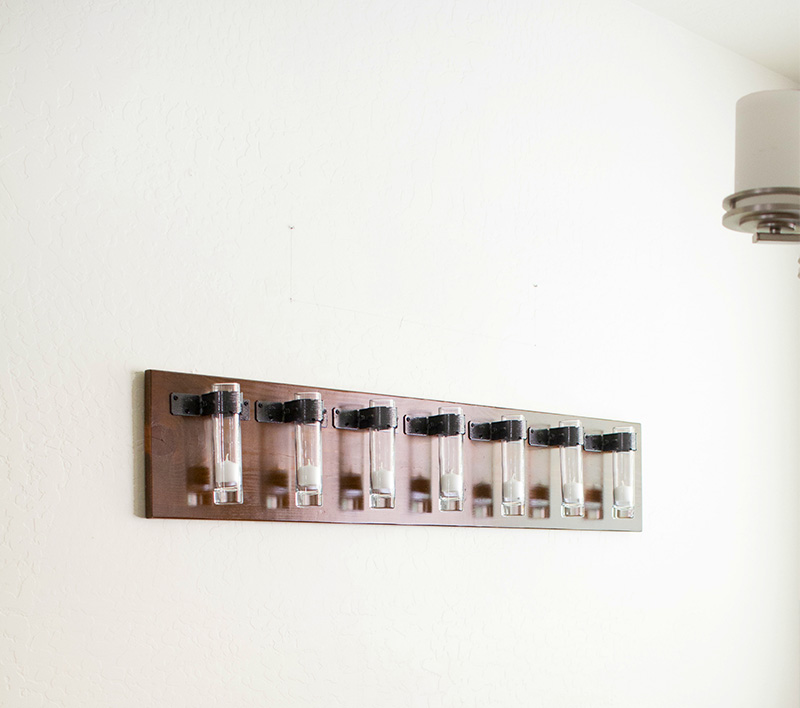
It seems I’m always in need of something to fill a long, horizontal space on the wall. This modern candle sconce would be perfect over a sofa or even a bed, and no one would guess you got the idea from the hardware store.
OUTDOOR DIY PROJECTS
- How to Build a Cool, Modern Chicken Coop
- How to Build a Floating Deck
- How to Build a Outdoor Accents Pergola
- How to Build a Simple Rolling Planter


