
Barn doors are everywhere these days and seem to be a trend that may stick around for a while. I took the popular barn door idea and made it into a window covering for my girls’ bedroom. It’s a great solution for any window where you need complete privacy but still want easy access to the window for daylight.
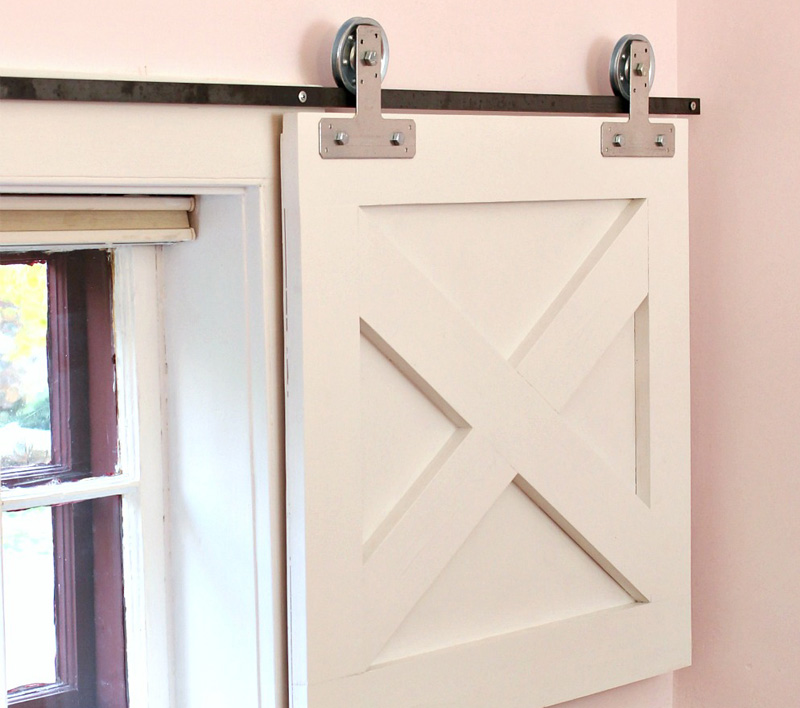
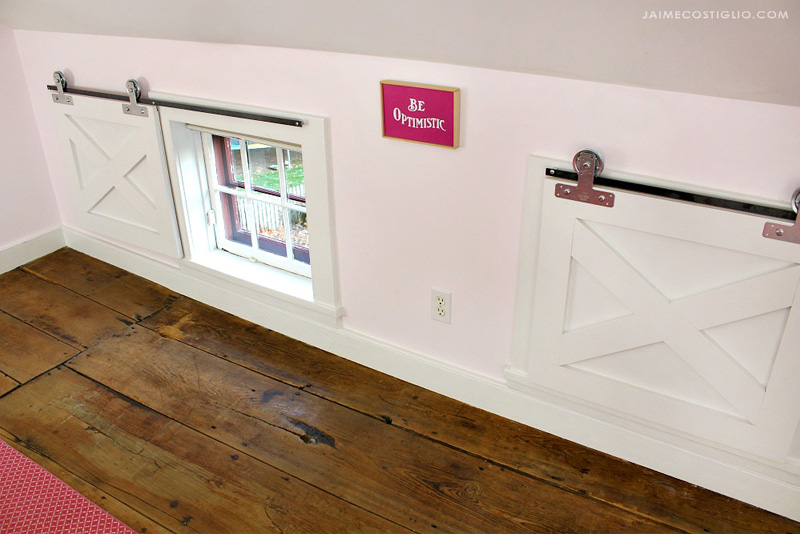
You can make the barn door to fit any size window — simply adjust the plans to the dimensions of your window. My favorite part of this project is the hardware. Using inexpensive Simpson Strong-Tie® T straps, pulley wheels and a flat rail, I was able to install the barn door window coverings with ease.
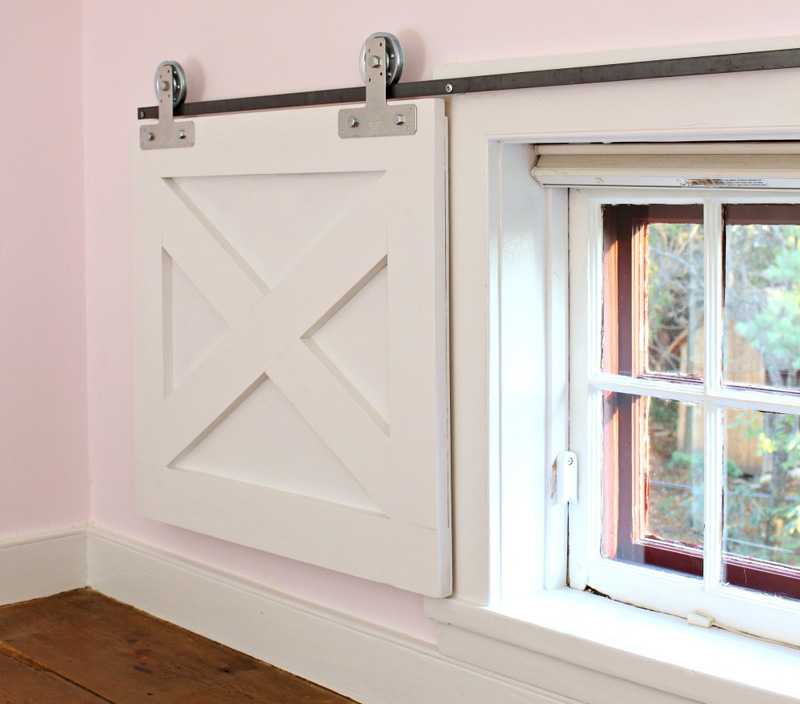
The window coverings slide back and forth on the flat metal rail, which makes it easy for my girls to let in sunlight in the daytime, or to cover the windows when they want more privacy.
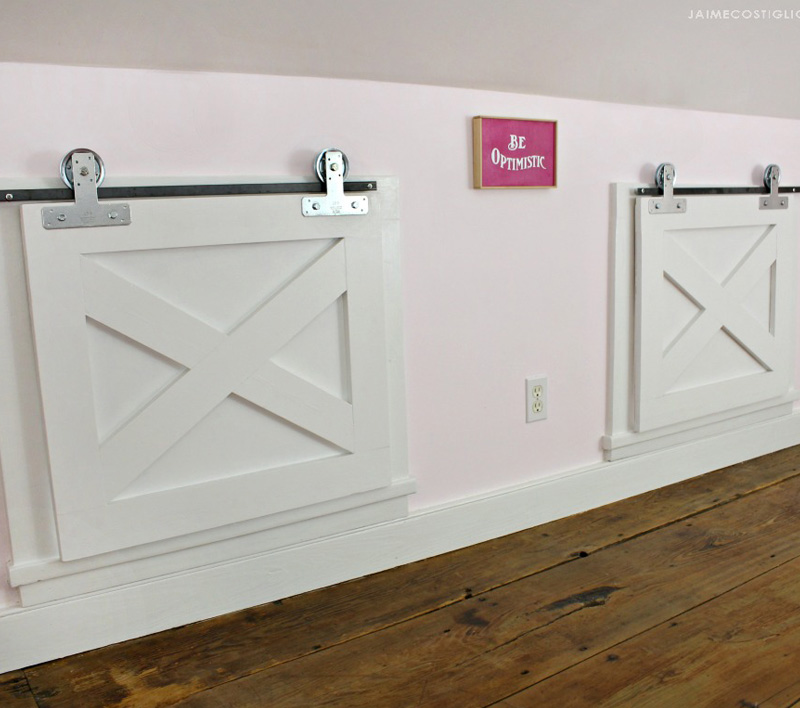
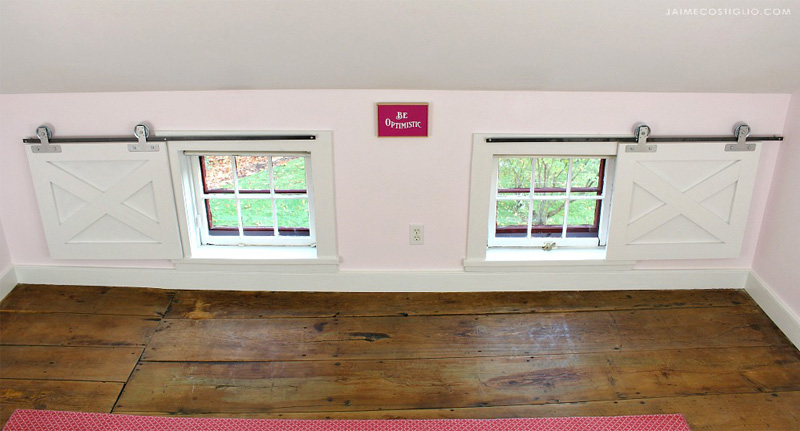
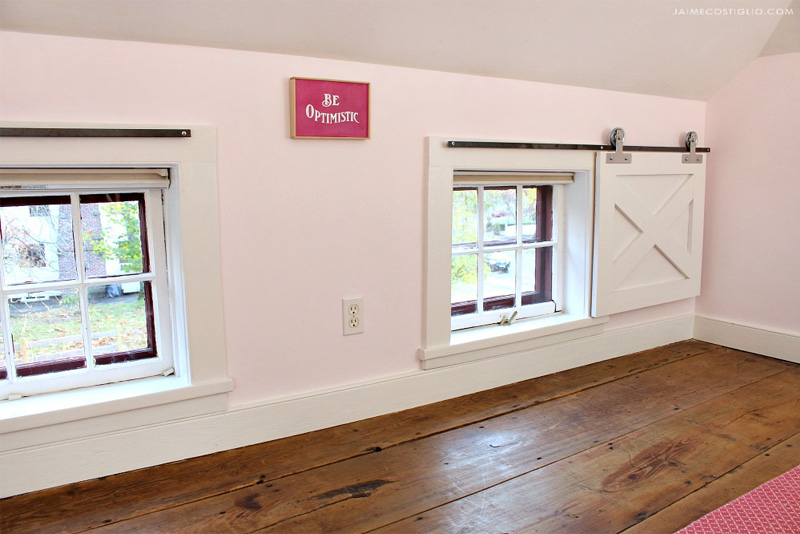
We live in an extremely old farmhouse with wonky windows that are very low to the floor, so these barn-door window coverings are a perfect functional fit for the space. A bathroom is another space that might benefit from this window treatment. I’ll share how to build the barn door and how I installed the hardware in what follows.
Below are materials, tools, a cut list and step-by-step instructions to make the barn-door window coverings. Please follow all safety procedures recommended by tool manufacturers.
barn door window coverings plans
Materials (for one window covering)
- (2) 1x4x8 pine boards
- (1) ¼” plywood handy panel
- (2) Simpson Strong-Tie® 66T strap
- (4) ¾” hex lag screws
- (1) ¾” x 72″ flat steel bar
- (4) 5/16″ x ¾” steel spacers
- (3) 3″ wall screws and mollies
- (2) 3″ pulley wheels with axle bolts
- 1¼” pocket-hole screws
- ¾” and 1″ finish nails
Tools
- Miter saw
- Drill
- Pocket-hole jig
- Nail gun
- Dremel® (or similar tool) for cutting flat steel bar
- Measuring tape
- Pencil
- Sander
Cut List
- (2) 1×4 x 27½” (long sides)
- (2) 1×4 x 17½” (short sides)
- (1) 1×4 x 26¾” both ends mitered 45° parallel, cut to fit (first diagonal)
- (2) 1×4 x 13⅜” one end mitered 45°, cut to fit (second diagonal)
- (1) ¼” x 27 ½” x 22 ½” (backing)
Instructions
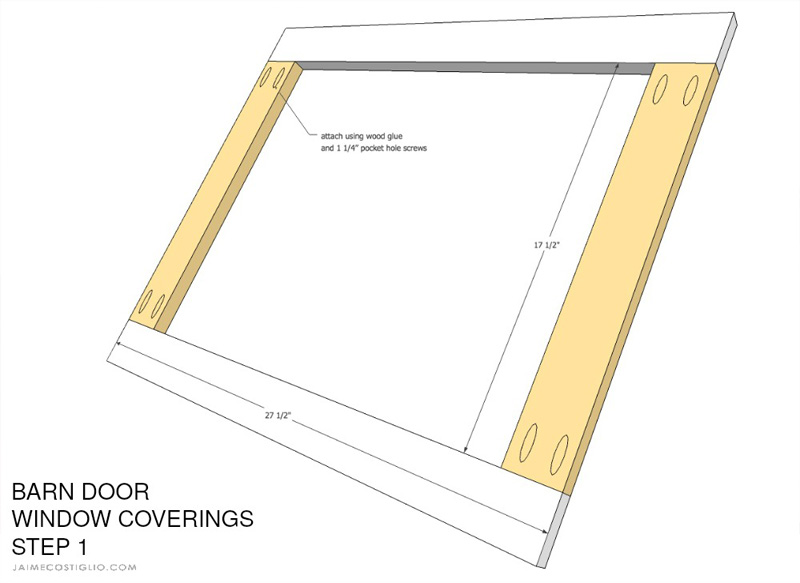
Step 1: Make frame. Attach the short sides to the long sides using wood glue and 1¼” pocket-hole screws.
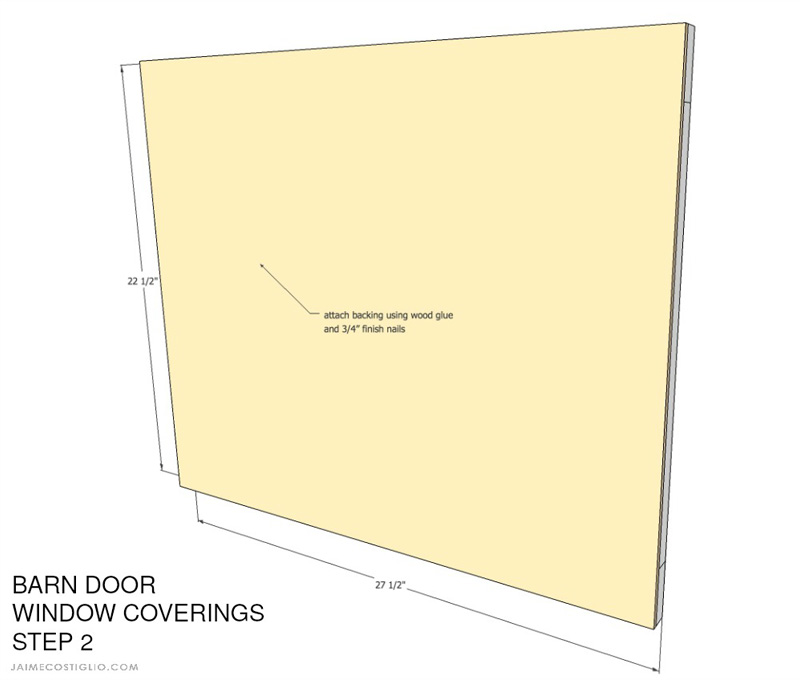
Step 2: Attach the backing to the frame using wood glue and ¾” finish nails.
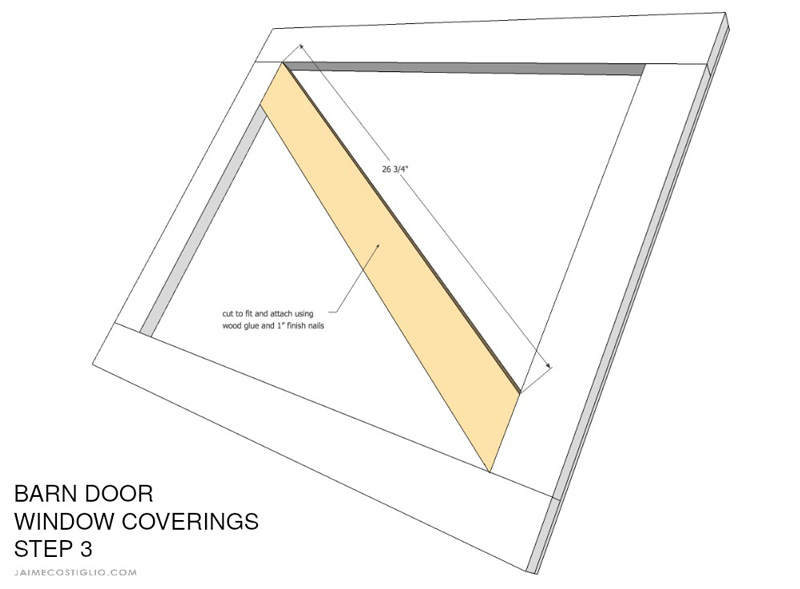
Step 3: Cut the first diagonal to fit, and attach to backing using wood glue and 1″ finish nails.

Step 4: Cut the second diagonal pieces to fit, and attach using wood glue and 1″ finish nails.
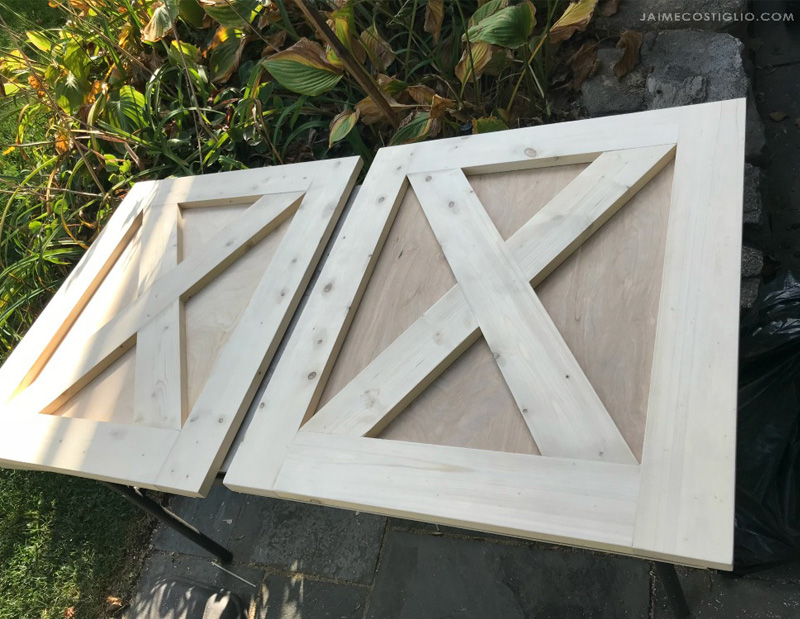
Finish as desired. I painted my barn doors using white semi-gloss.
The next steps are the hardware and installing the window coverings. Please adjust your installation and hardware based on your space and window situation.

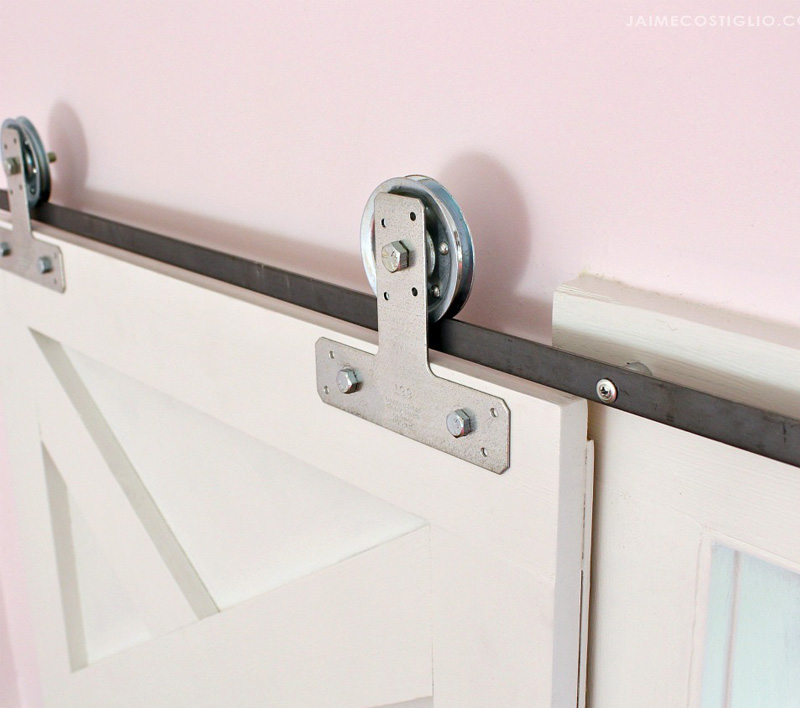
To begin, I used the hardware above for each barn door. Attach the 66T strap to the door using the hex lag screws.
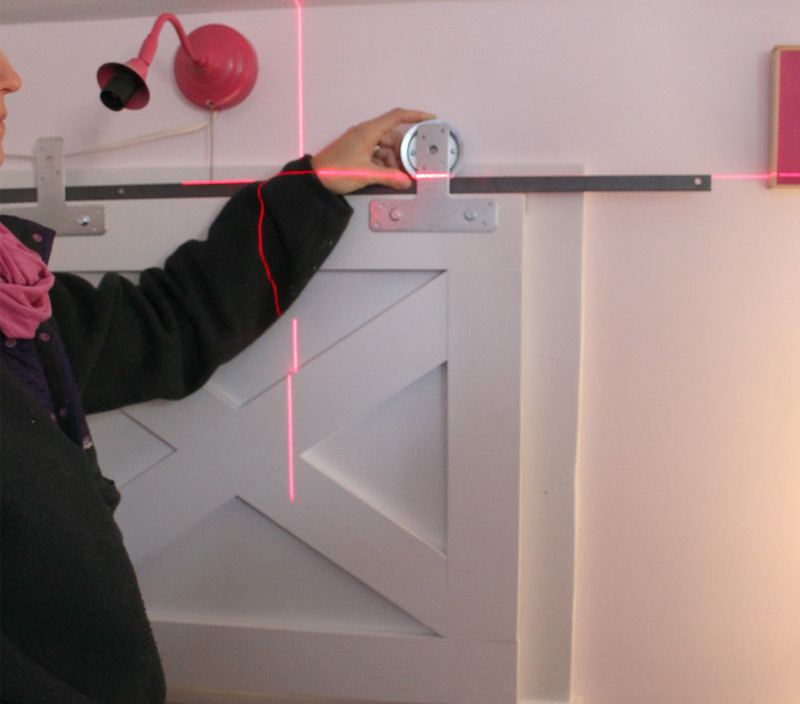
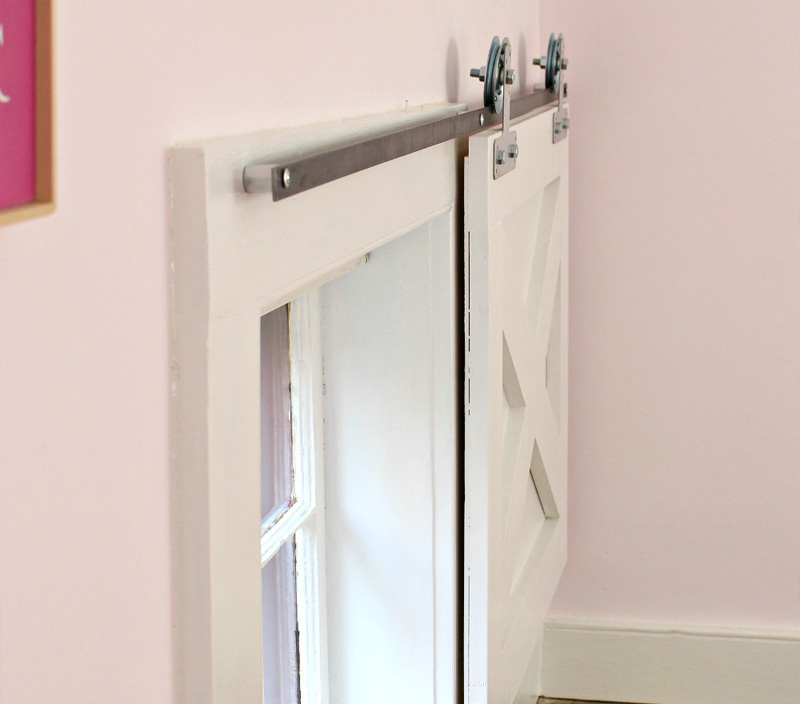
Once the T straps are attached, position the window covering in place and dry fit with the hardware. You can see where the pulley wheel will attach at the top of the T strap, leaving about ⅜” of wheel to “ride” on the steel bar. Be sure you have at least 1″ clearance between the top of the barn door and the pulley wheel for the ¾” steel bar.
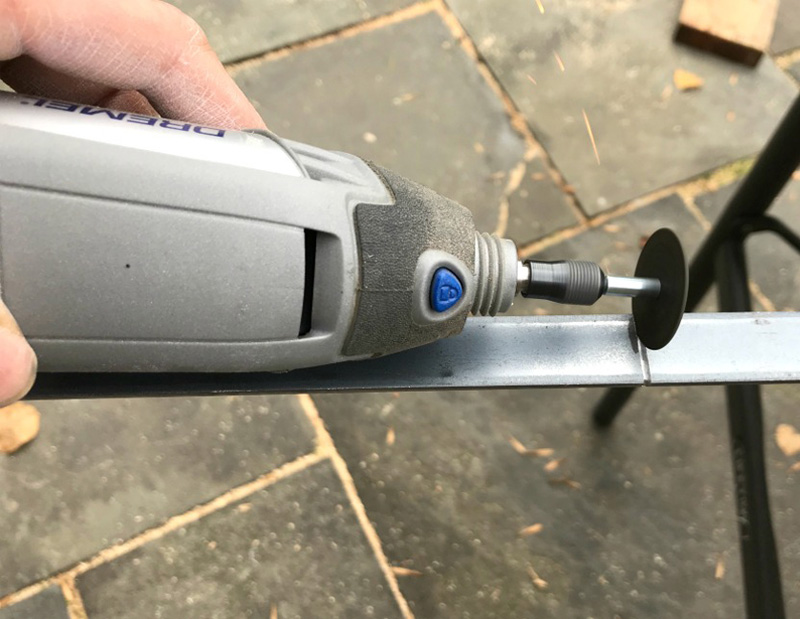
Determine the length of the steel bar and cut as needed. I doubled the width of the barn door plus 3″, which allows enough space for the door to open and close completely.
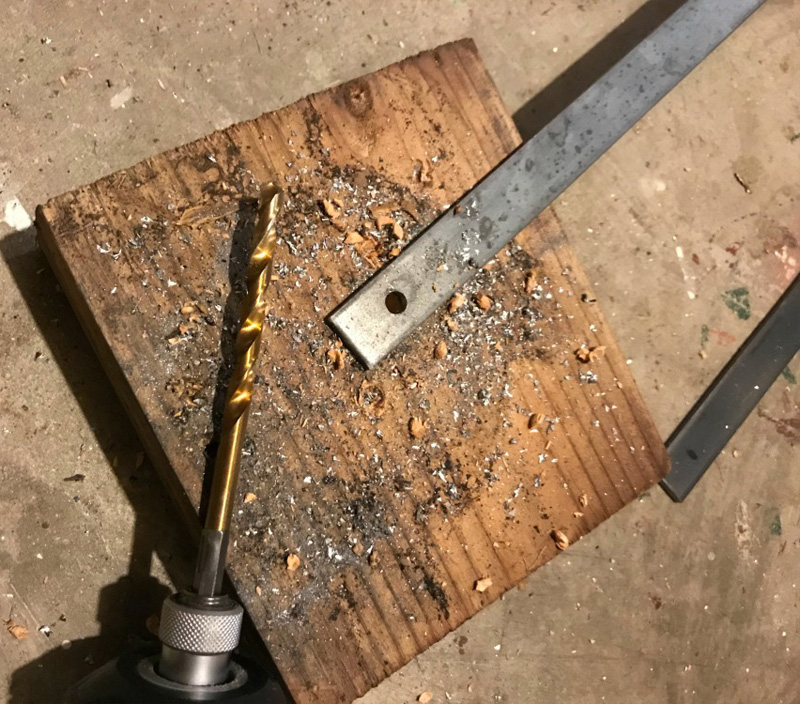
Predrill holes in the flat steel bar. Use a new drill bit for best results. You will make three holes in the bar, one at each end and one in the middle. Make sure the hole in the middle sits toward the bottom half of the bar so the pulley wheel can easily glide past the steel spacer.
Attach the steel bar to the window molding and wall. Use mollies as necessary and steel spacers between the molding and bar. You will need two spacers between the wall and the bar to account for the molding thickness.
Once the bar is installed, place the barn door in position and attach the pulley wheel to the T strap using the axle bolts.
OUTDOOR DIY PROJECTS
- How to Build a Cool, Modern Chicken Coop
- How to Build a Floating Deck
- How to Build a Outdoor Accents Pergola
- How to Build a Simple Rolling Planter


