
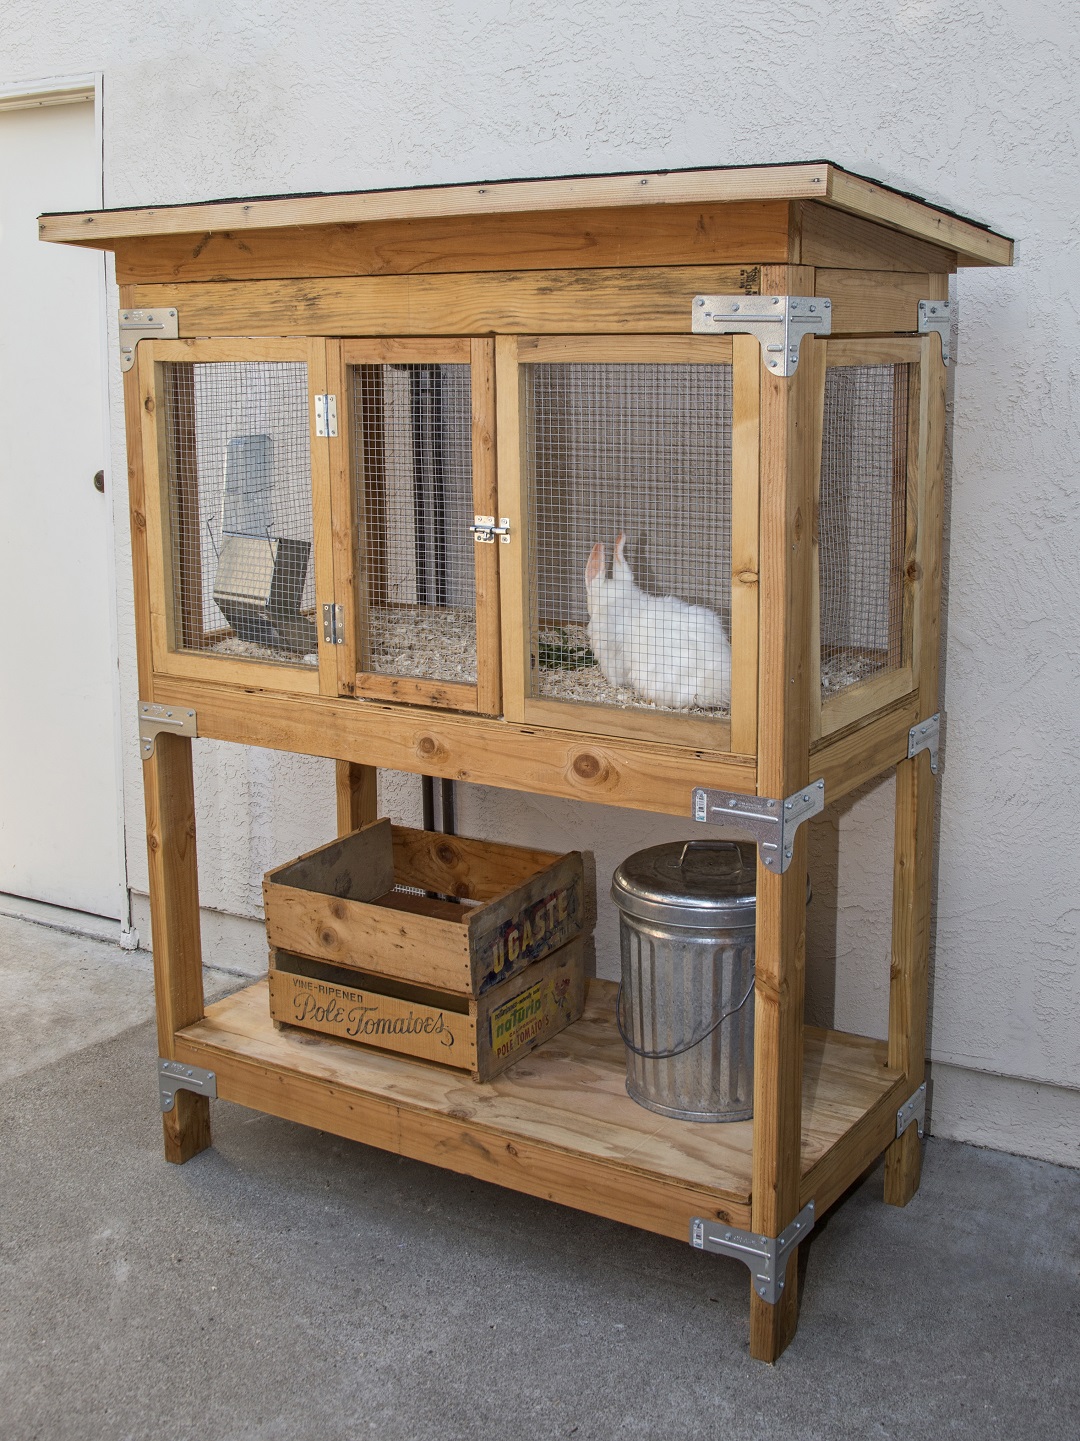
Construction is fast and easy with 2×4 lumber and Simpson Strong-Tie® Rigid Tie® RTC2Z connectors. The shelter can be customized to fit your needs and space by adjusting leg height, depth or width.
Download the plans for this DIY Pet Home here.
Tools Needed
- Saw
- Screwgun
- #2 Phillips-head bit
- 1/4″ hex-head socket
- Tape measure
- Clamps
- Framing square
- Straightedge
- Wire cutter
- Staple gun
- 10′ x 36″ wire mesh
- Roofing material
- (2) 2 1/2″ pin hinges and doorlatch
Installation Instruction
- Cut lumber to size: Since all of your cuts are straight cuts, Simpson Strong-Tie connectors simplify building with wood. Build outside frame before cutting inside frames and door. Measure again to confirm size.
- Assemble frame with connectors: Mark heights and fasten connectors to vertical posts using Simpson Strong-Tie #9 x1 1/2″ Strong-Drive® SD Connector screws. Attach horizontal rails to each side of connector, using a clamp to hold the wood. Cut and notch corners of plywood shelves, using a piece of 2×4 to trace dimensions of each corner posts.
- Build and install roof: Attach roof trim to plywood with #8 x2 1/2″ trim-head screws. Attach roof block to top of frame with LTP4 tie plates and #9 x 1 1/2″ SD screws. Use two tie plates for each long side and one for each short side. Attach plywood to roof block with #8 x 2 1/2″ trim-head screws. Use roofing material of your choice (underlayment and asphalt shingles are recommended; follow manufacturer’s instructions for installation).
- Assemble and install wire screens: Build wire screens by sandwiching chicken wire between frame pieces for back frame, side frames, front frames and door frame with #8 x1 1/4″ Deck-Drive™ DSV Wood screws. Insert wire screens into structure and attach to posts with #8 x 2 1/2″ trim-head screws. Attach door screen with 2 1/2″ pin hinges and add latch.
Hardware Needed
- (12) Rigid Tie®RTC2Z connectors
- (4) LTP4 lateral tie plate connectors
- (1) box #8 x 2 1/2″ trim-head wood decking screws
- (1) box #8 x 1 1/4″ Deck-Drive™ DSV wood screws
- (2) boxes #9 x 1 1/2″ Strong-Drive® SD Connector screws
Lumber Needed
- (9) pieces 2×4 x 8′
- (3) pieces 2×2 x 8′
- (12) pieces 1×2 x 8′
- (2) sheets 4′ x 4′ x 5/8″ plywood
- (1) sheet 4′ x 8′ x 5/8″ plywood
Cut List
Cut from 2×4 x 8′
- (2) 22 1/2″ side roof blocks
- (6) 45″ long rails
- (4) 62″ vertical posts
- (4) 17″ short rails
- (1) 48″ front roof base
- (2) 17″ short rails
Cut from 2×2 x 8′
- (1) 45″ rear roof base
Cut from 1×2 x 8′
- (20) 22″ front vertical frames
- (2) 21 3/4″ vertical door frames
- (2) 14″ horizontal side frames(1) 13 1/4″ horizontal front frames
- (1) 9 1/4″ horizontal door frame(6) 14″ horizontal side frames
- (1) 9 1/4″ horizontal door frame
- (7) 13 1/4″ horizontal front frames
- (4) 42″ horizontal back frames
- (2) 9 1/4″ horizontal door frames
- (2) 55 1/2″ long roof trim
- (2) 28 1/2″ short roof trim
Cut from 4′ x 4′ x 5/8″
- (1) 24″ x 48″ top shelf (corners notched)
- (1) 24″ x 48″ lower shelf (corners notched)
Cut from 4′ x 8′ x 5/8″
- (1) 24″ x 48″ top shelf (corners notched)
Find more do-it-yourself project plans at strongtie.com/diy.


