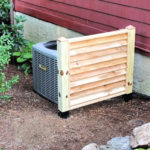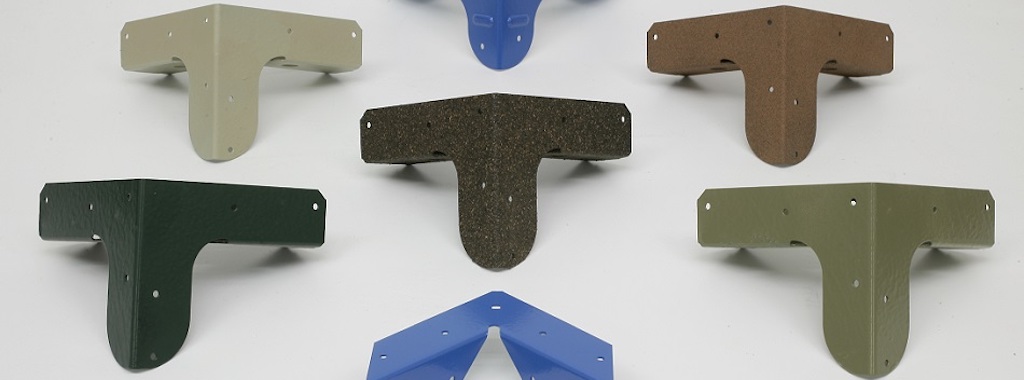
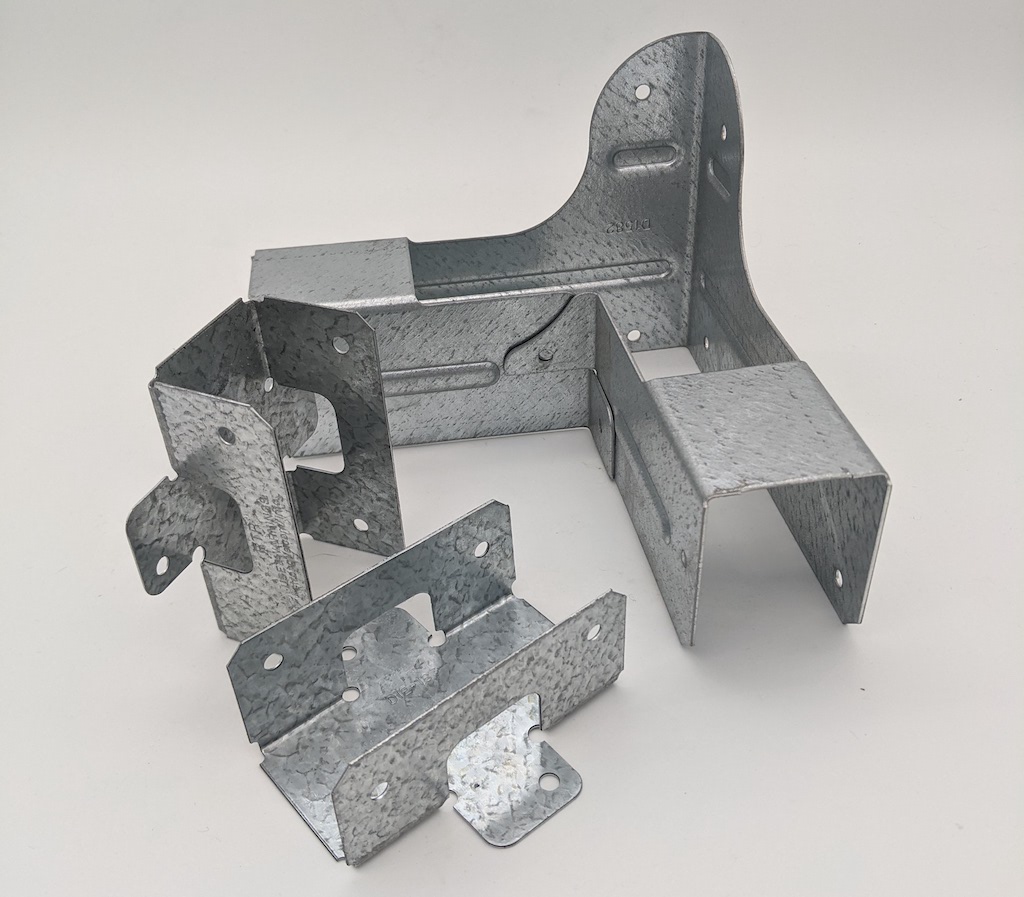
While many people like the look of galvanized metal connectors on their DIY projects — as we have shown with the Simpson Strong-Tie® Rigid Tie® RTC connectors on our DIY standing desk and heavy-duty workbench — others prefer a painted look.
As you may have already discovered the hard way, though, paint doesn’t apply to metal well. But there’s a surprisingly easy step you can take to make sure the paint adheres evenly to the metal and doesn’t immediately chip off: Just dip the galvanized metal connector in plain vinegar or wipe it with a cloth soaked in vinegar. The vinegar removes any oiliness and etches the surface so the paint will adhere better. If you immerse your connector in vinegar, however, don’t leave it in there for more than a couple of minutes or the vinegar will remove the galvanized coating.
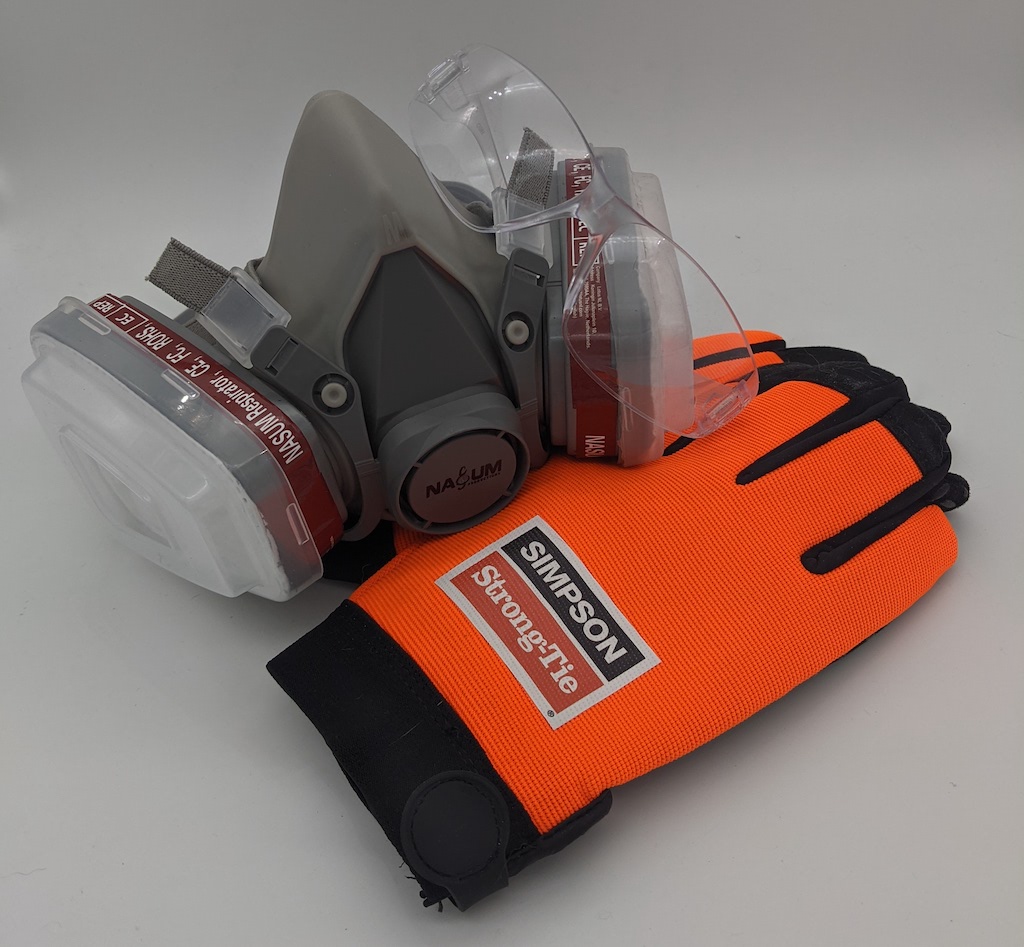
Once it’s dry, it’s ready to paint. You’ll want to start with safety gear. Spray–painting is fairly safe, but it can still be toxic to breathe and to skin or eyes. We recommend wearing safety goggles, gloves and a paint respirator mask with particulate filters.
After you’re geared up, it’s time to add the primer. Make sure you hold the primer can six to eight inches away from the target connector. Once the connector is primed, wait at least 10 minutes for it to dry before you begin painting.
The first step for a solid paint job is to shake the rattle can for two minutes before the first spray. After giving it the solid shake, test the nozzle on a cloth or piece of cardboard. This is especially important if you’ve let your spray paint sit unused for some time. The solvent can get backed up in the inner spray tube. If it comes out unmixed with the paint, it could cause the paint on the surface to run and create an uneven job while extending drying time.
Once you’re ready to spray, be sure to keep the can 10 to 12 inches away from the metal. Paint in a sweeping motion by starting the spray before the connector and releasing after the pass. You don’t want to finish on the connector.
You should apply at the least two coats of paint. To ensure an even application of the spray paint and prevent running, it’s best to wait one hour between applications.
If you don’t plan to use your spray paint in the near future, make sure you purge your cans! Turn the can upside down and hold the nozzle until the spray turns clear. This is a great practice for preventing caps from clogging and extending the life of your paint cans.
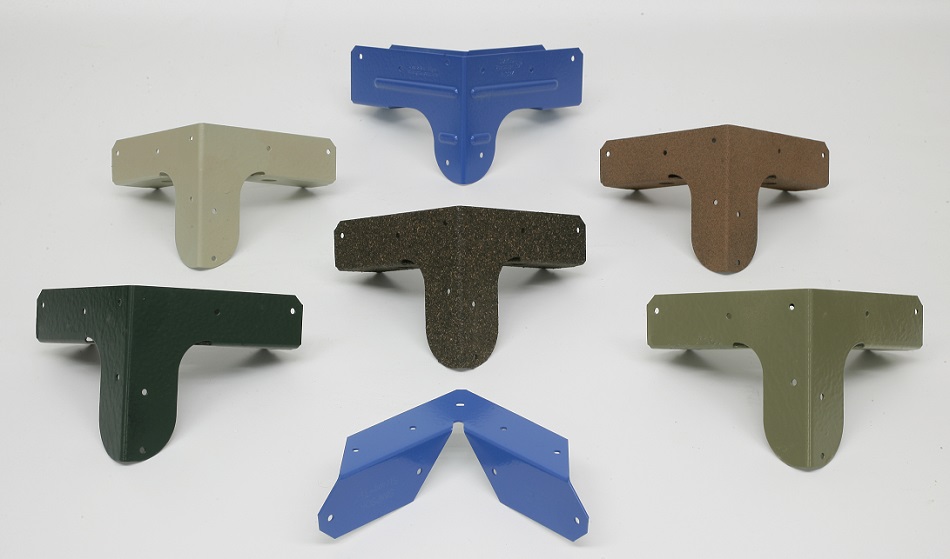
We painted these connectors with Rust-Oleum spray paint and were pleased with the finished appearance.
Steps for Painting Connectors:
- Buy connectors.
- Avoid humidity.
- Find a well-ventilated area in which to work.
- Cover nearby surfaces to protect them from spray paint.
- Wear safety gloves, goggles, apron, and mask.
- Test: Shake the can.
- Test: Check the color on scrap metal.
- Dip or wipe the connectors with plain vinegar.
- Don’t leave connectors in contact with vinegar for more than a few minutes.
- Let connectors dry.
- Spray on primer — holding the can six to eight inches away from the connector surface.
- Wait 10 minutes.
- Apply one more coating.
- Wait 10 more minutes. You want the primer to be even.
- Shake the paint can.
- Hold the can 10-12 inches away from the metal.
- Spray with a sweeping motion.
- Allow paint to dry for one hour.
- Repeat spray-painting as in steps 13 and 14. You don’t need to do both sides of the connector but you can.
- Once finished, purge cans as described above.