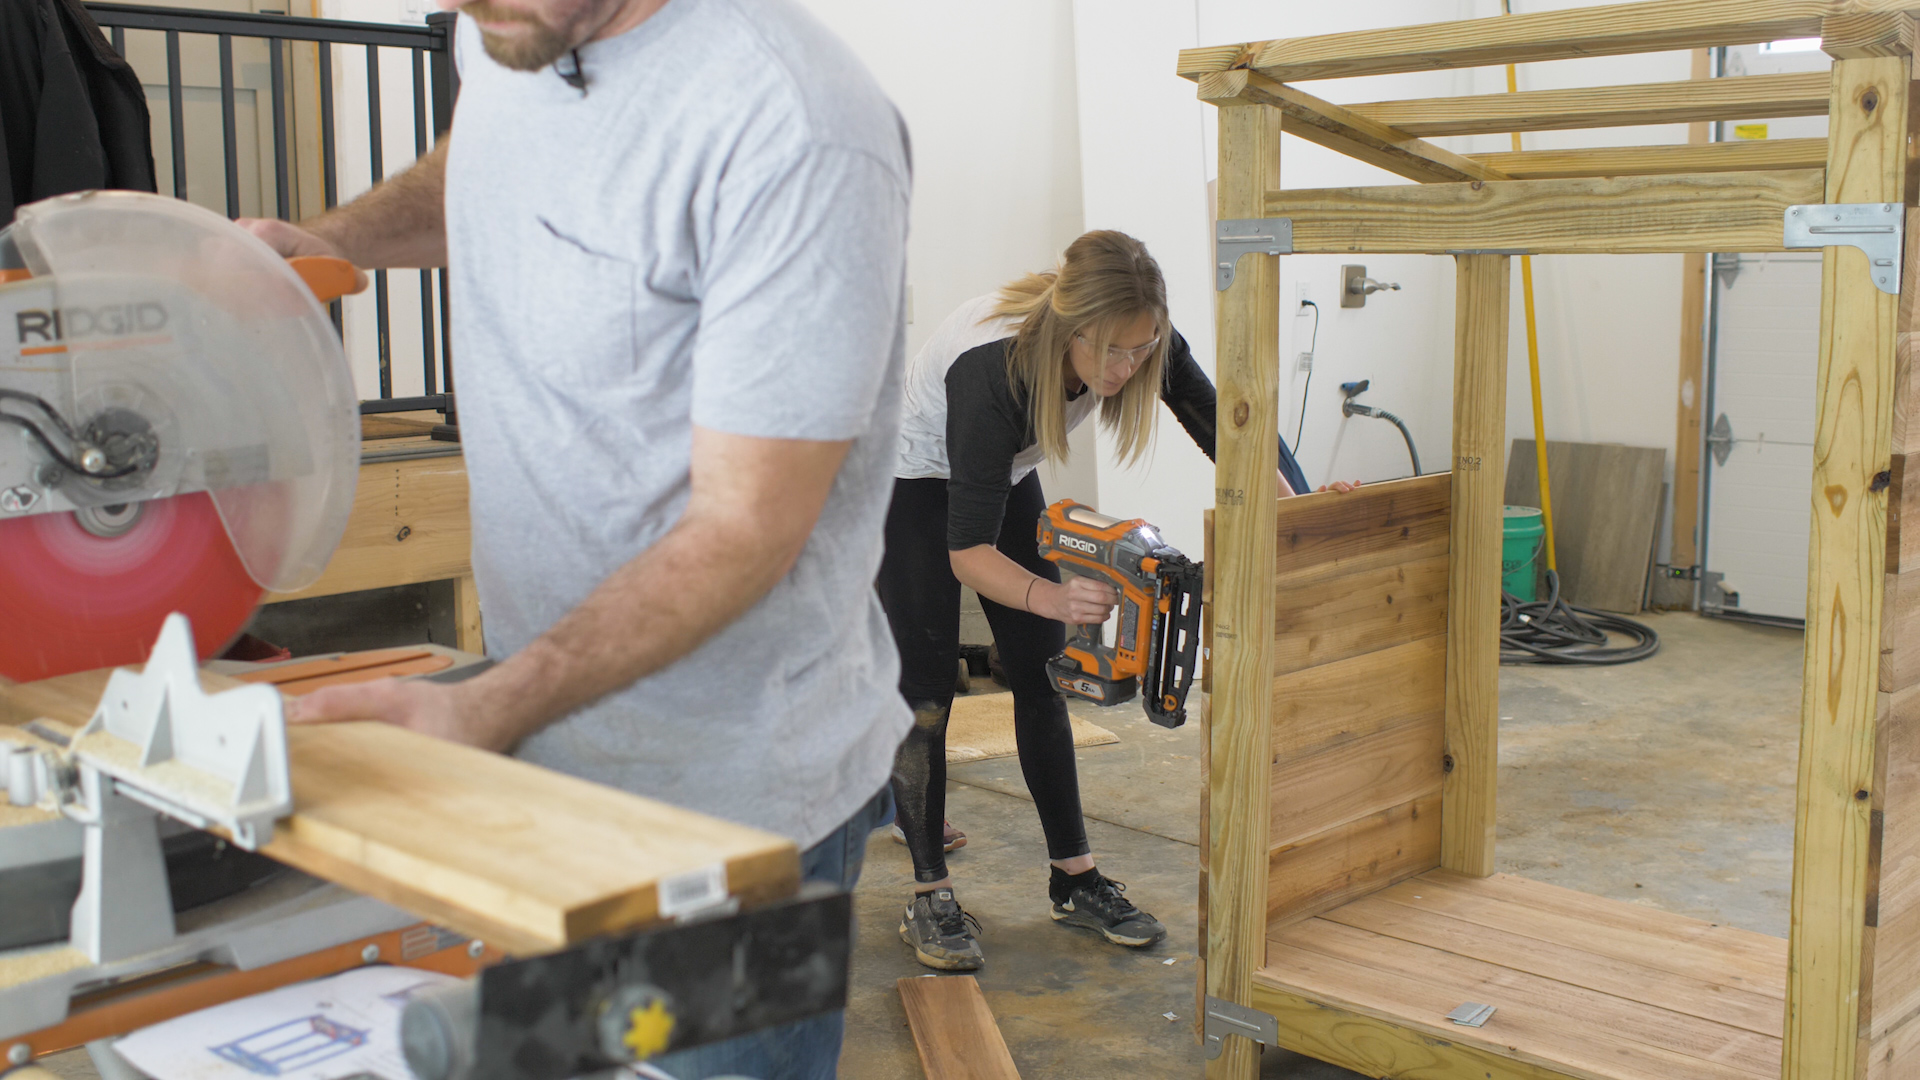
Recently, we’ve been having problems receiving our bulkier mail. With an invisible fence, our dogs sometimes get let outside for a period of time and harass some of the delivery drivers. We also have a driveway with an incline that drivers can’t always safely ascend. While some drop the mail in the yard where the dogs can’t get to them, others don’t deliver the package at all. This can be really frustrating. We decided to make a nice shelter in the “safe zone” for our larger mail packages so everyone can be happy!
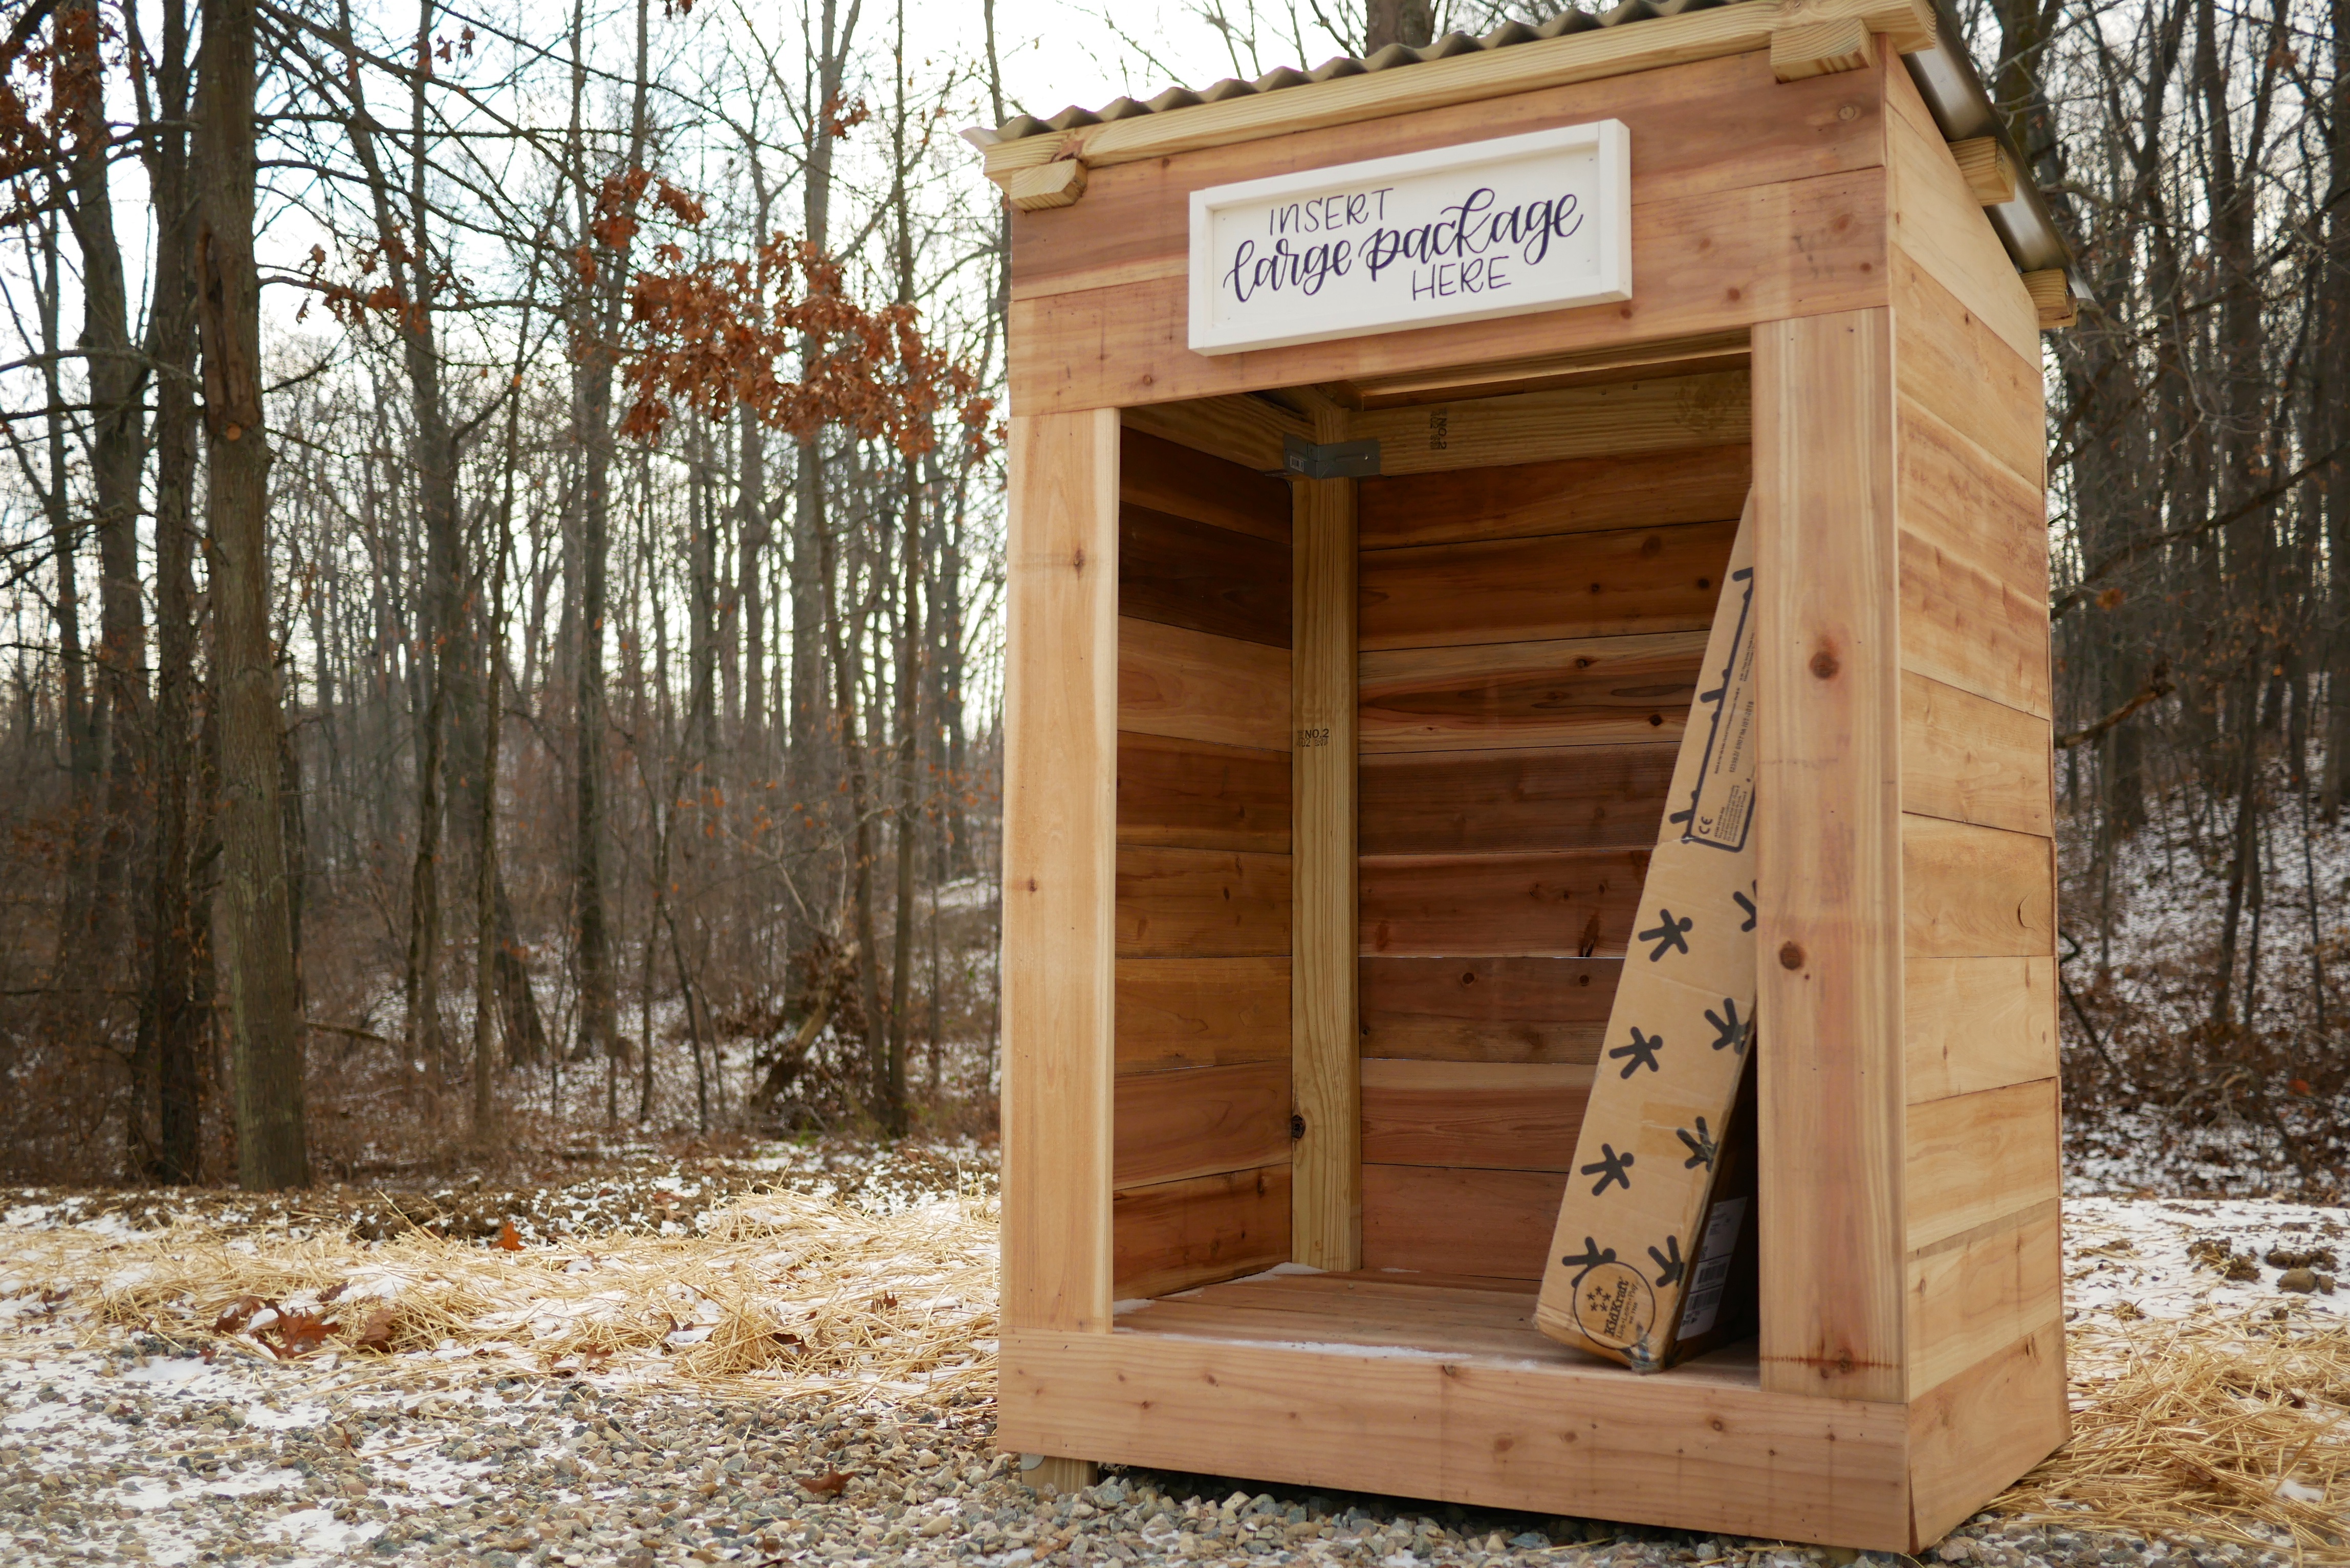
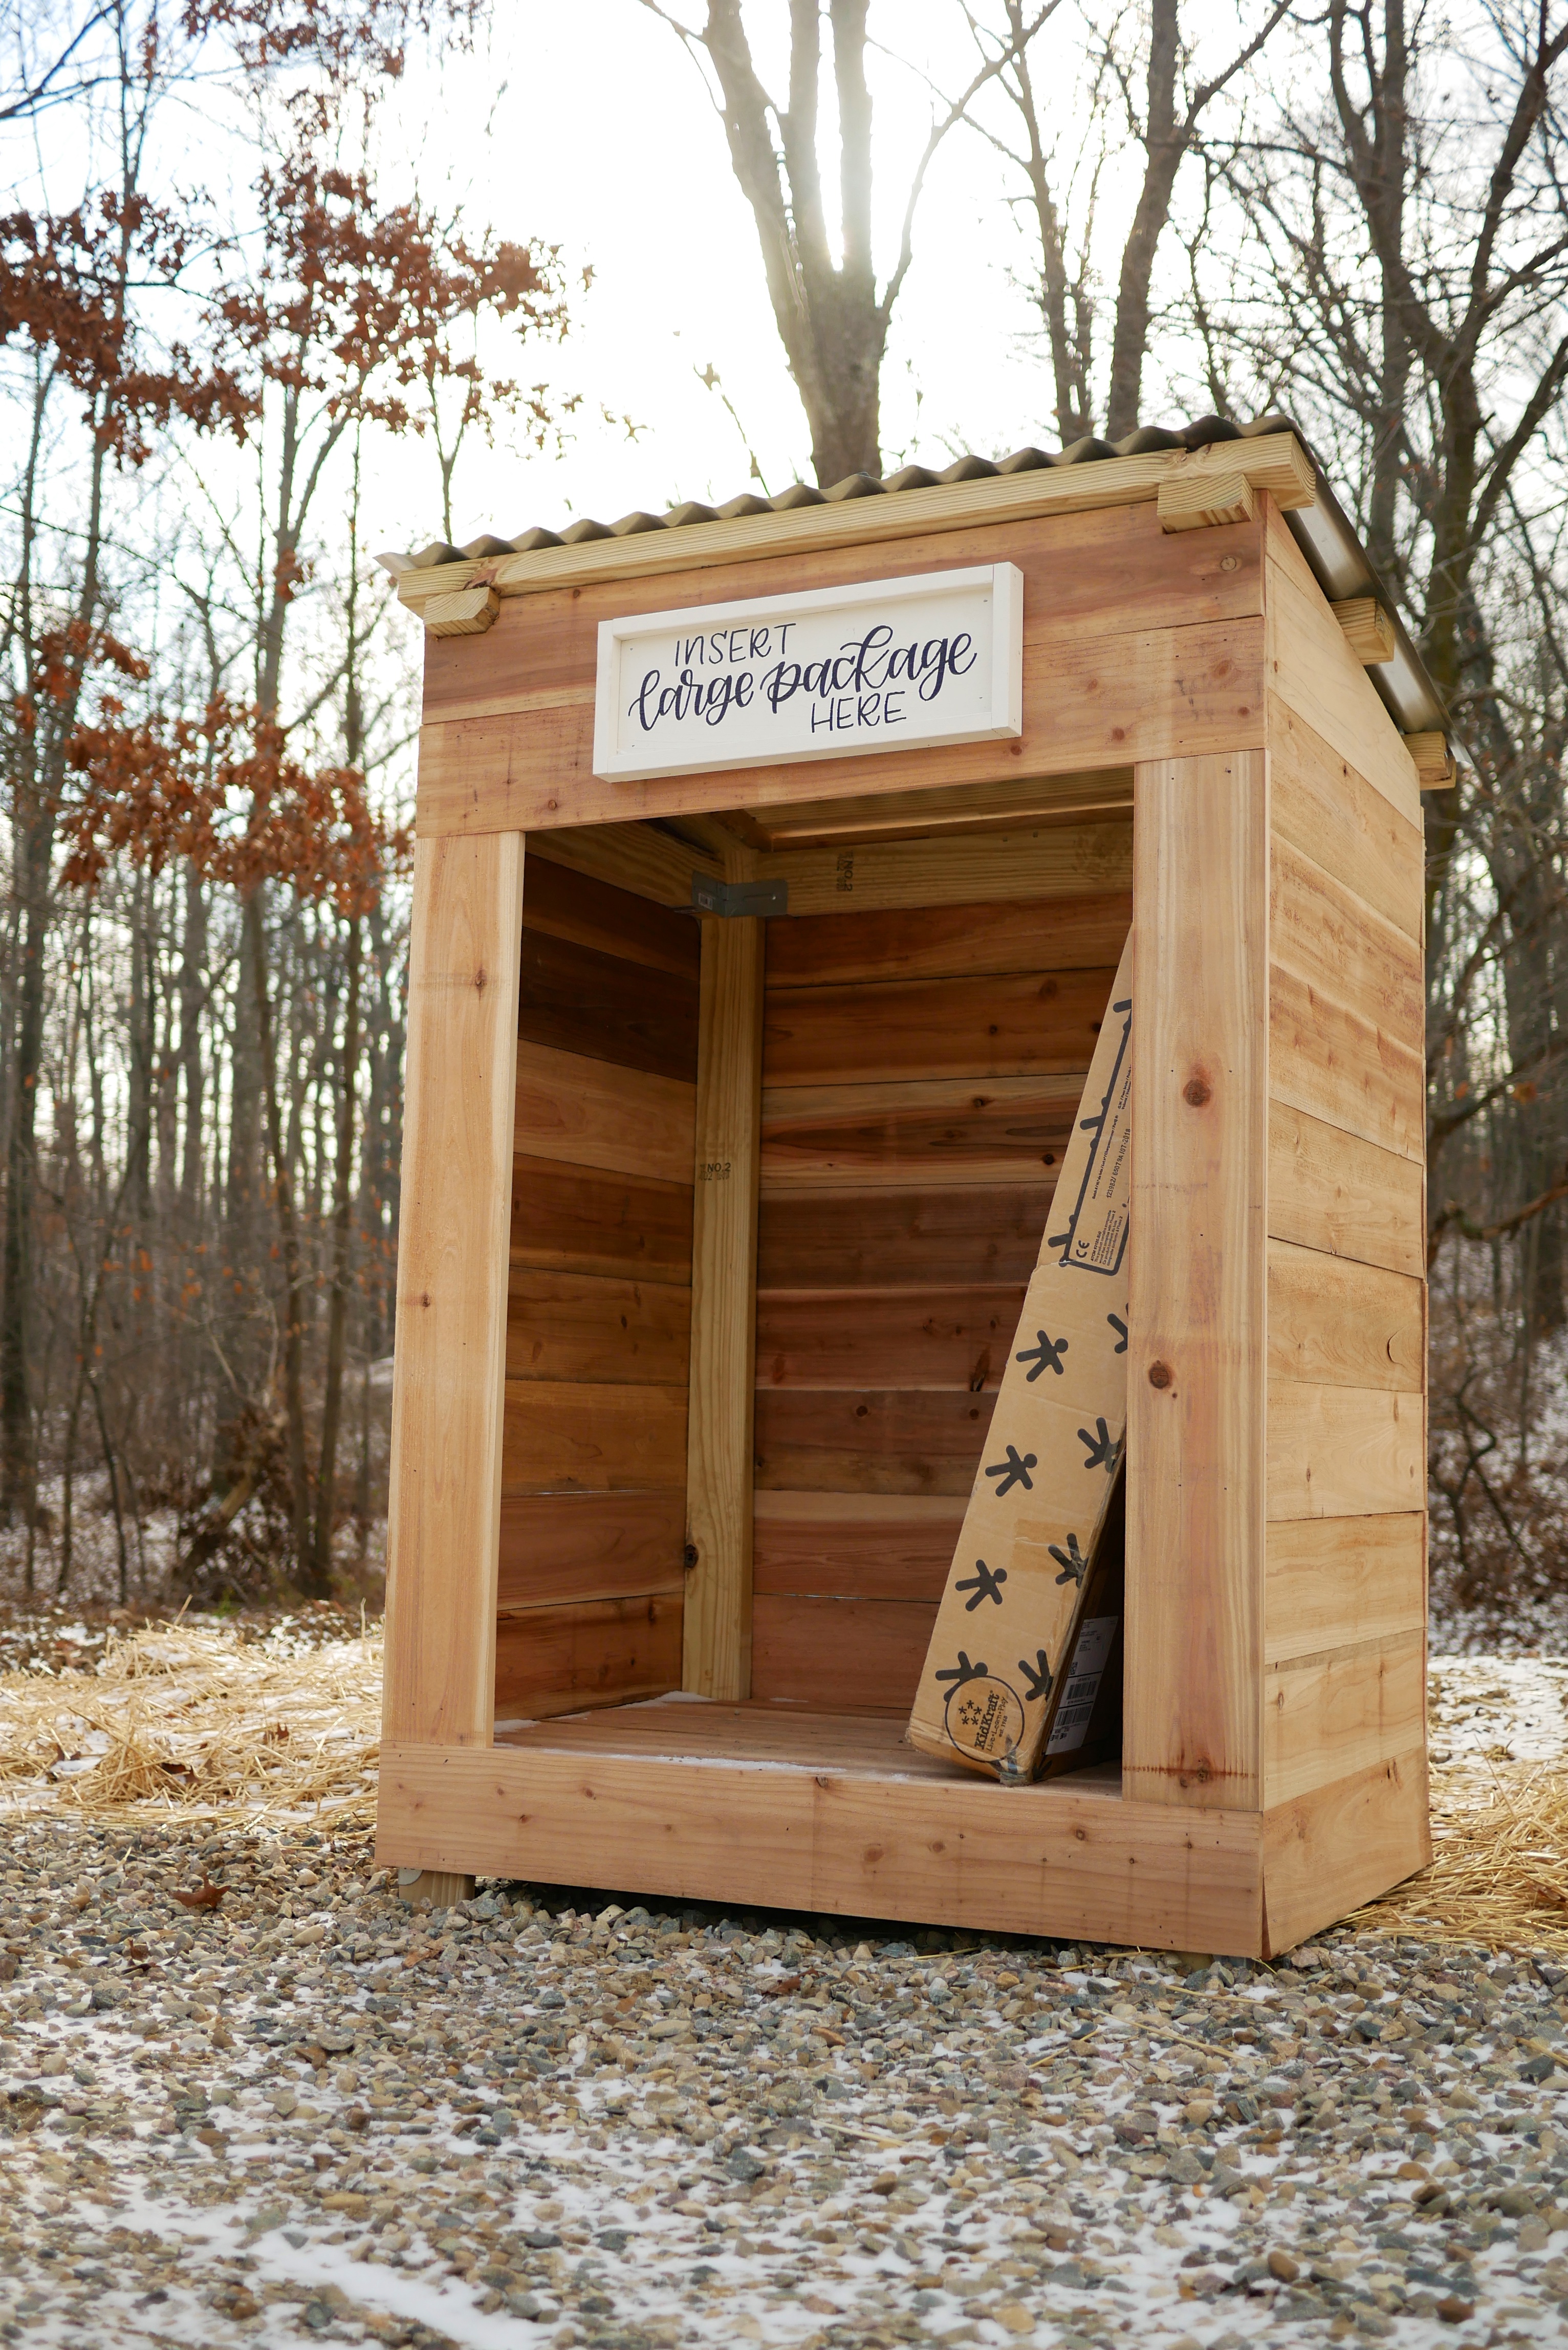
Dimensions
DIY Large Mail Shelter Plans – Printable PDF
Required Tools
- Drill/driver
- Hammer
- Circular saw and/or table saw
- Jigsaw
- 16-gauge finish nailer
- Tape measure
- Pencil
- Safety glasses
- Hearing protection
Materials
- (8) 2×4 x 8ʹ boards (pressure treated)
- (24) cedar fence pickets
- Corrugated metal roofing
- (8) RTC2Z Rigid Tie® connectors
- 8d x 1½” Strong-Drive® Connector nails
- 2½” Deck-Drive™ DSV Wood screws
- 1½” 16-gauge finish nails
- Metal roofing screws
Cut List
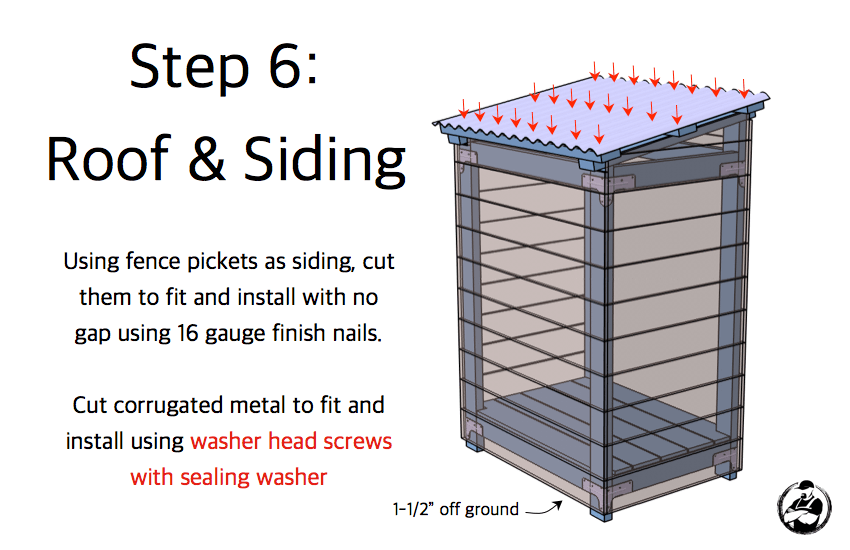
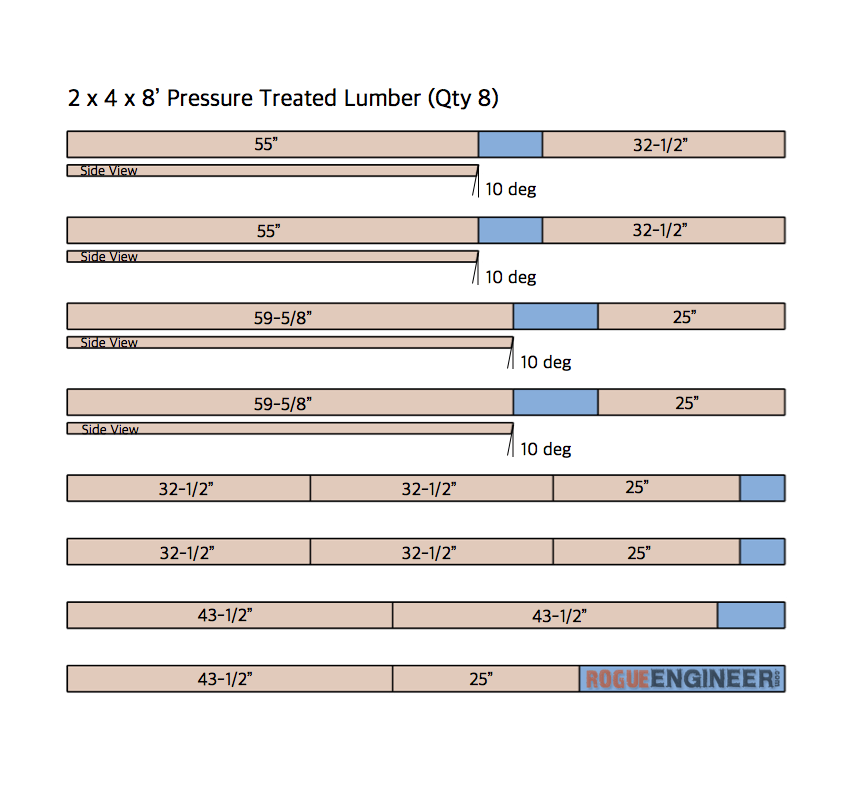
The cut list below will detail the boards and cuts required to build the structure. The floor, siding and roof should be cut to fit. Check out the instructions and the video at the end of the post.
Step 1: Assemble back using four RTC2Z connectors and 10d nails
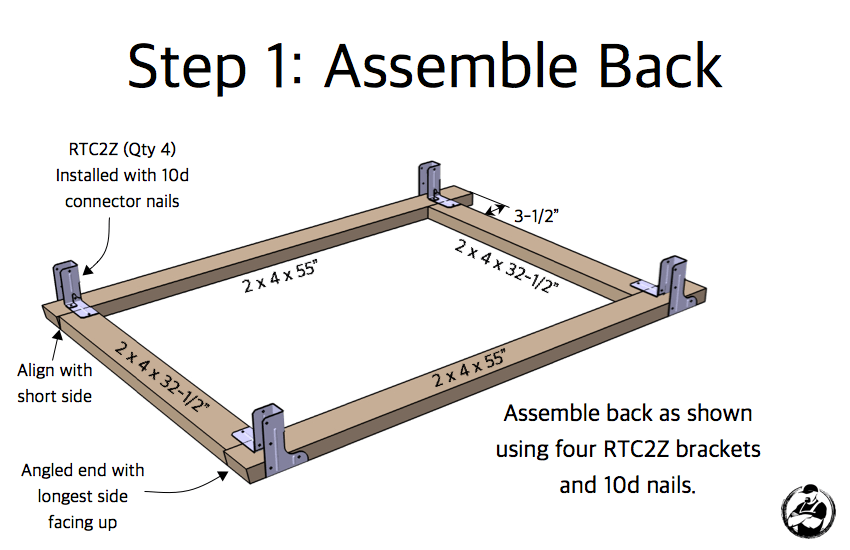
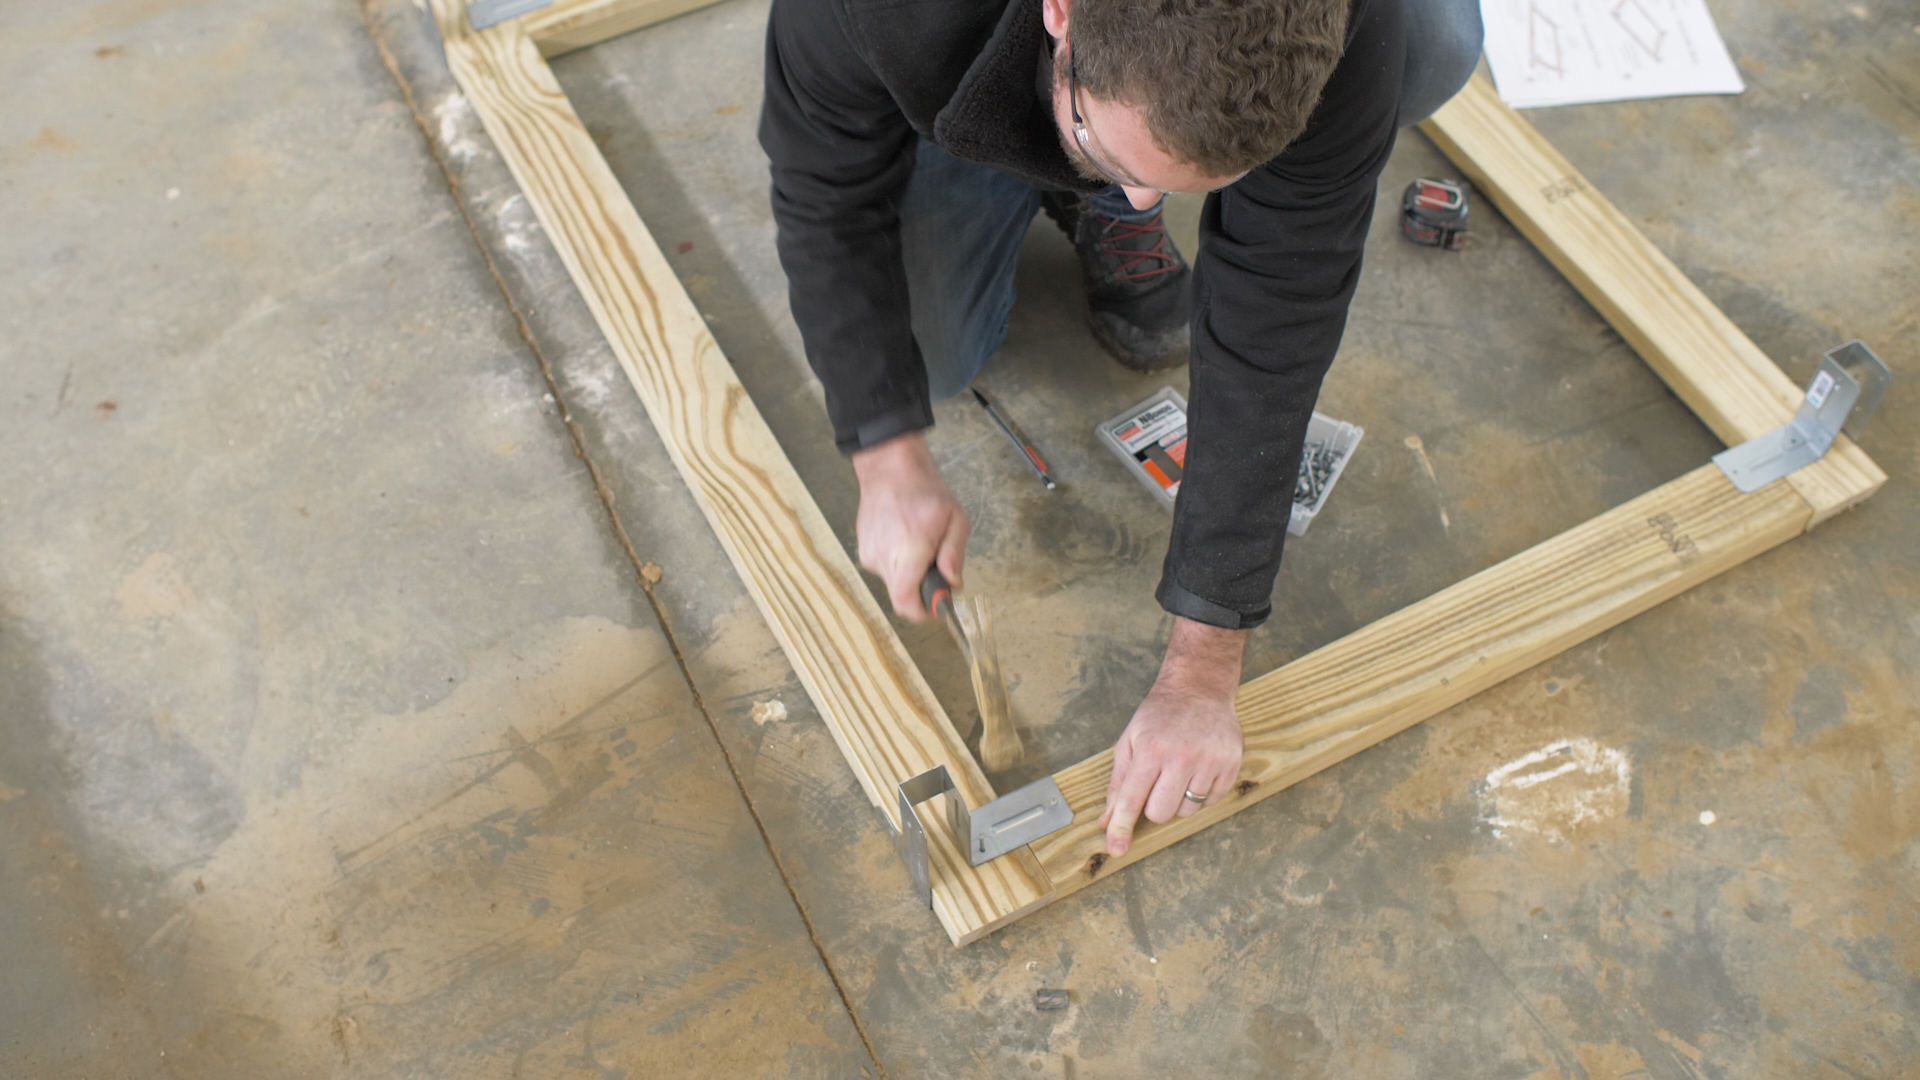
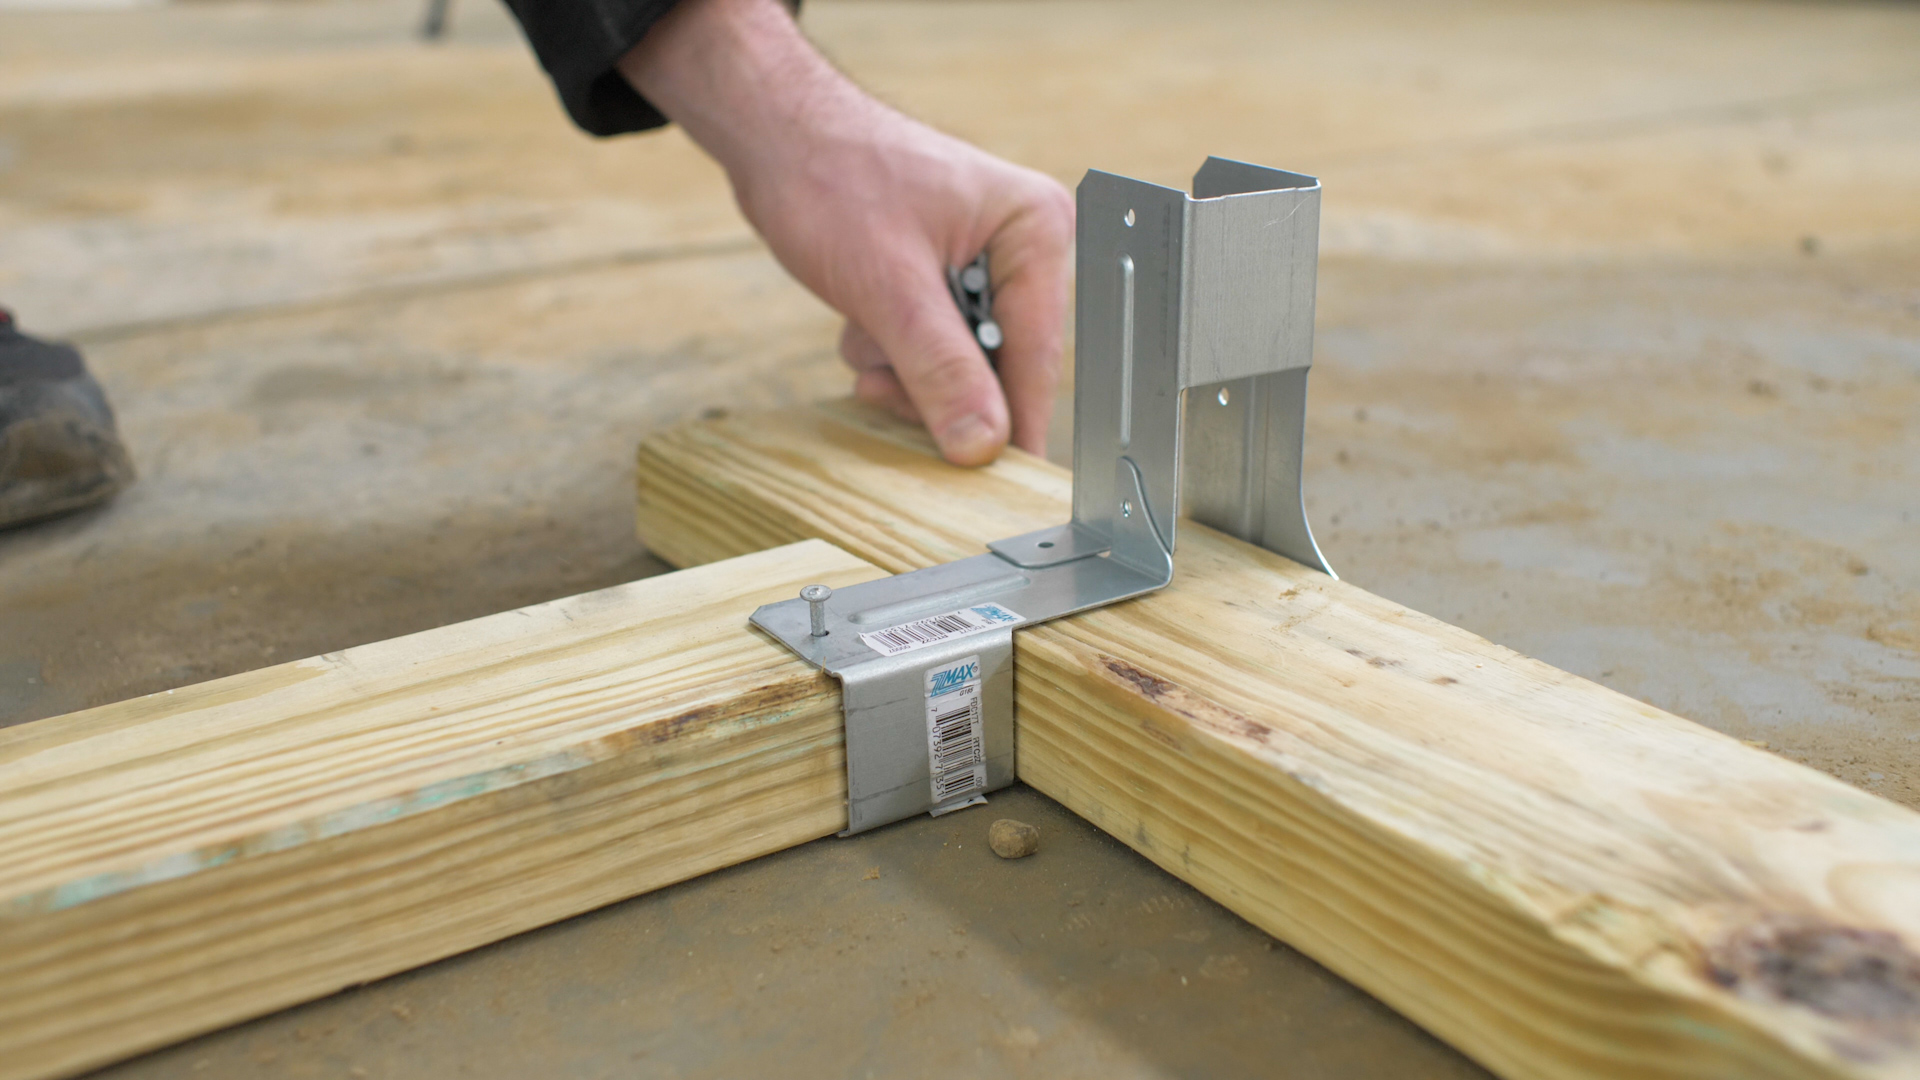
Step 2: Assemble Front using RTC2Z connectors and 10d nails
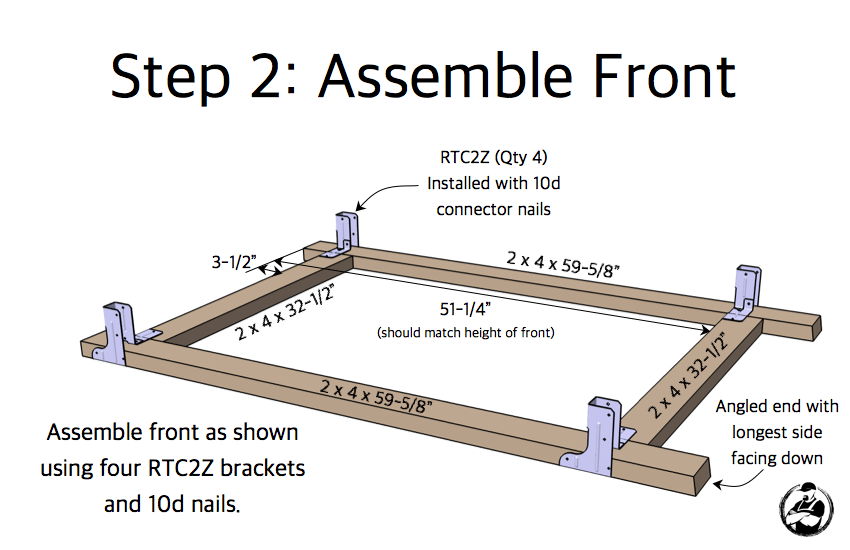
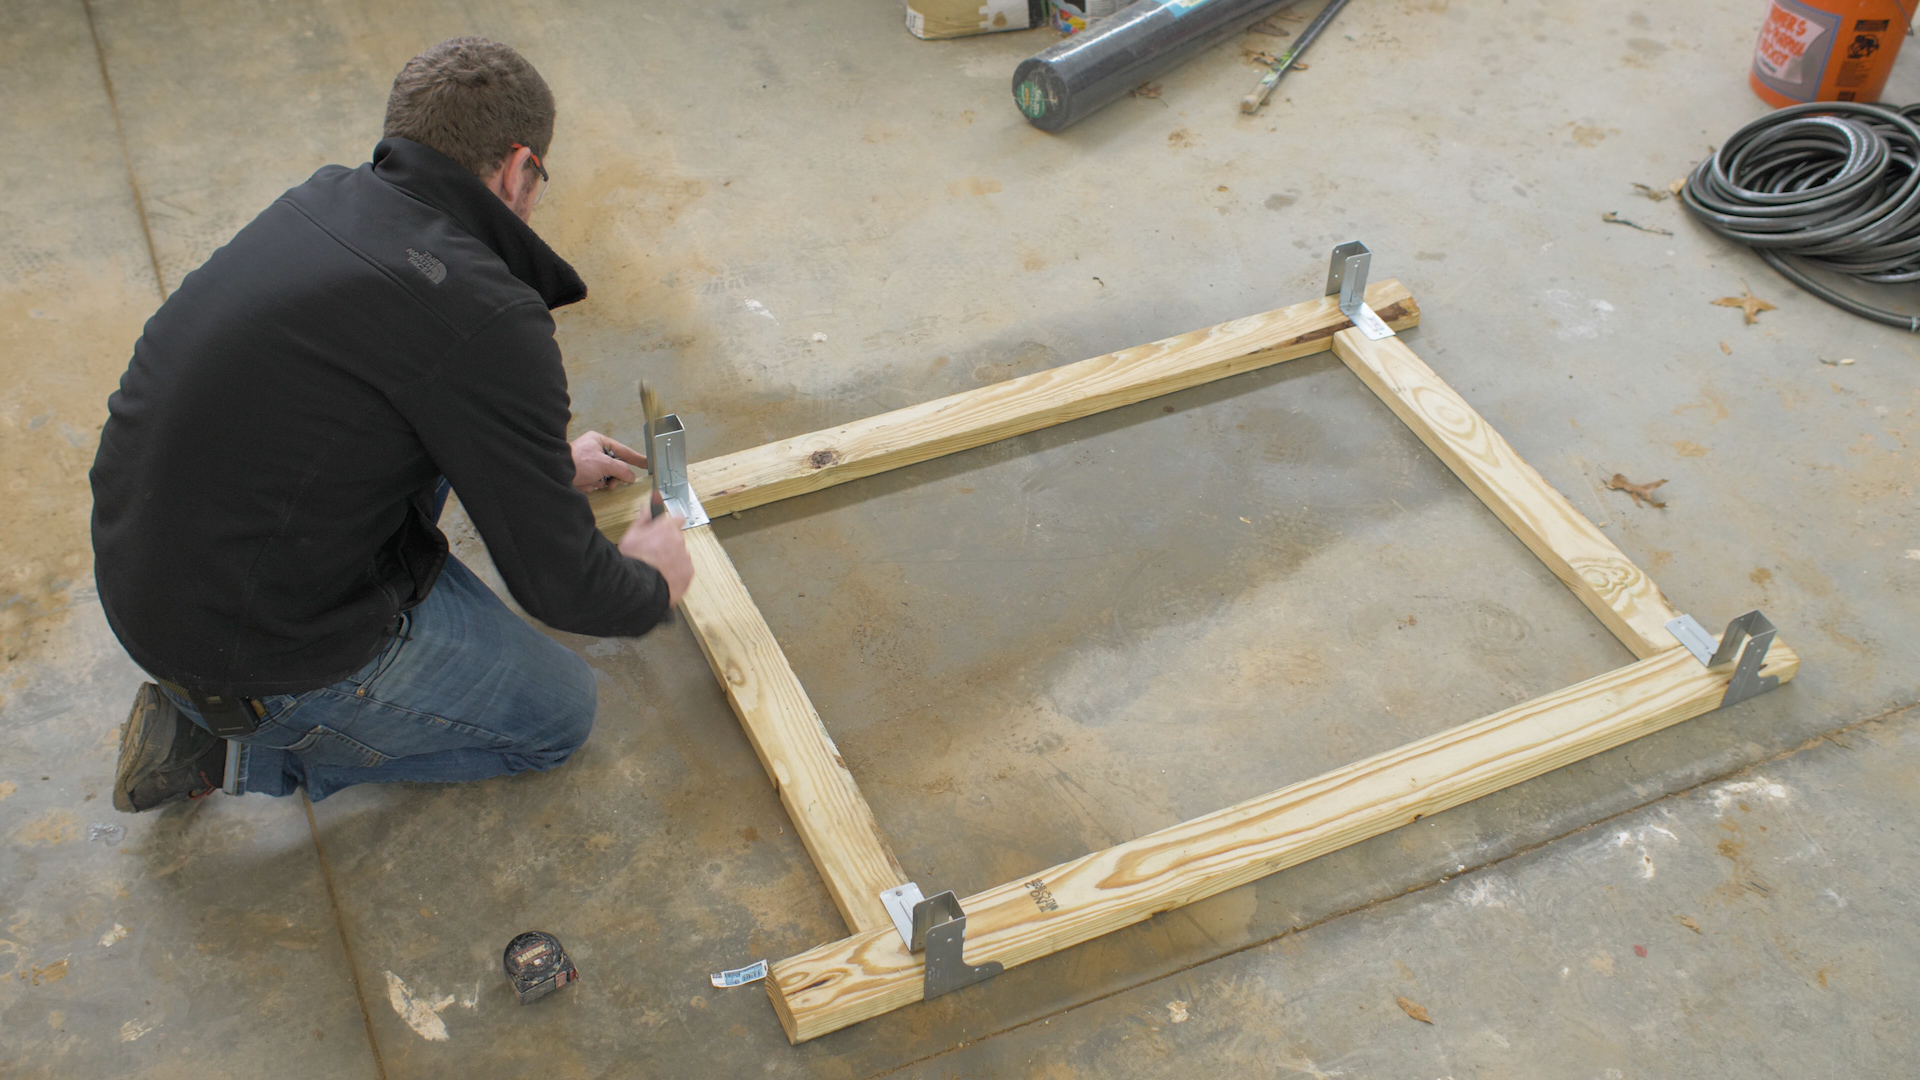
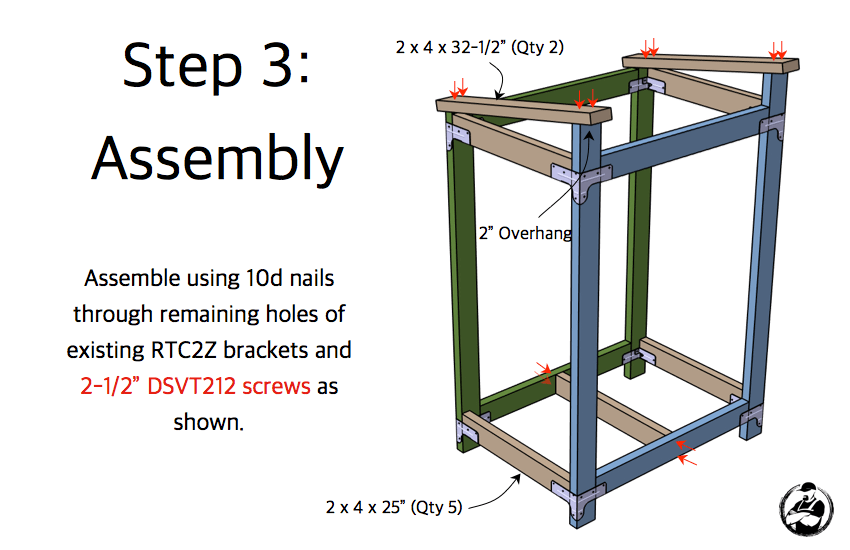
Step 3: Assemble using 10d nails through RTC2Z connectors
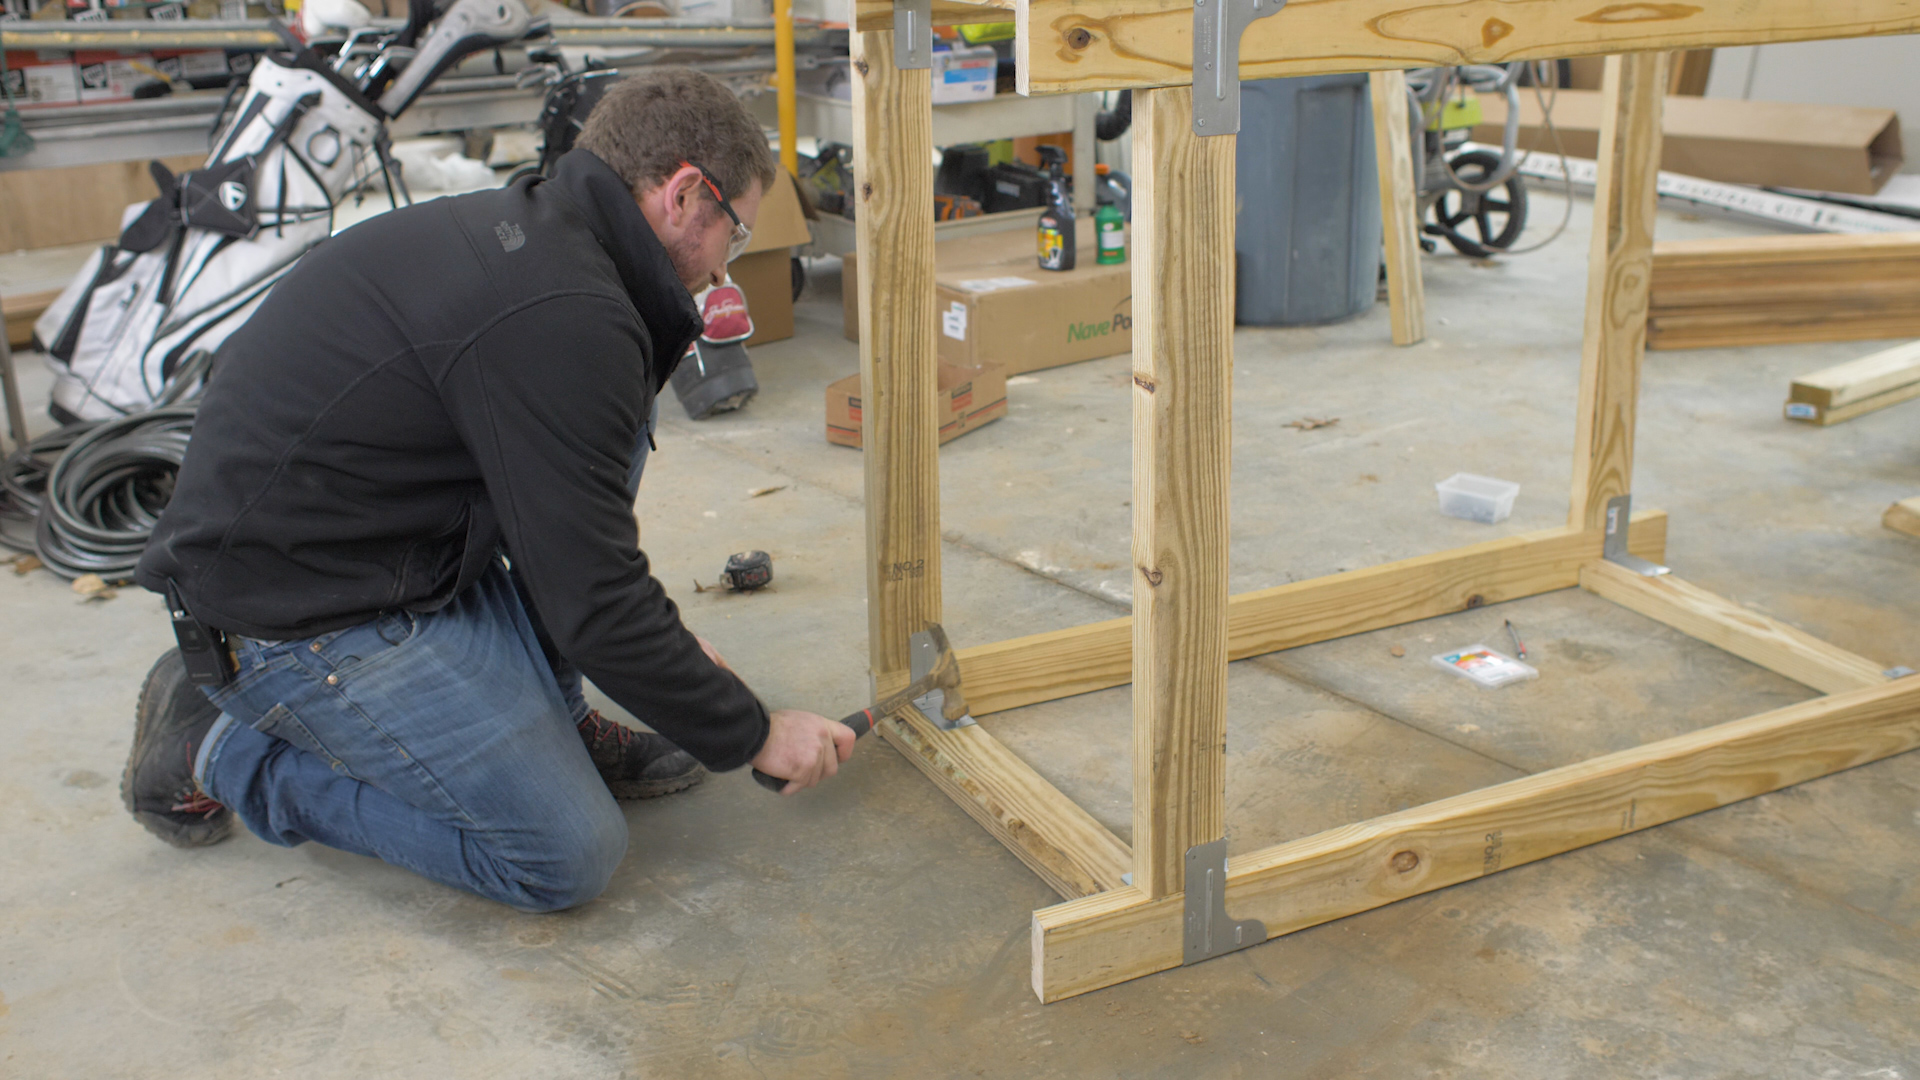

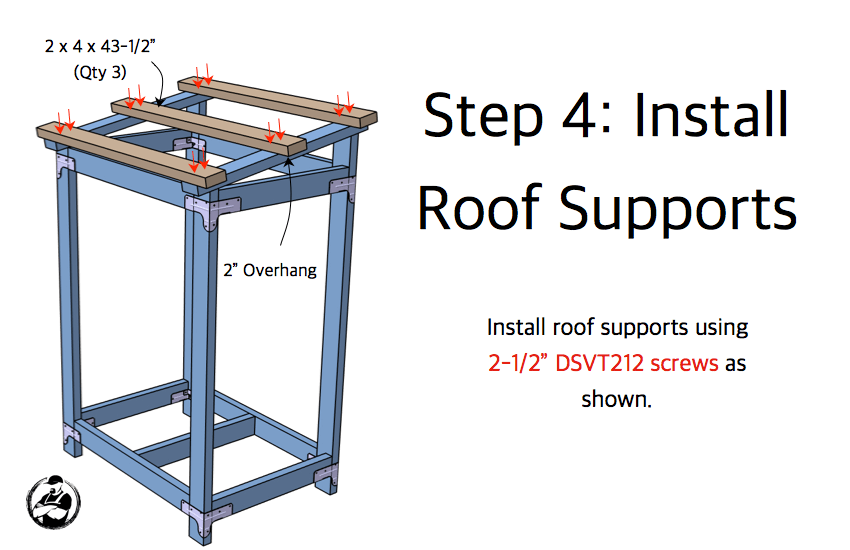
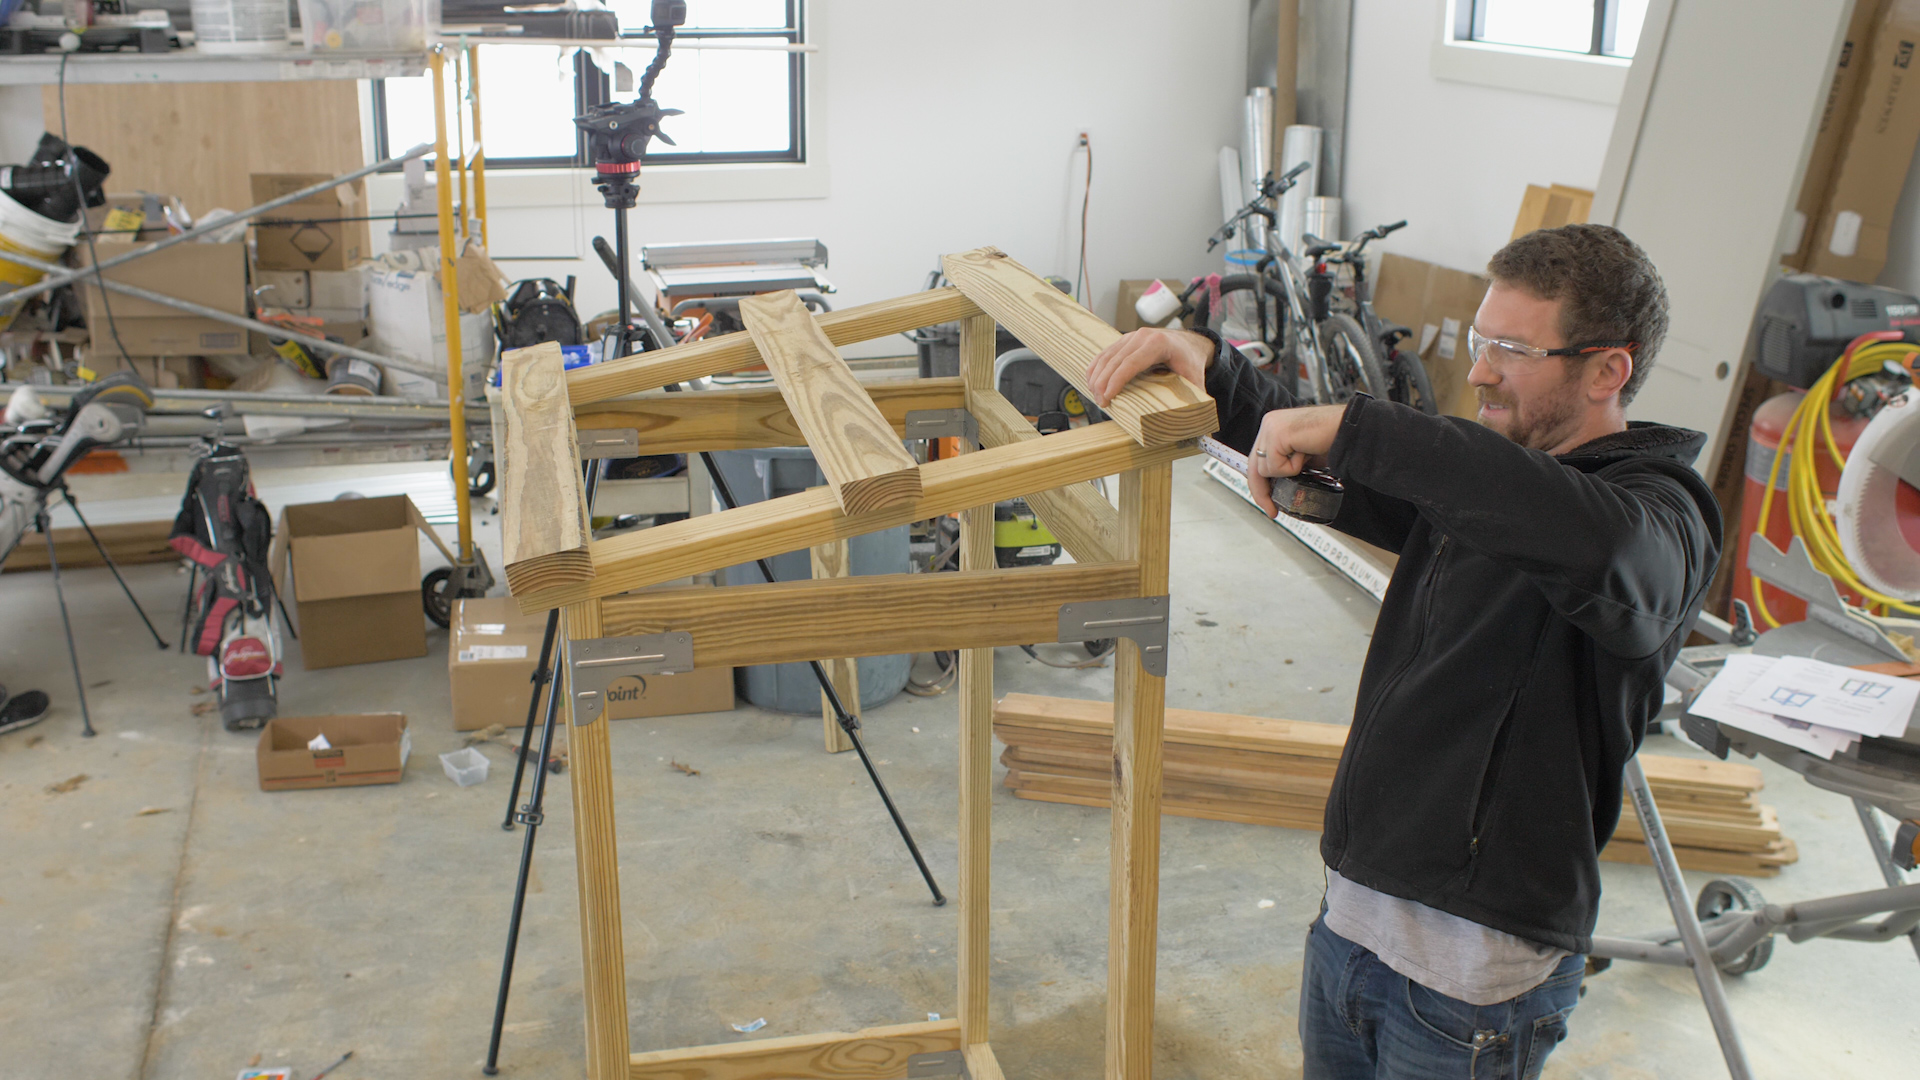
Step 4: Install roof supports
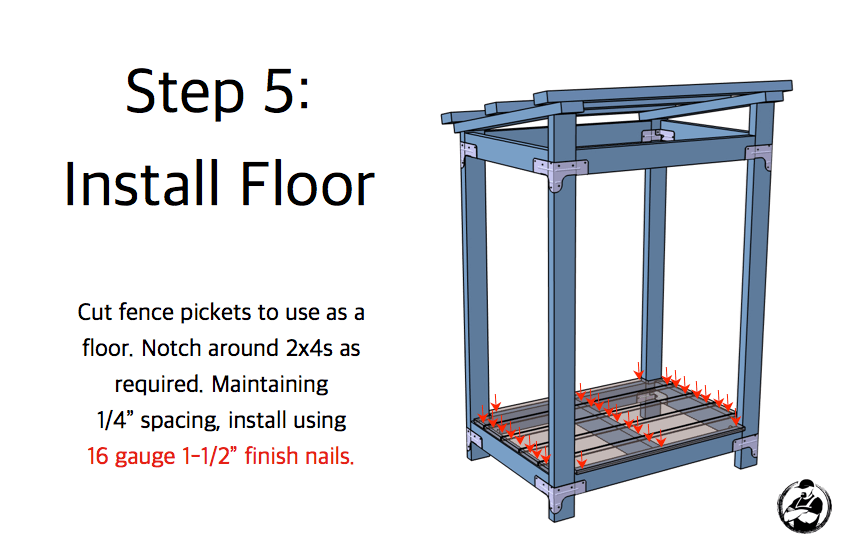
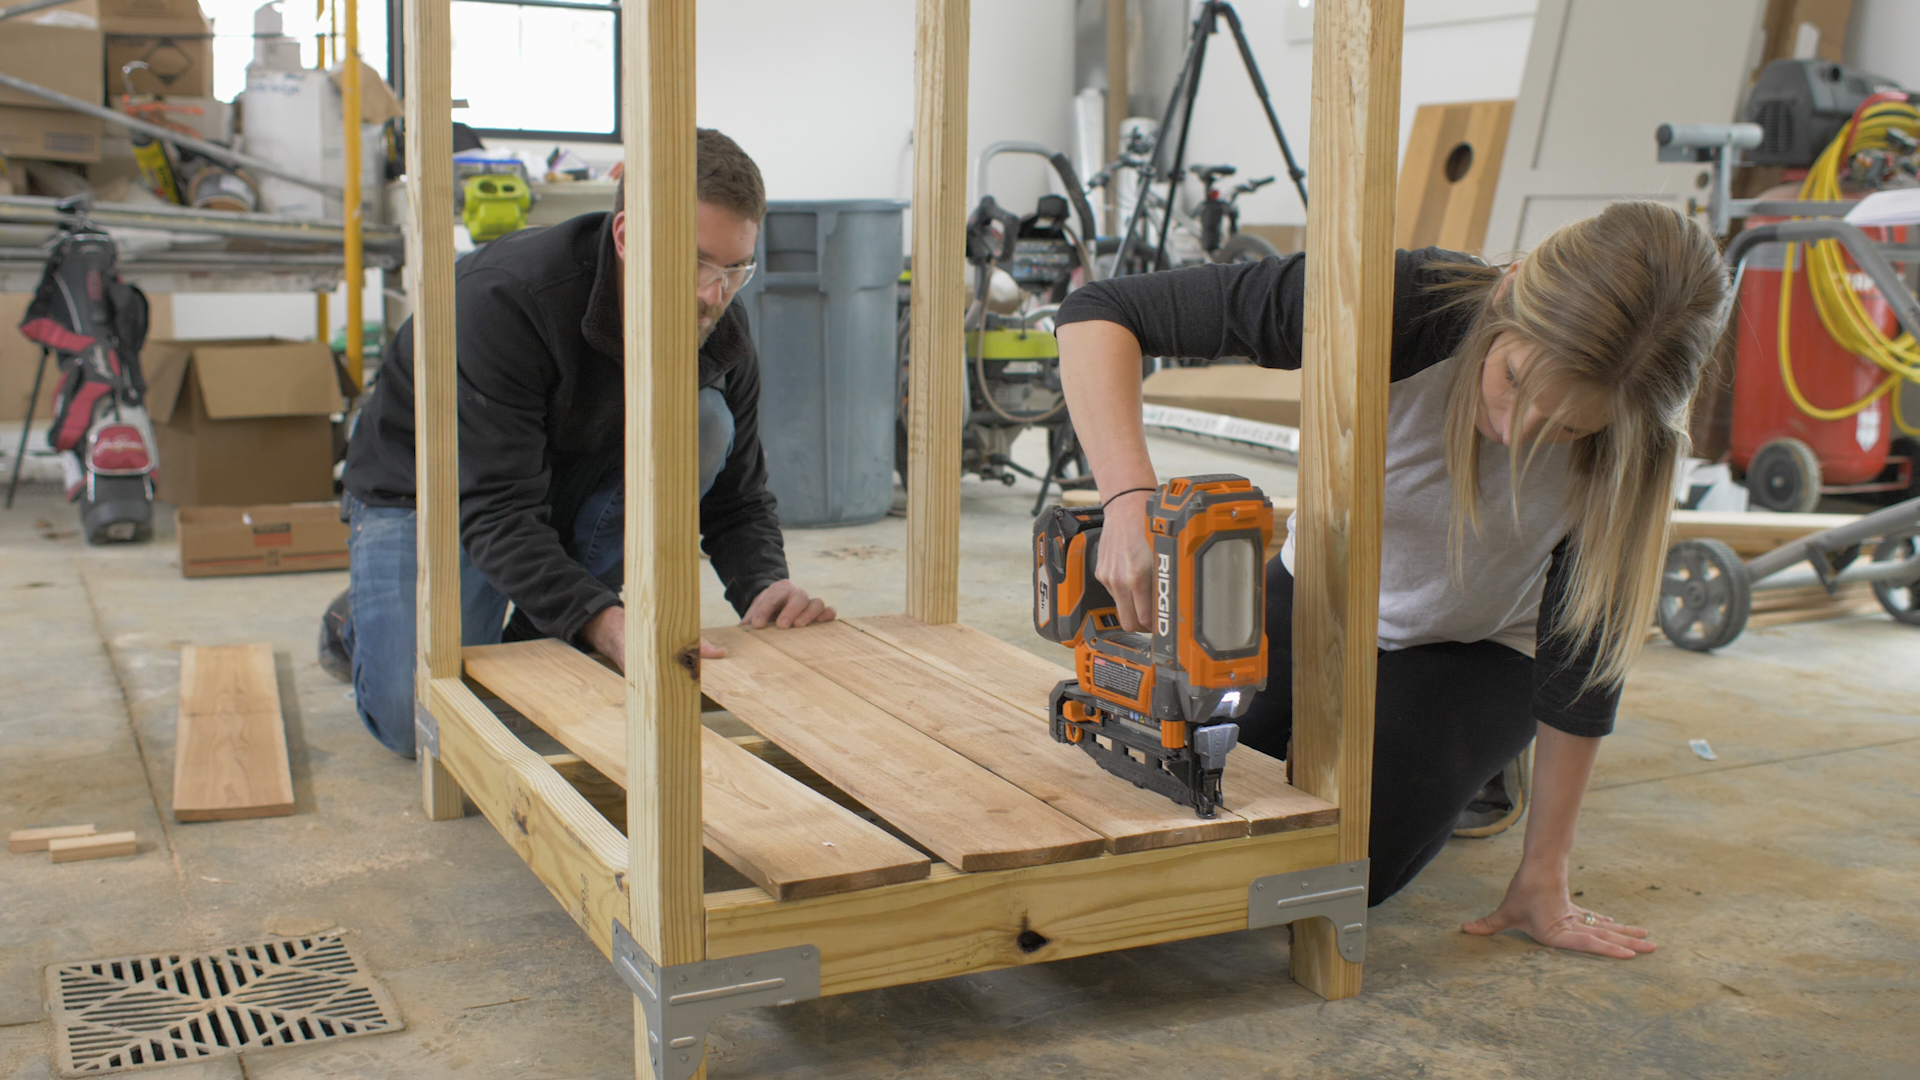
Step 5: Install floor
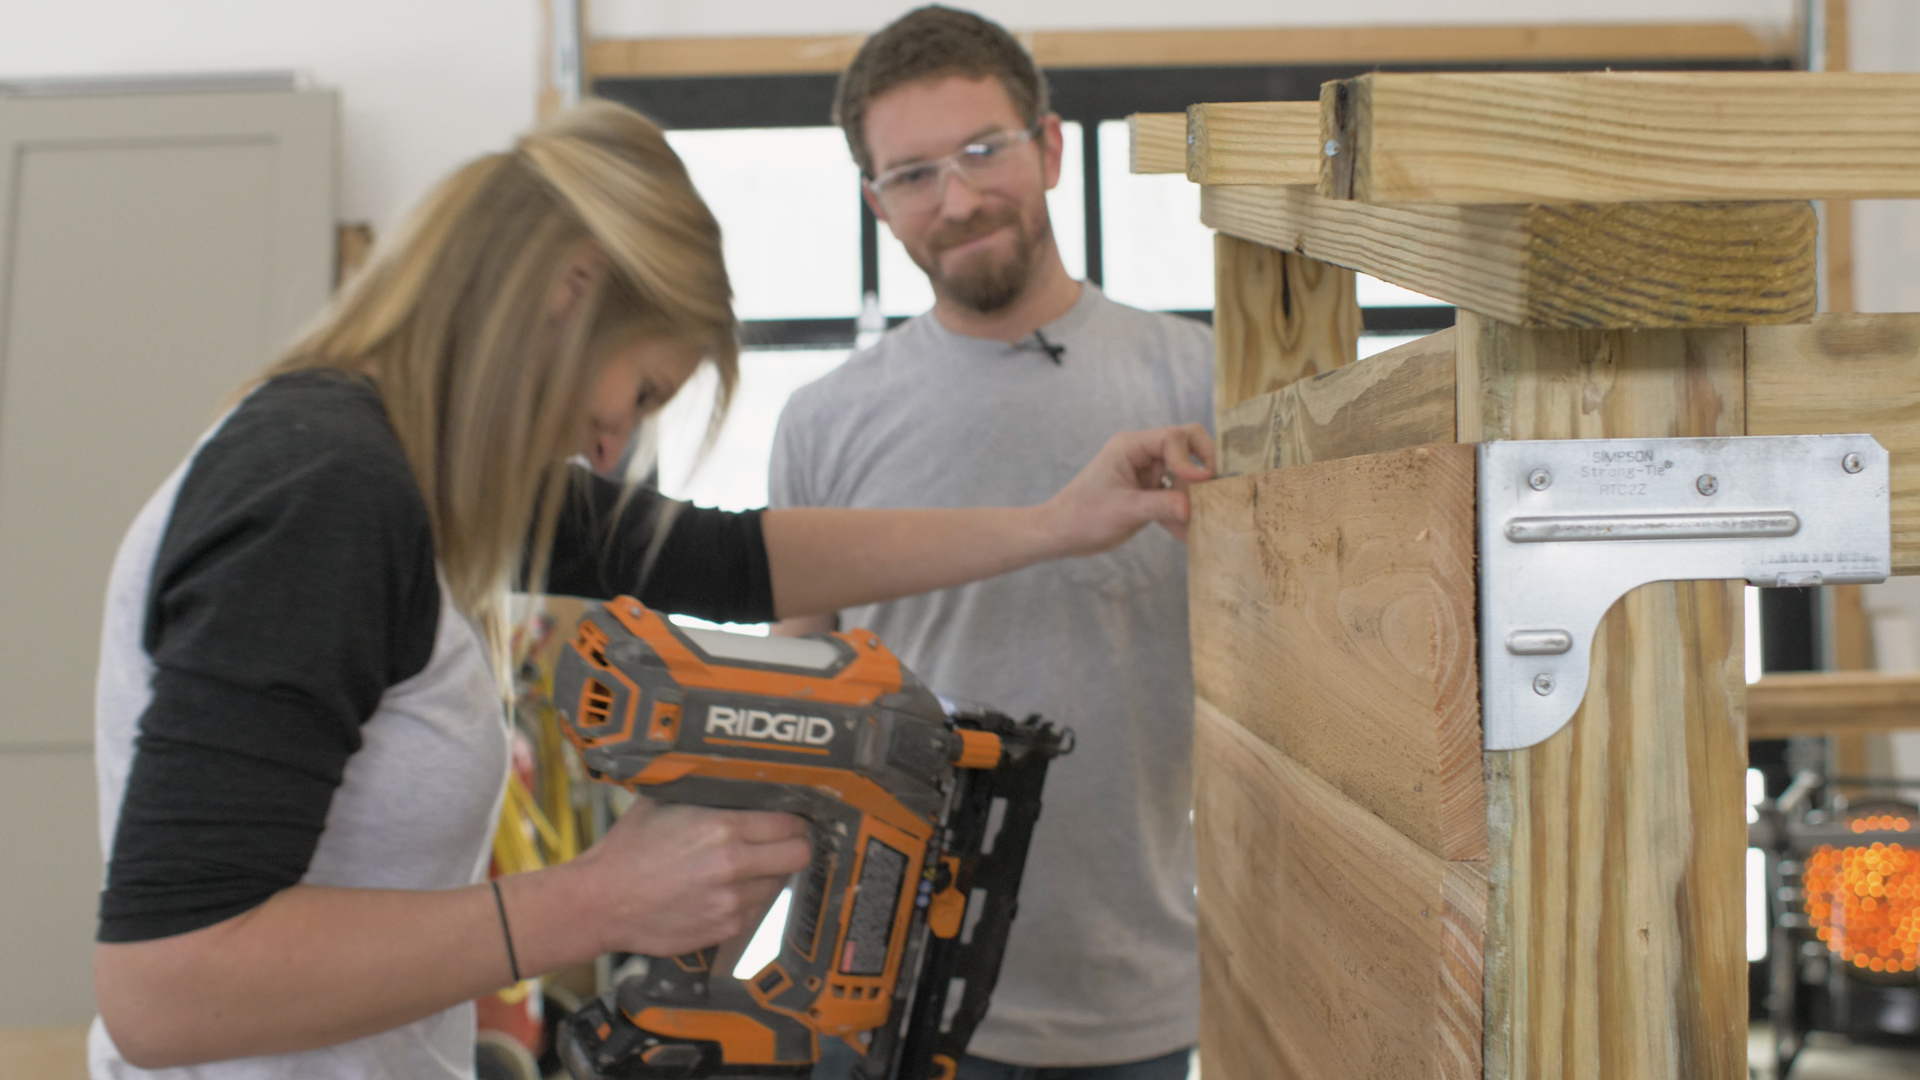
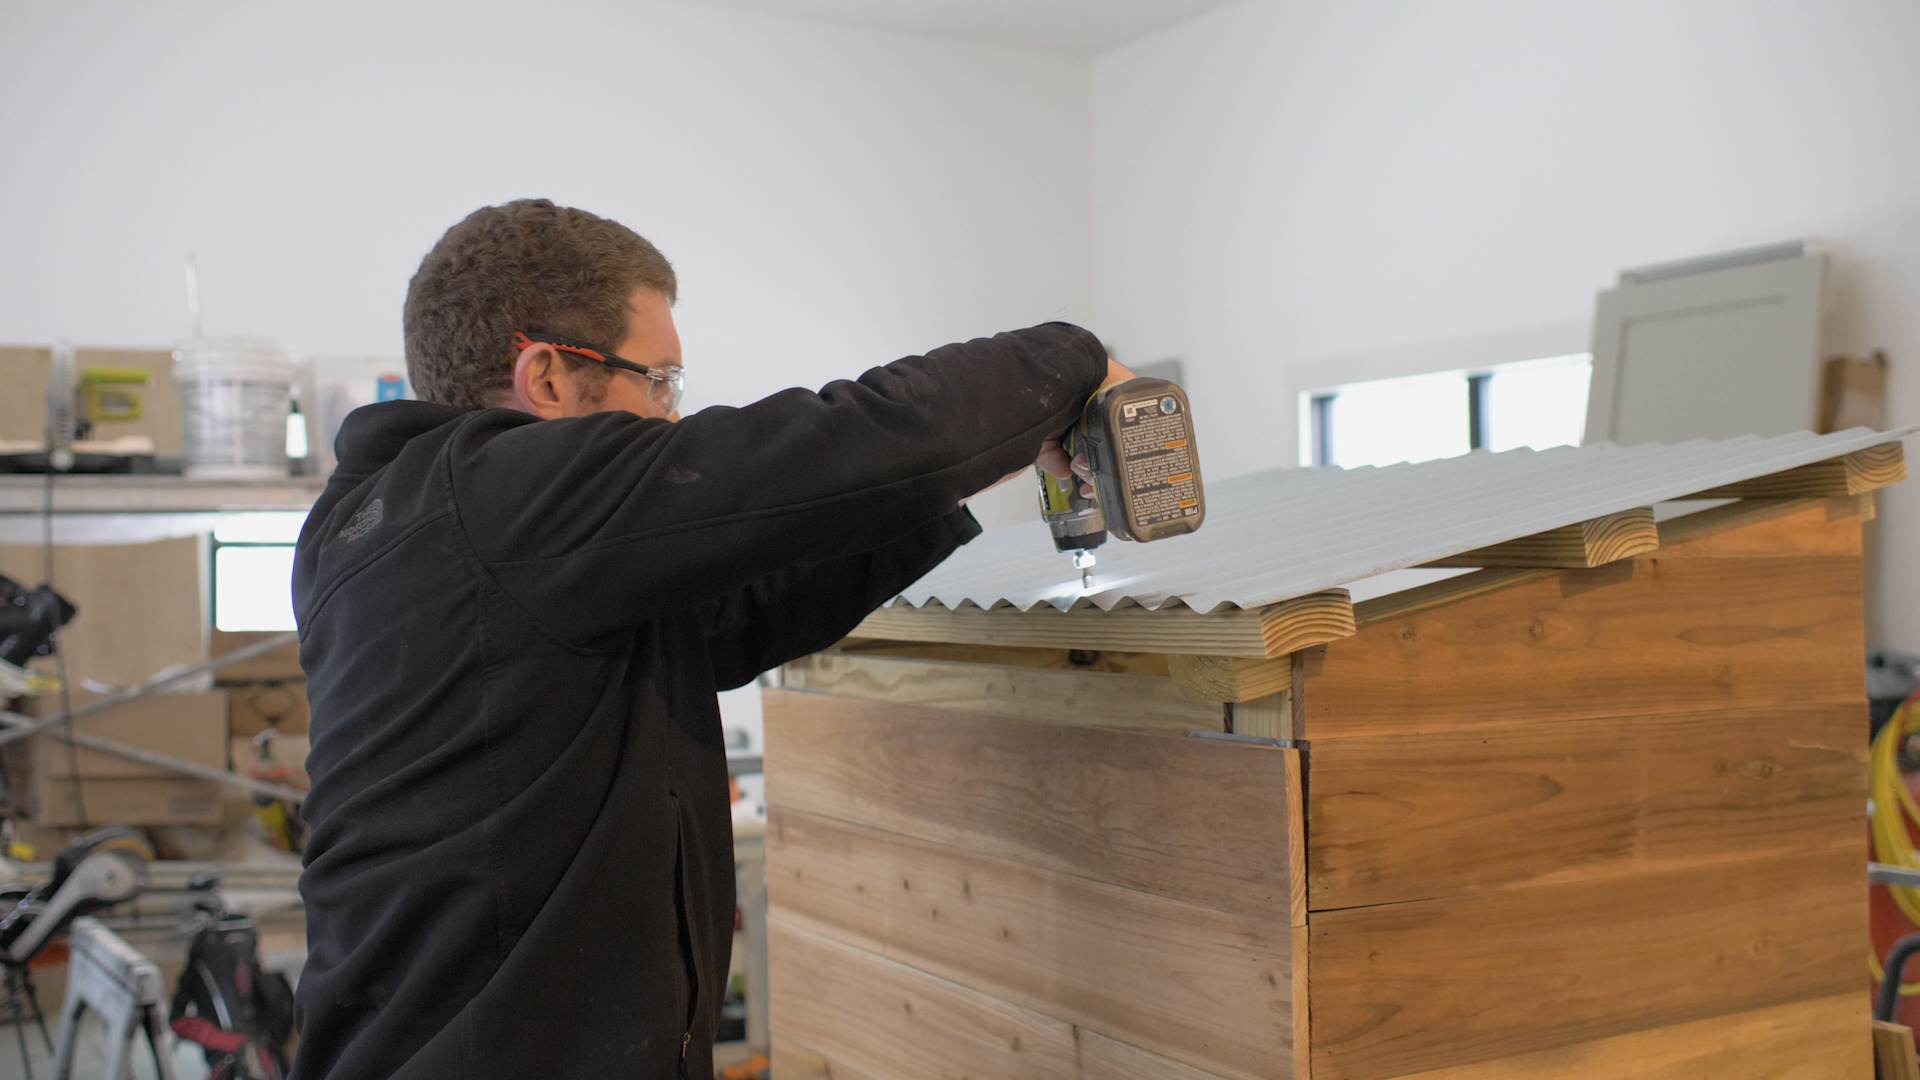
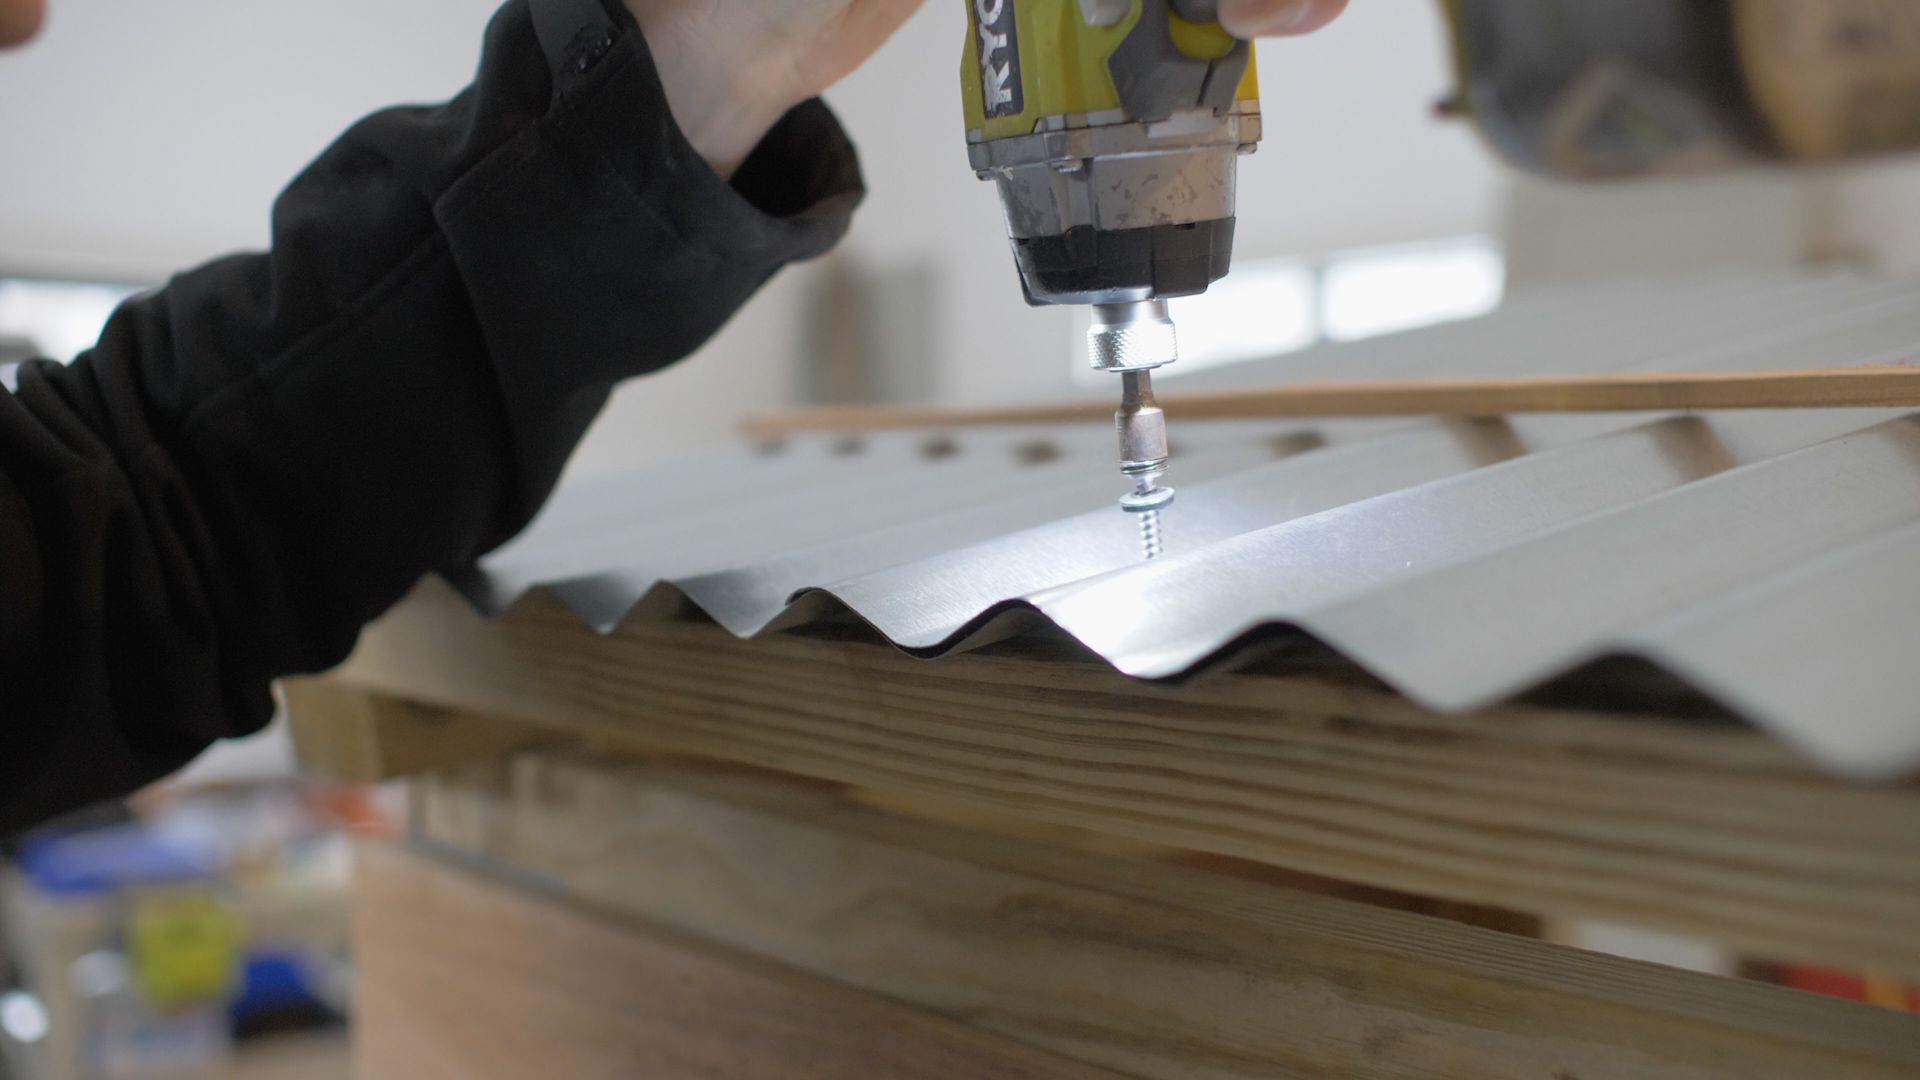
Step 6: Attach roof and siding
