
For the last two years, my kayaks and canoe have been tucked under the patio — leaning, lounging and collecting dust, leaves and the occasional spider. Not exactly the welcoming backyard vibe I was going for. So, this spring, I finally did something about it: I built a freestanding kayak/canoe rack!
I wanted something sturdy, weather-resistant and, most importantly, easy to access. So I teamed up with Simpson Strong-Tie to make this build simple and strong with the help of their connectors and fasteners.

Tools and Materials Used in This Project
- Drill
- Paint sprayer
- Metal circular saw blade
- Level
- Clamps
- Circular saw
Hardware Needed
*These also come with a black powder-coat finish as part of the Simpson Strong-Tie® Outdoor Accents® decorative hardware line
Lumber Used
- (14) pressure-treated 2x4s
- (2) pressure-treated 4x4s

Kayak/Canoe Rack being built
The Build
I used pressure-treated lumber and a few key fasteners and connectors from Simpson Strong-Tie and added a simple corrugated metal roof to keep everything nice and dry.
Here’s what I love about this build:
- It’s freestanding, so you don’t need to mount it to your house or drill into your garage walls.
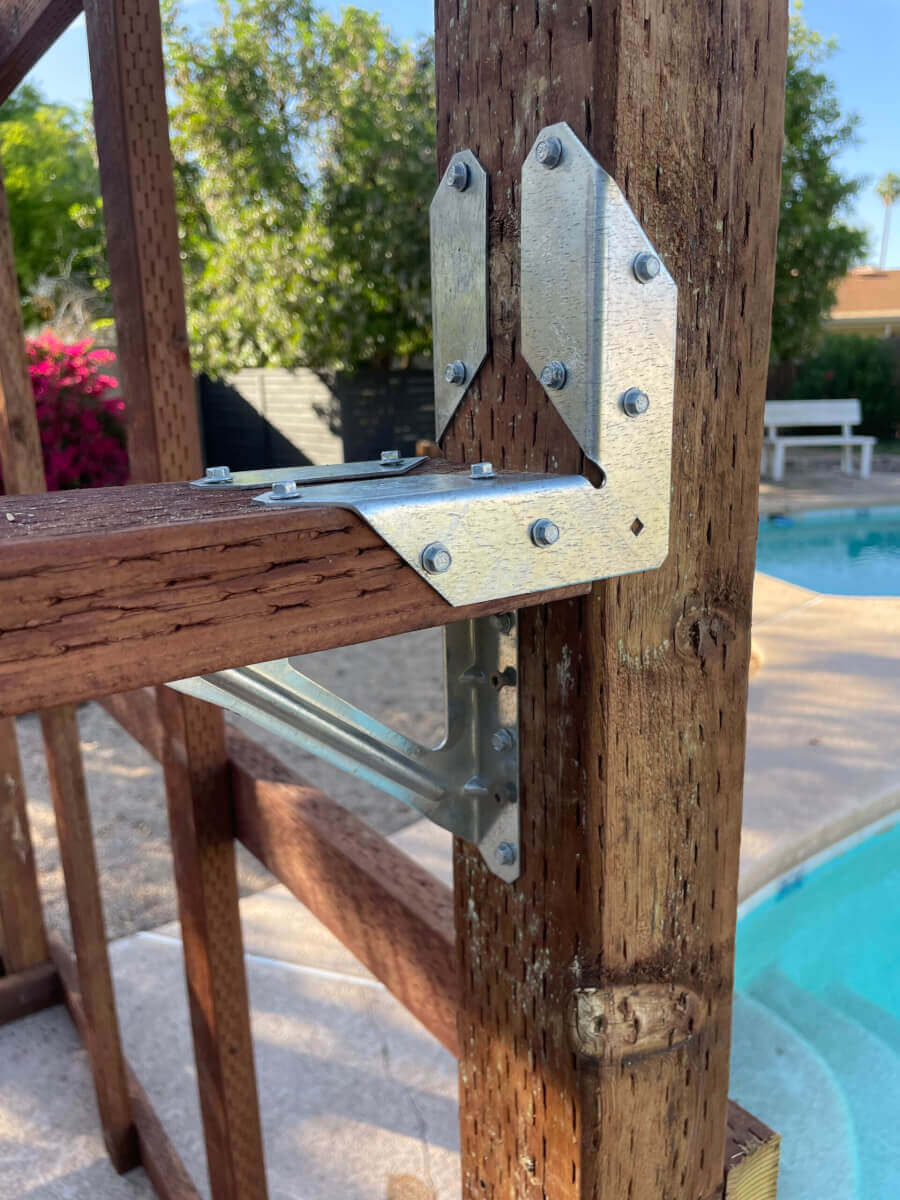
- The Simpson Strong-Tie connectors made assembly straightforward and sturdy.
- There’s a roof! Because we all know sun and rain aren’t kind to plastic or wood over time.
- Bonus: It actually looks good in the yard!
From framing the base to installing the angled support arms and roofing panels, this was one of those weekend projects that felt rewarding. I even brought out the paint sprayer for a sleek black finish. 
If You Want to Build Your Own …
Whether you’ve got a pile of paddle gear collecting dust or just want to get your outdoor space a little more organized, I’ve got you covered. Check out my YouTube video below to watch the complete step-by-step build. You can also get the build plans on my blog.


