
Materials
- 4×4 cedar-toned pergola posts (lengths according to design, 10′ for this build)
- Galvanized, black powder-coated screws (included in the Sage System kit)
- 10′ x 10′ Sage-Shade™ pergola sunshade (optional , for overhead cover)
- Outdoor rug (optional, for finishing touches)

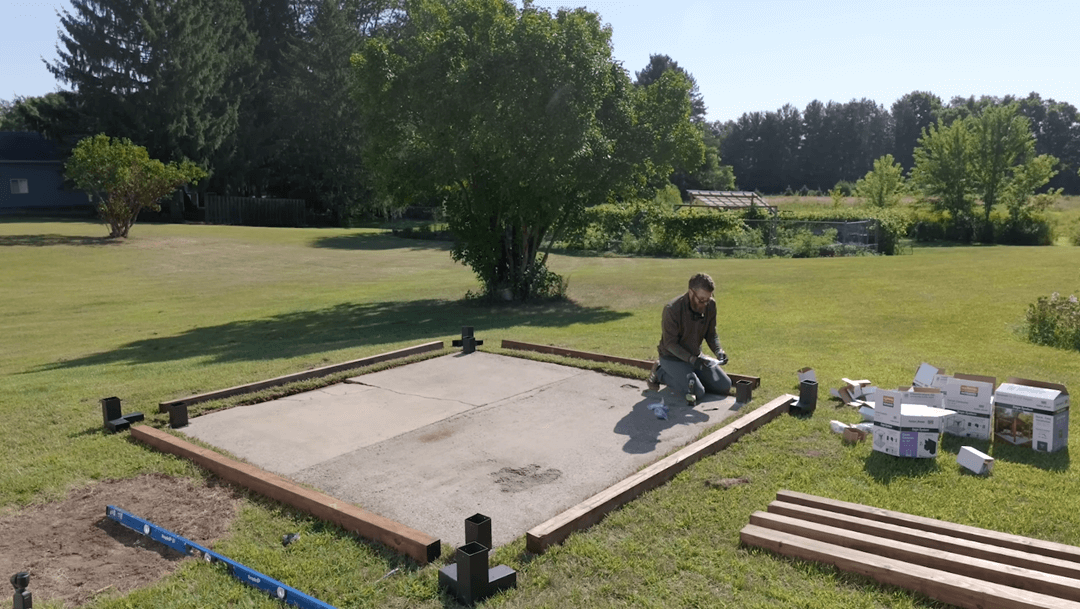
Pergola Build in Progress
Tools
- Drill driver with hammer function
- Masonry drill bit (for concrete)
- Level
- Measuring tape
- Ladder
- Pencil or marker for layout
- Safety gloves
- Safety glasses
Pergola Build
Jamison set out with an ambitious goal: build a 10×10 pergola completely on his own in two hours using only a drill driver. Sounds impossible? Not with the Outdoor Accents® Sage System™ DIY pergola from Simpson Strong-Tie. The project was for his friend Dave, who had limited time for home projects due to work travel, and he intended the pergola as a gift for Dave and his wife, Sarah.

Jamison started by laying out the wooden posts on the ground and then secured the pergola post bases with Titen Turbo® 1/4″ concrete and masonry screw anchors. To connect the beams together, he used the Sage-C corner connector and the Sage-T middle-T connector. The Sage-C connector has three-way 90° angles, making it super easy to join two beams to a post with strong, straight corners. The Sage-T connector was great for spots where three beams meet at the post, keeping everything sturdy and perfectly aligned. Both connectors are DIY-friendly and install quickly with Outdoor Accents color-matched screws for a clean, finished look.

To top it off, Jamison added a Sage-Shade™ sunshade (sold separately) to the pergola top, creating the perfect shaded retreat for sunny days. He also placed a 10′ x 10′ outdoor rug to define the space and planned to finish it off with outdoor furniture. The Sage pergola system allowed him to complete the project alone in about two hours using just a single tool. Depending on where the connectors are purchased, the total cost could stay under $1,000, making it an affordable backyard upgrade. This project shows that with smart planning and the right connectors and fasteners, you can transform your backyard quickly and easily.
Watch Jamison race the clock on this pergola build:


