

DIY Garden Bench with Outdoor Accents® APRTA Rigid Tie® Angles Rigid Tie® connectors have long been favorites of customers who use them on a wide assortment of projects, like work benches, planter boxes and outdoor tables. Now, four Rigid Tie models, featuring a beautiful, black powder-coat finish, have been added to the Outdoor Accents® decorative hardware line. We recently built a garden bench with the new APRTA2 angles and a customizable mobile cart with the APRTC2 corner connectors. You can find free plans for those and many other projects here.

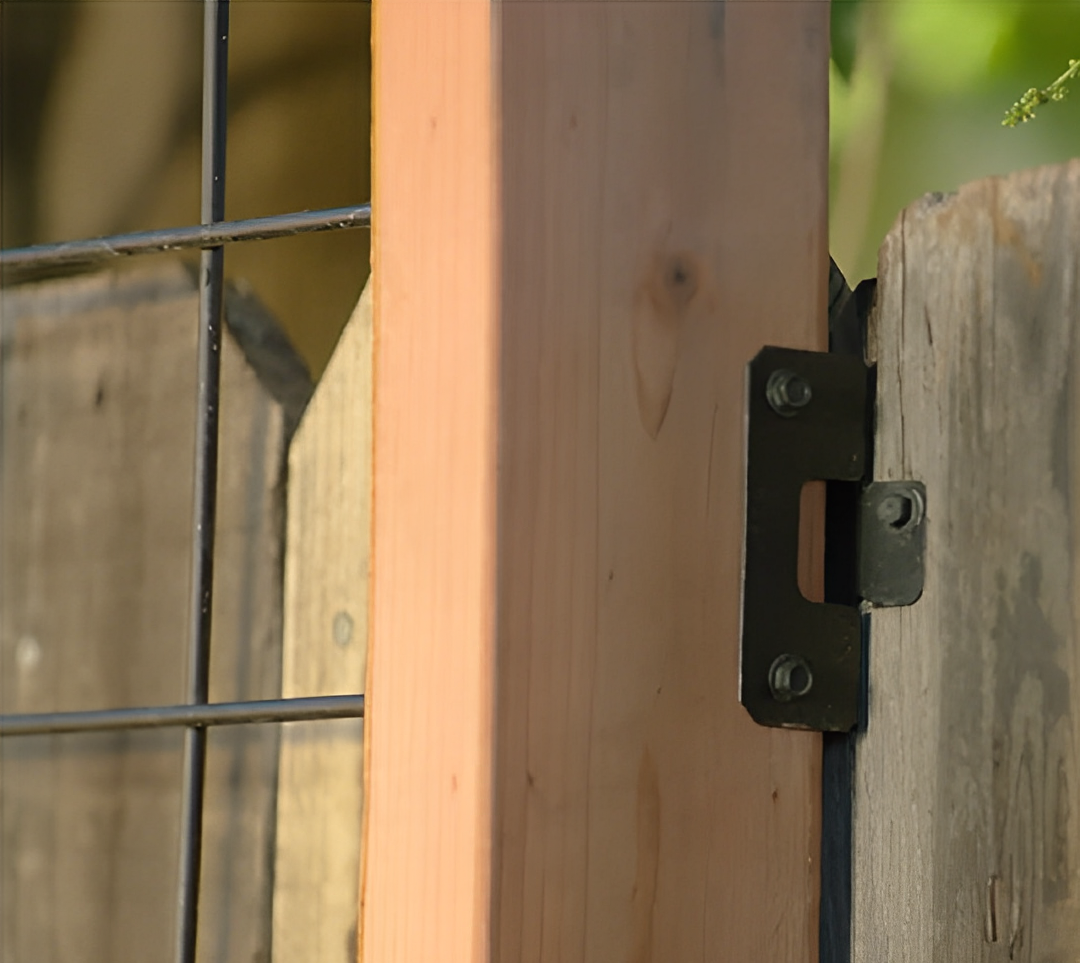
For our new fence trellis project, the homeowner wanted a solution that would provide added privacy and an opportunity for climbing plants to enhance the appearance of the fence. We decided on a customizable fence trellis built with the Outdoor Accents APRTR decorative Rigid Tie rail connector. We also used APRTR connectors to attach the trellis to the fence.
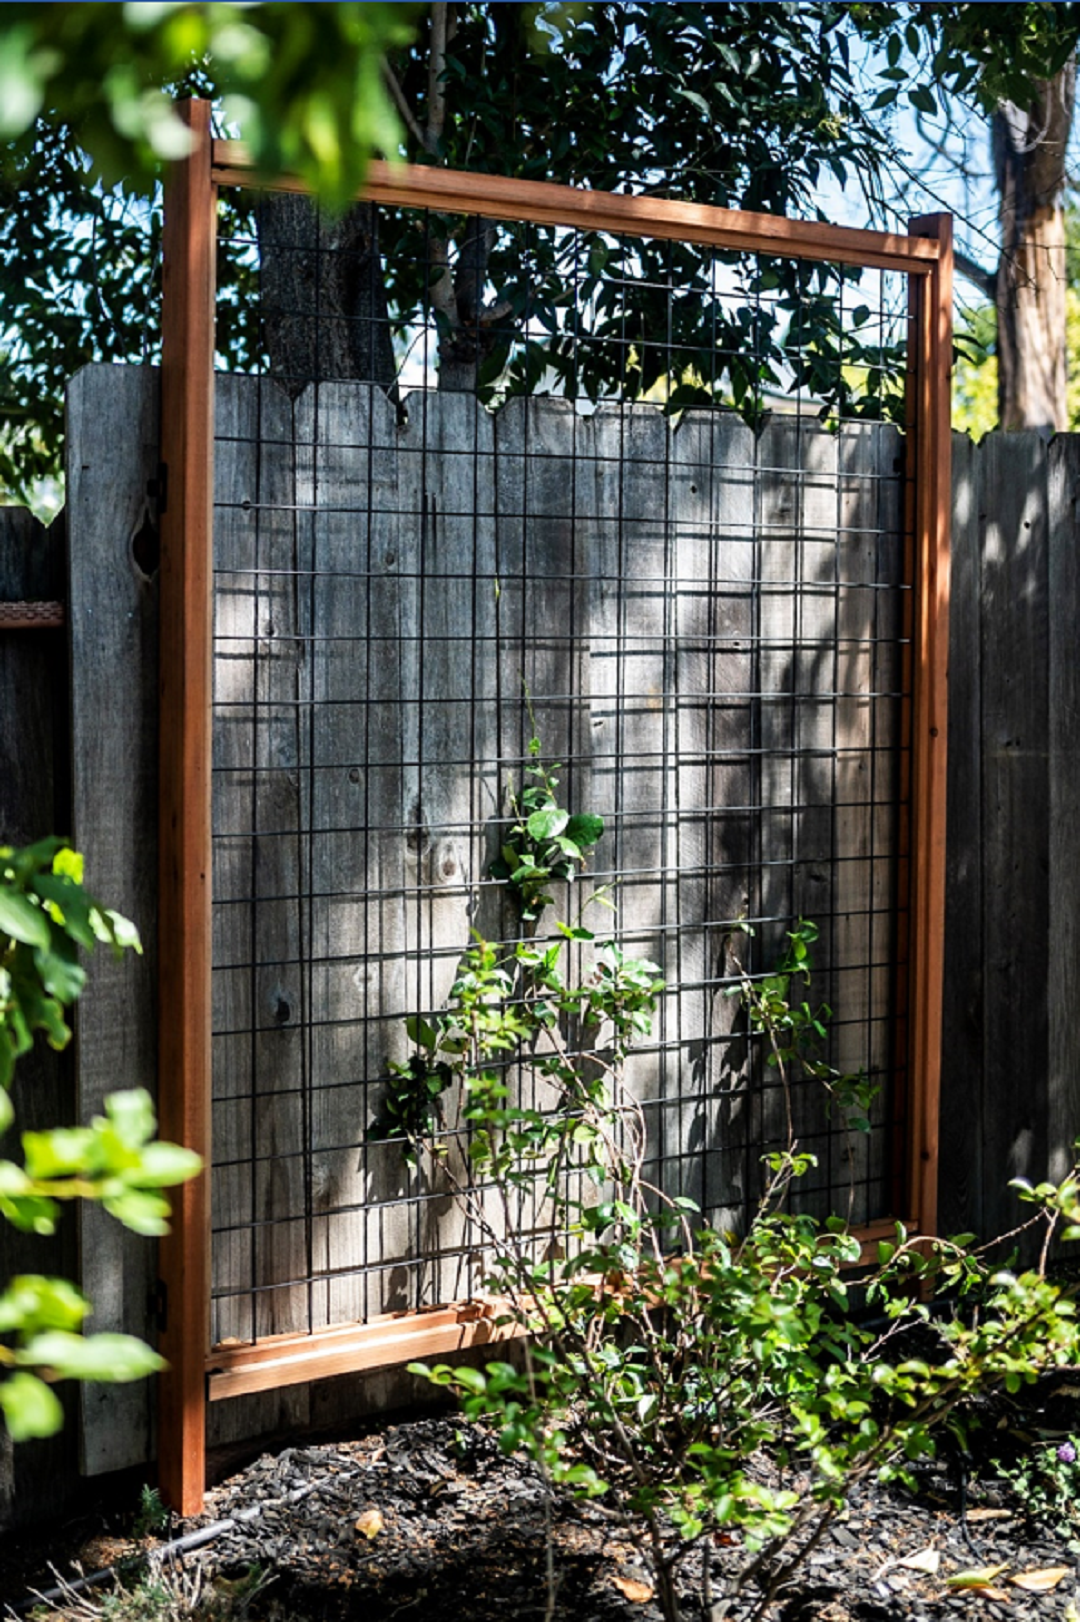
As an added bonus, this trellis can be customized to any size you want. For our project, we built a 5’ x7’ trellis. Here’s our materials list:
(1) 2×4 x 10’ redwood
(2) 2×4 x 8’ redwood
(8) 1×1 x 8’ redwood
(1) 5×6 hog wire panel
(8) APRTR decorative Rigid Tie® rail connectors
1 box Outdoor Accents® connector screws (SD10112DBB)
Finish galvanized nails
Instructions
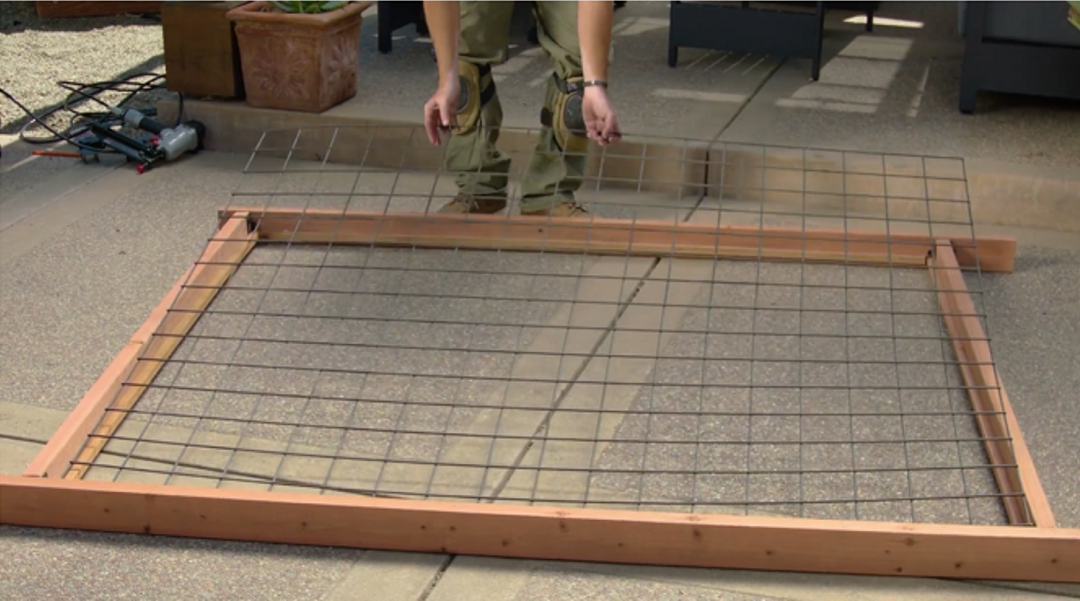
- Cut wood to size. Our vertical 2x4s are 7’ tall and the horizontal 2x4s are 5’ long. For the framing around the hog wire, we cut the 1×1 lumber into two 5’ pieces and two 5’10” pieces.
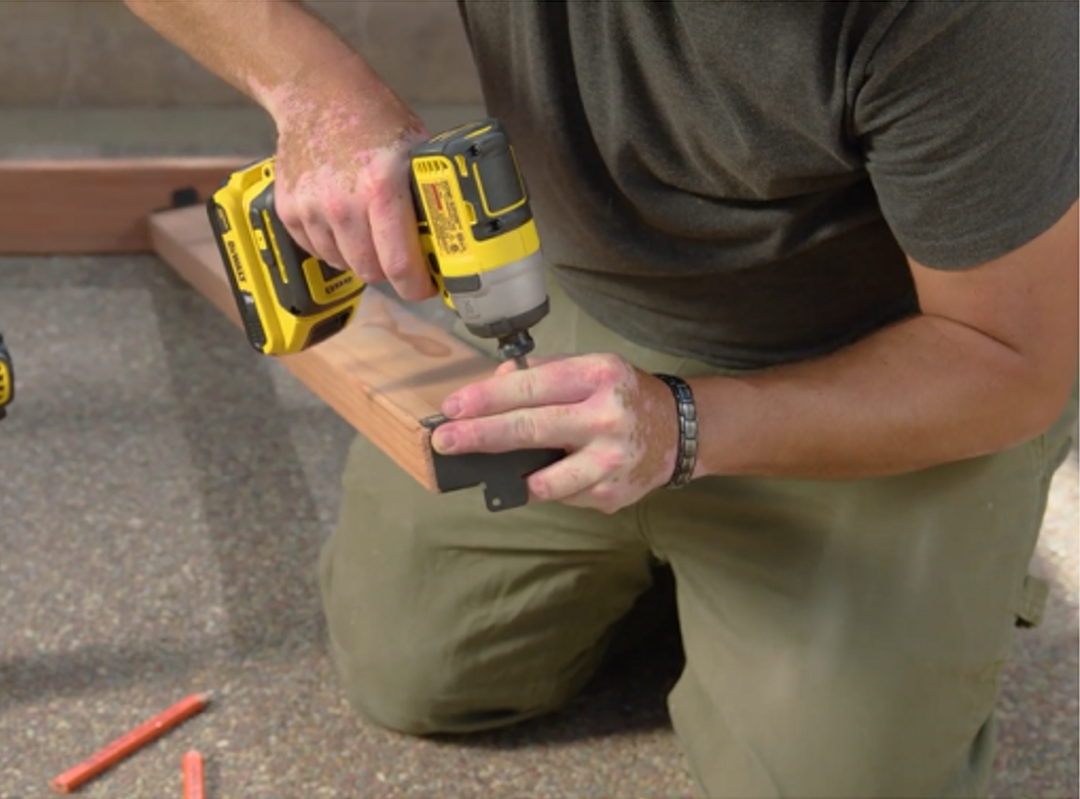
2. Attach the APRTR rail connectors to the ends of the horizontal pieces using 1 1/2” screws.
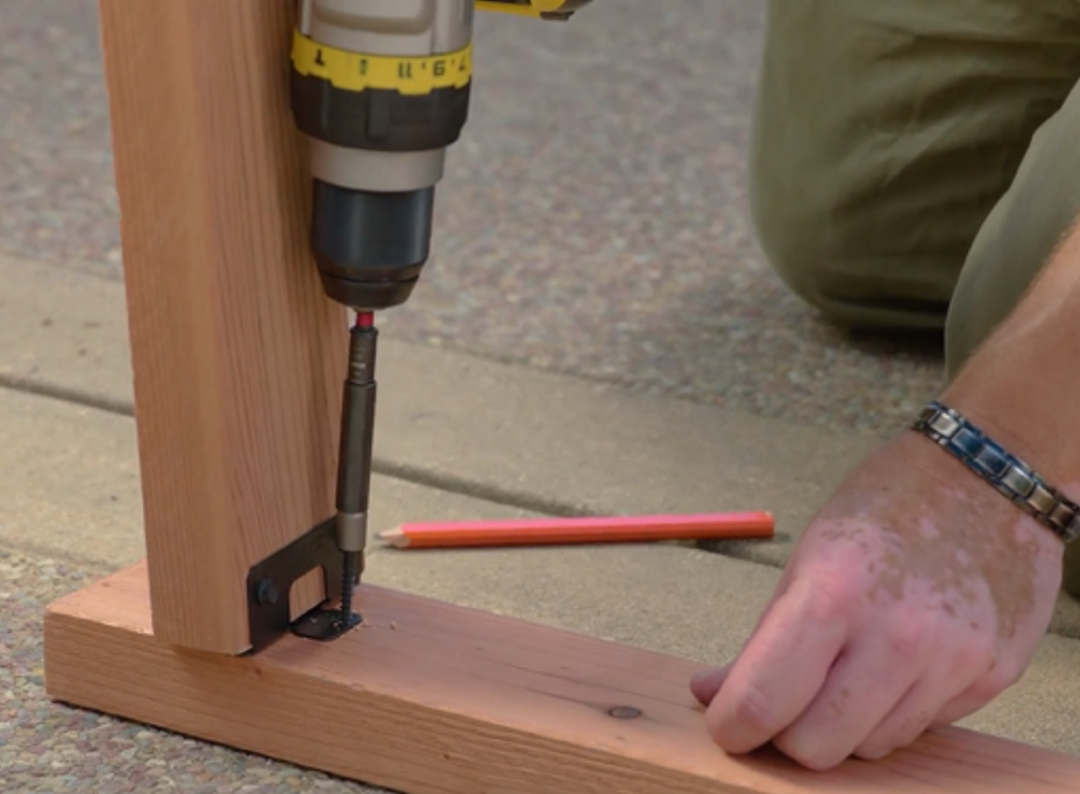
3. Attach the connectors to the vertical members to assemble the frame.
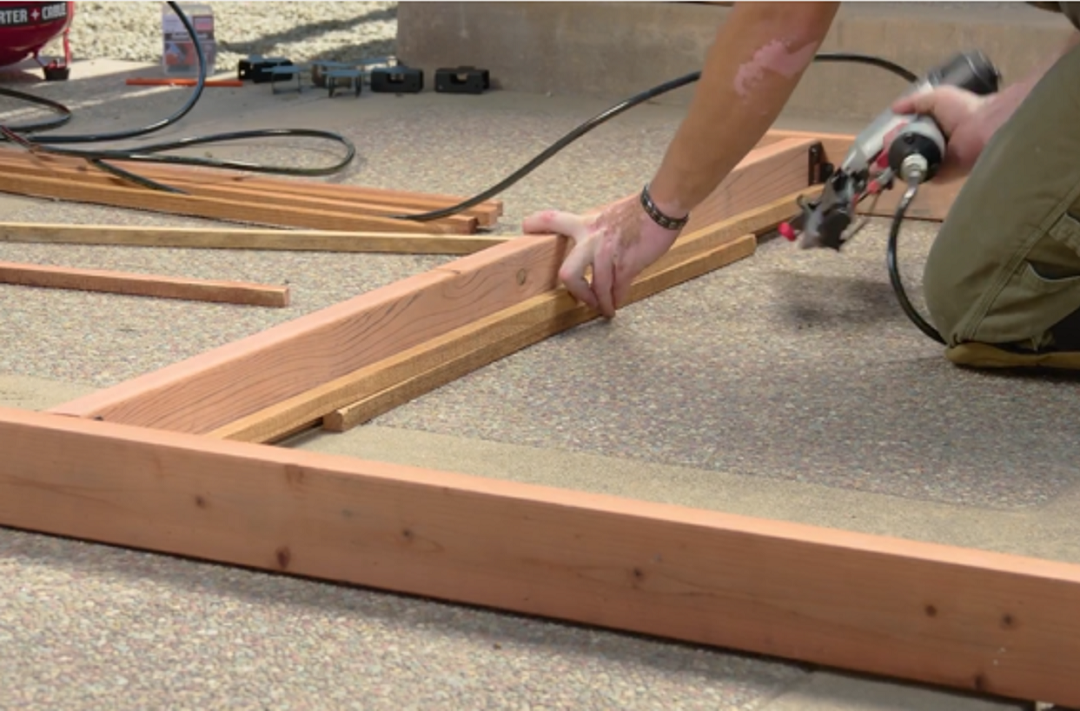
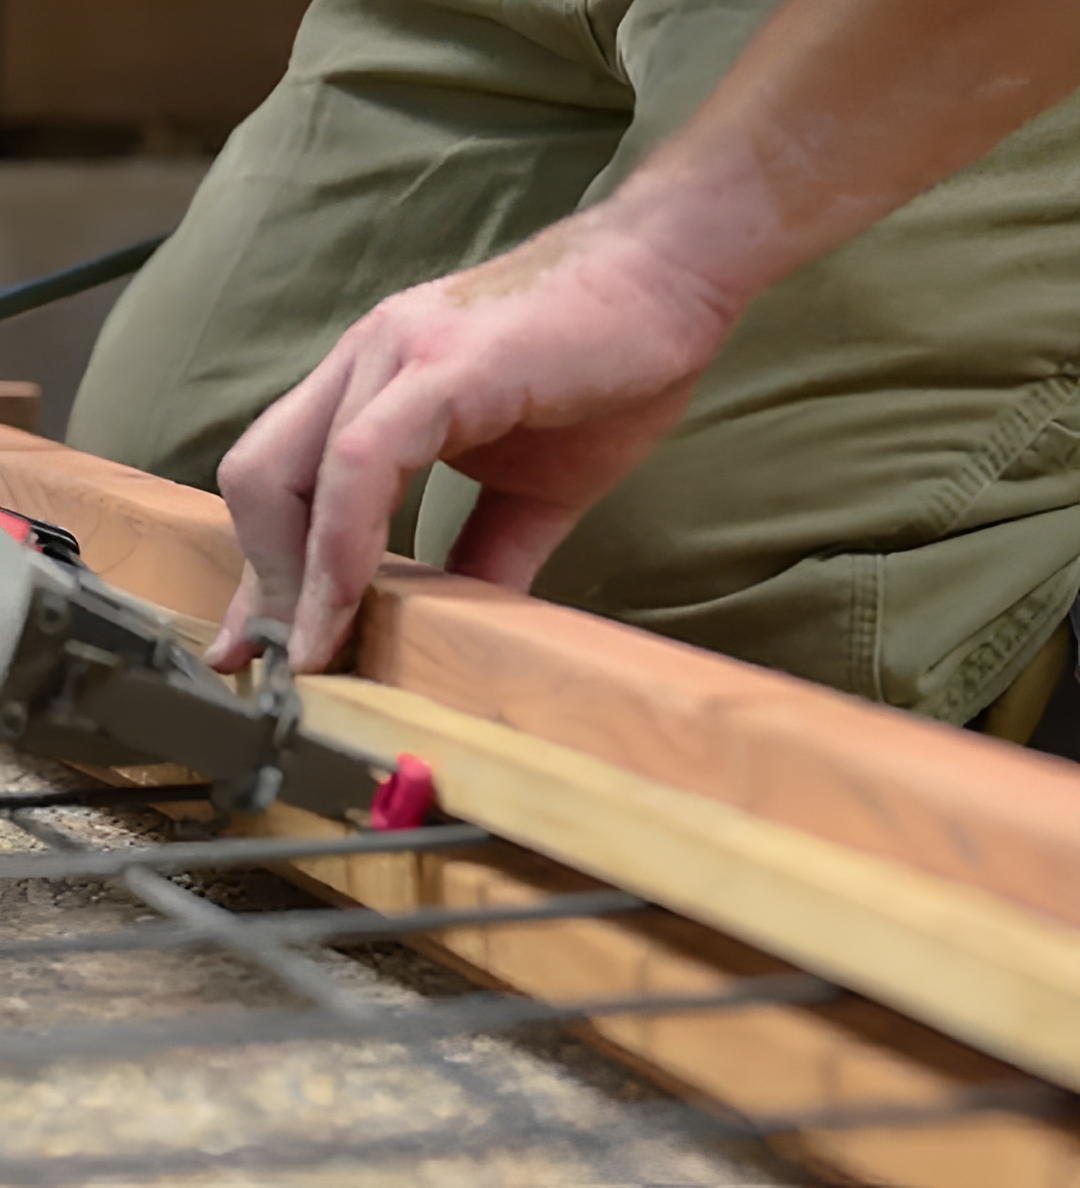
4. Attach the 1×1 top and sides on one side using finish nails. (Tip: Use a piece of scrap 1×1 underneath the piece you’re nailing for it to sit on.) We used a pneumatic nailer, but the 1x1s can be hammered or stapled into place, too.
5. Lay the hog wire panel onto the attached 1×1 lumber.
6. Attach the other 1×1 pieces using finish nails to sandwich the hog wire panel into place.
7. Attach the trellis to the fence using (4) APRTR rail connectors, —and you’re ready to plant.
You can watch the full video on how to build a Fence Trellis with our Outdoor Accents® APRTR Decorative Rigid Tie® rail connectors below!


