

Kurt Krasavage, the owner, lead designer, and project manager of Residential Imagineering, LLC
Background
I’m Kurt Krasavage, the owner, lead designer, and project manager of Residential Imagineering, LLC. We’re a small real estate investment company focused on renovating distressed properties for profit. With a background as a global sales leader for Autodesk, I followed my passion for real estate and entrepreneurship and started this venture in 2022. I love building tangible things and solving complex challenges. My childhood fascination with design and construction, combined with my father’s influence as a property developer, led me to pursue a degree in architectural engineering. After working as a structural engineer and later in sales, I found an adrenaline rush in the serial entrepreneurship of house flipping. Also, for every house that we buy or sell, we donate $1,000 to a local charity. Our focus is helping people and improving the community.
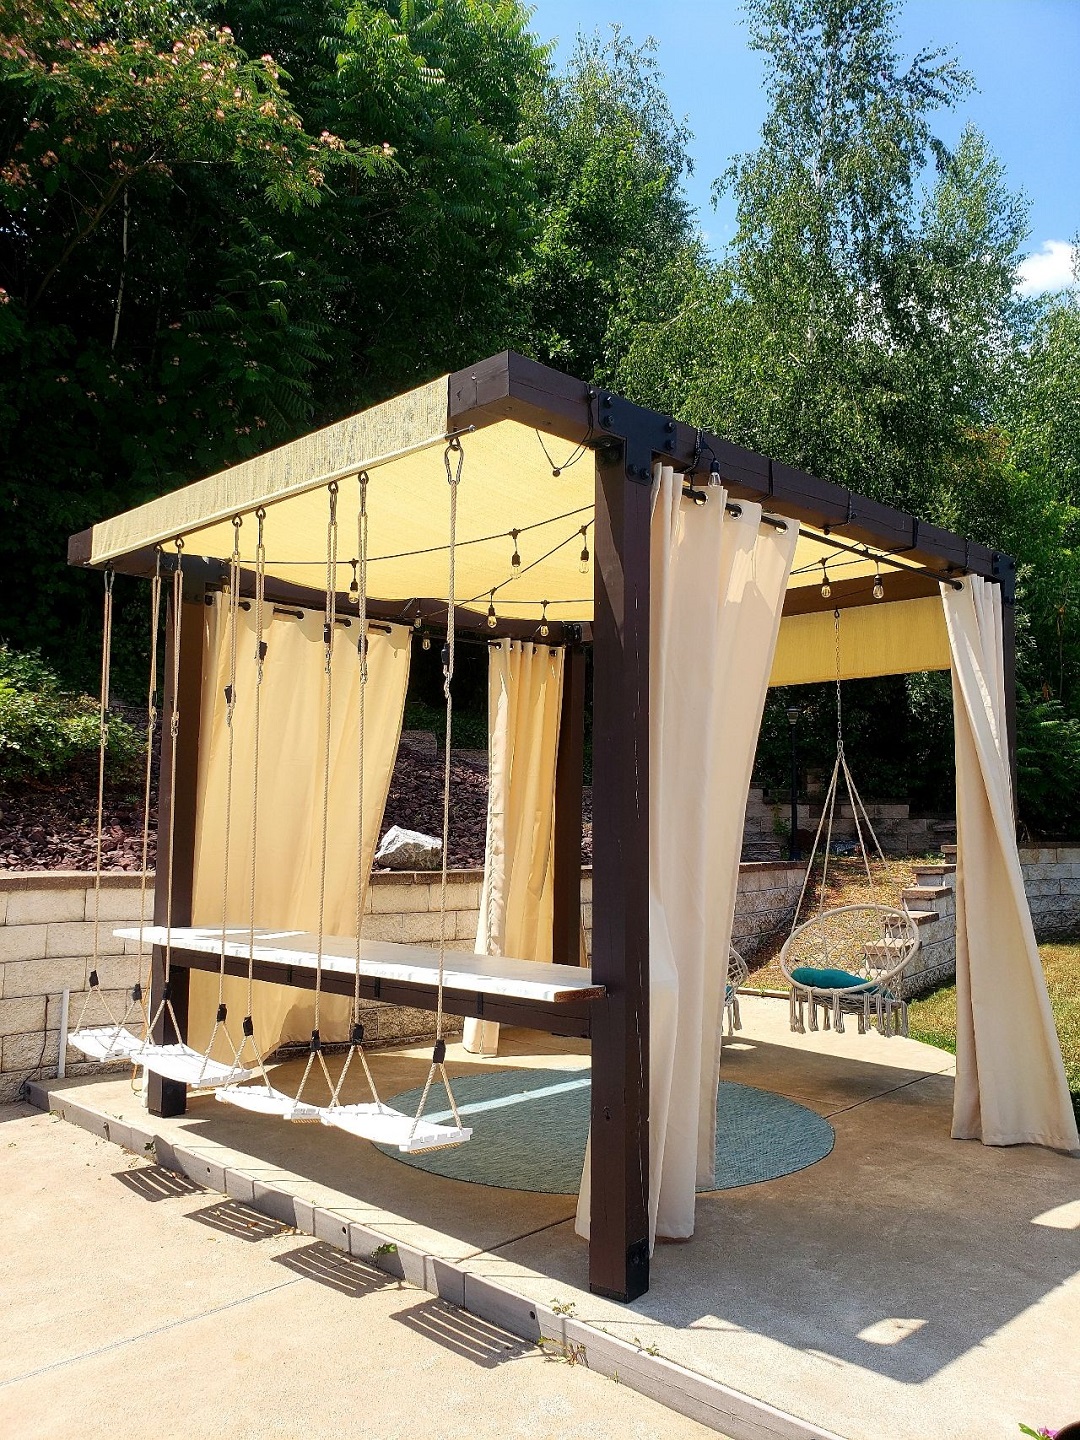
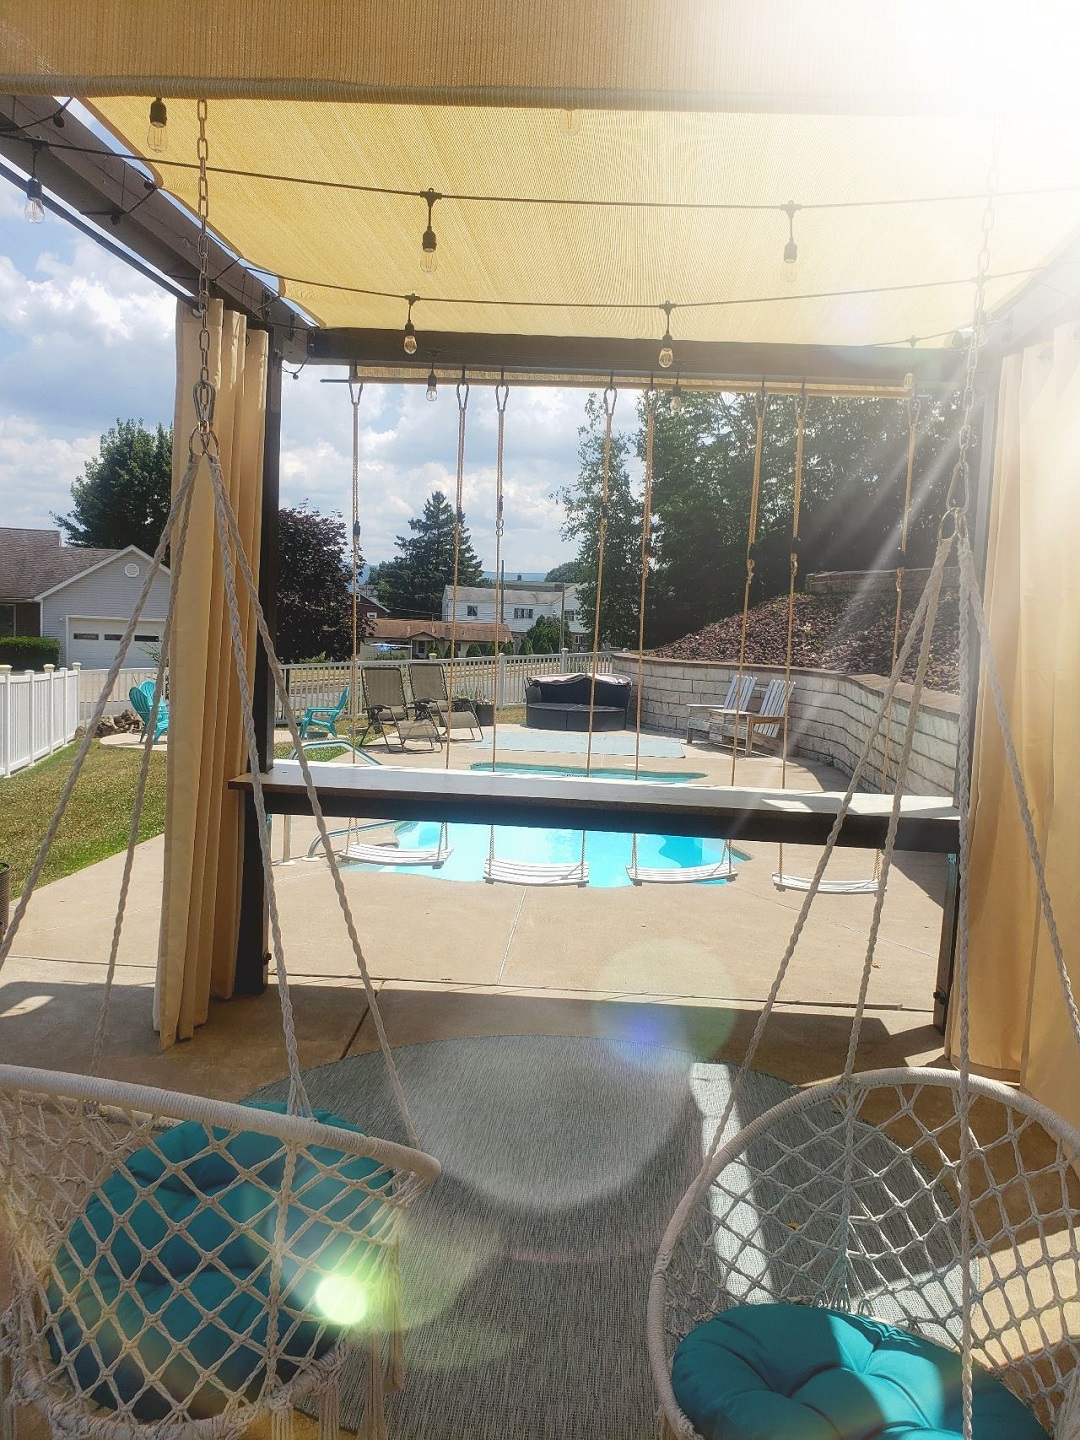
Building the Cantilever Swing
This project was based on a very small bar with a swing-set attached that my girlfriend and I found in Cabo San Lucas, Mexico. We fell in love with the concept and wanted to bring it to life back on our property in PA. Blending a cantilevered swing set with a pergola was my own idea, and I drew up the plans on a napkin for this and ran some quick calculations on a piece of paper.
Materials Used
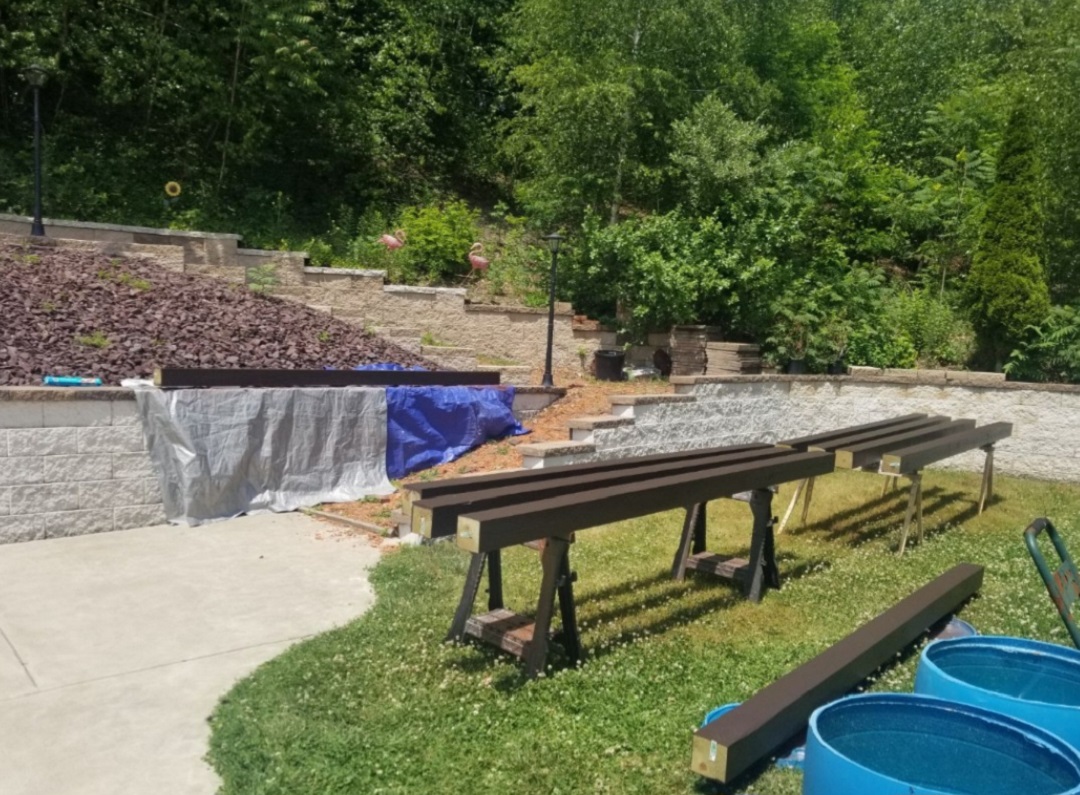
- Wood
- (7) 6×6 x 10’
- (2) 6×6 x 12’
Simpson Strong-Tie® Products
- (4) APVT6 T straps
- (2) APVL6 L straps
- (14) APVA6 90 degrees
- (4) APVB66R post-bases
- (2) HRS 6″ 12-gauge galvanized heavy strap ties
- (8) 4 9/16″ x 4 3/8″ x 1 1/2″ galvanized angles
Furnishing
- (2) exterior curtain rods
- (4) exterior curtain panels
- (4) traditional swings
- (2) hammock swings
- (1) windscreen 9′ x 16′ for pergola shade cover
- (1) set of outdoor lights
Other Materials
- (8) ceiling anchors for swings
- (4) 1/2 x 10″ exterior carriage bolts
- (1) gallon of paint or stain
- (1) 10′ length of countertop
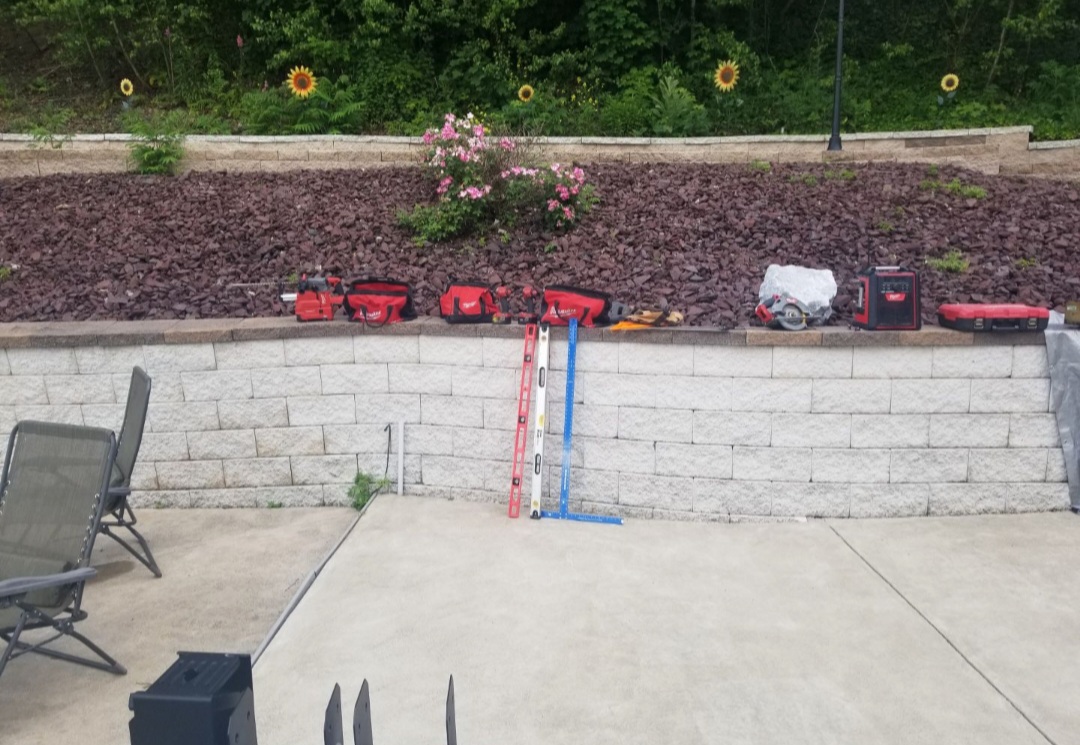
Tools
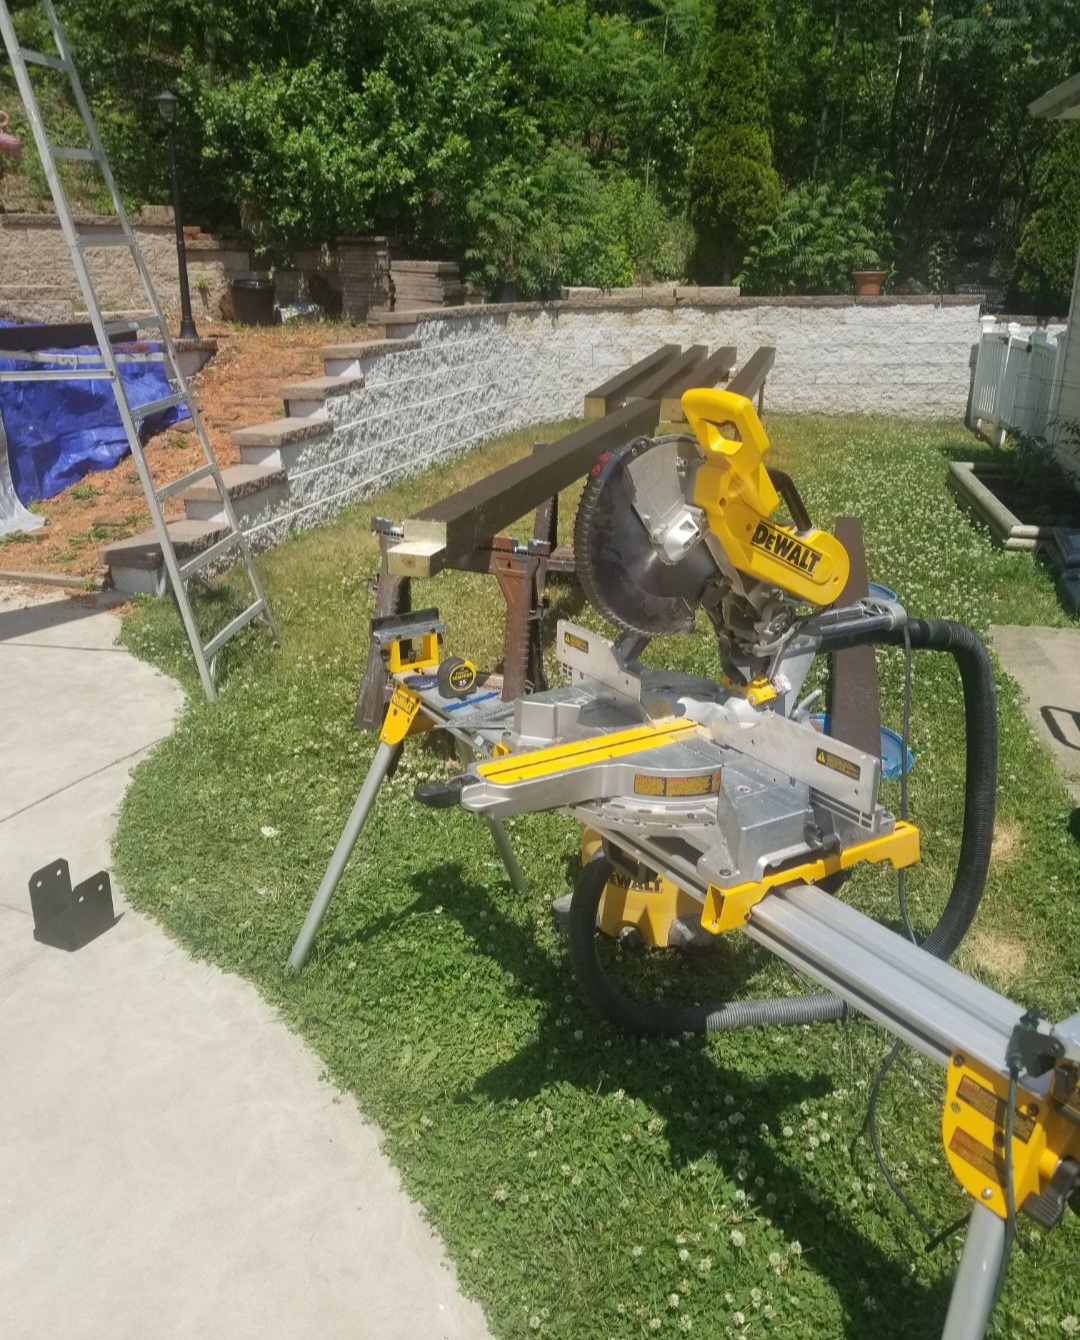
- Hammer drill
- Miter saw
- Line level
- Level
- Drill
- Impact driver
- Circular saw
- Ladder
- 2 strong men

L to R: Shawn Bealla and Kurt Krasavage under the DIY cantilever swing bar
Design
After coming up with the design of incorporating a cantilevered swing-set bar into a pergola, I immediately contacted my lead builder, Shawn Bealla, to discuss material options. I wanted to maintain a simple design, but also build a safe, cantilevered swing set that would make my guests question how it was holding the weight and make them worry that it will collapse. (IMO,that’s what a good structural engineer does!) We spent about $2,000 in material and the project took approximately one week to complete with two workers.
I know when I built this project, I wanted to use Simpson Strong-Tie products. I’m familiar with Simpson Strong-Tie from my years as an engineer. All of the Outdoor Accents® hardware we used was fantastic and very easy to use and has held up great.
Project Challenges
There were a few challenges. Because our concrete pad was already set in place and had a slope on it for water drainage, each of the vertical timbers was a different length. Because we didn’t have a laser level, we had to leverage good old-fashioned string and a line level and manually calculate the differences so that we could be square and also level on top.
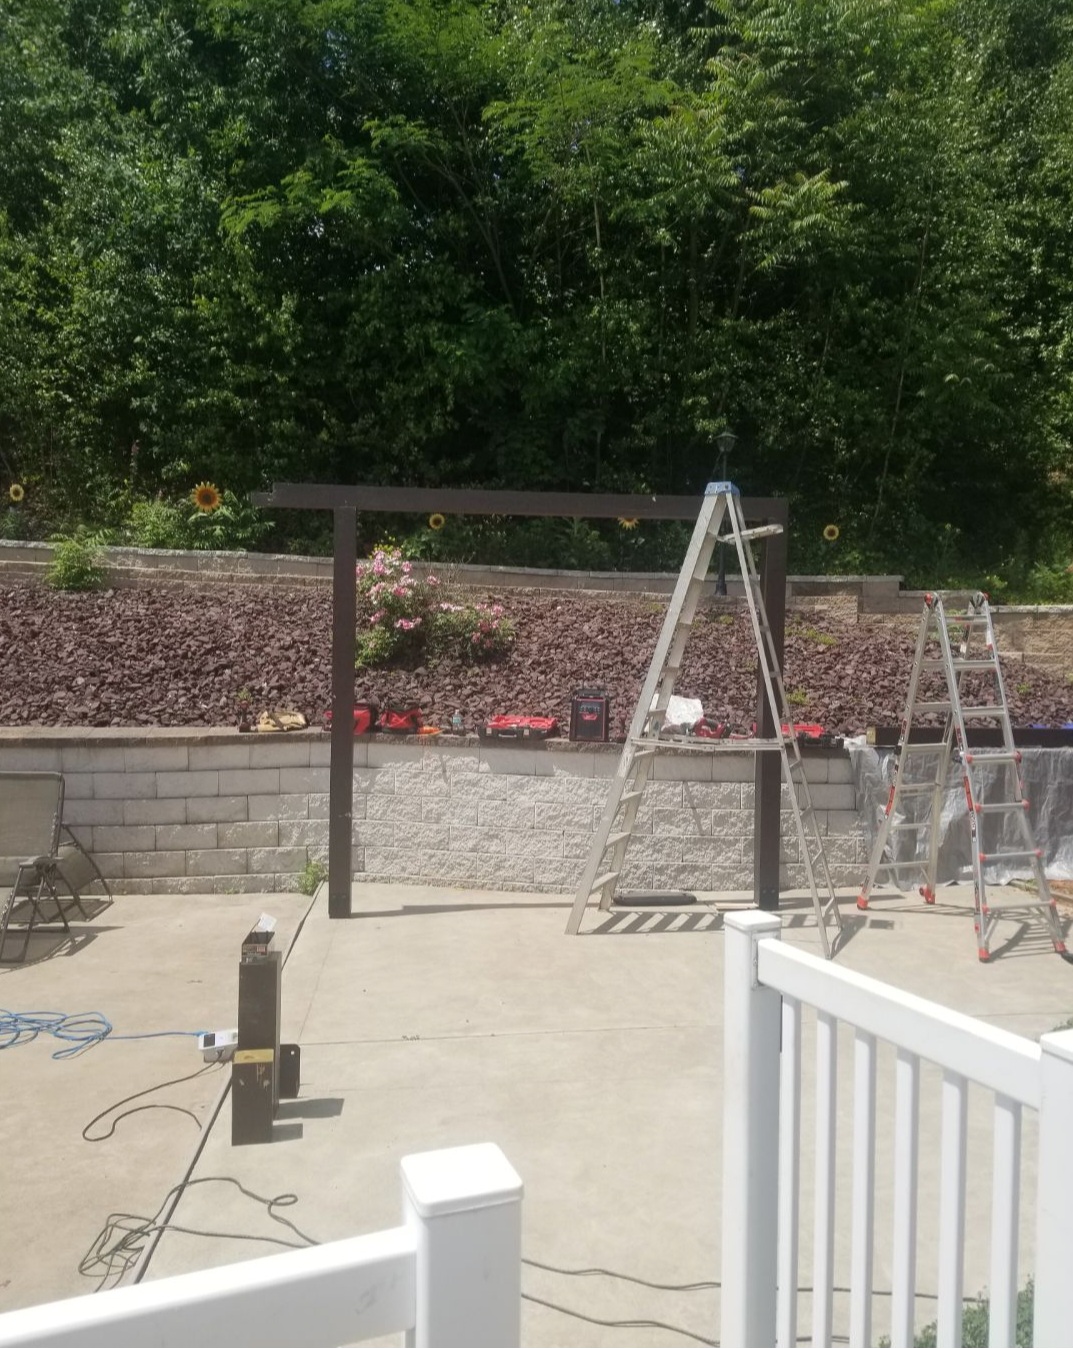
We built this project with just two of us, so the physical weight of these timbers was a challenge to deal with as we had to hold each of these up on a ladder 10′ in the air above our head, while securing them with the wobbly base. Once we got past the first two, things stabilized and became much easier.
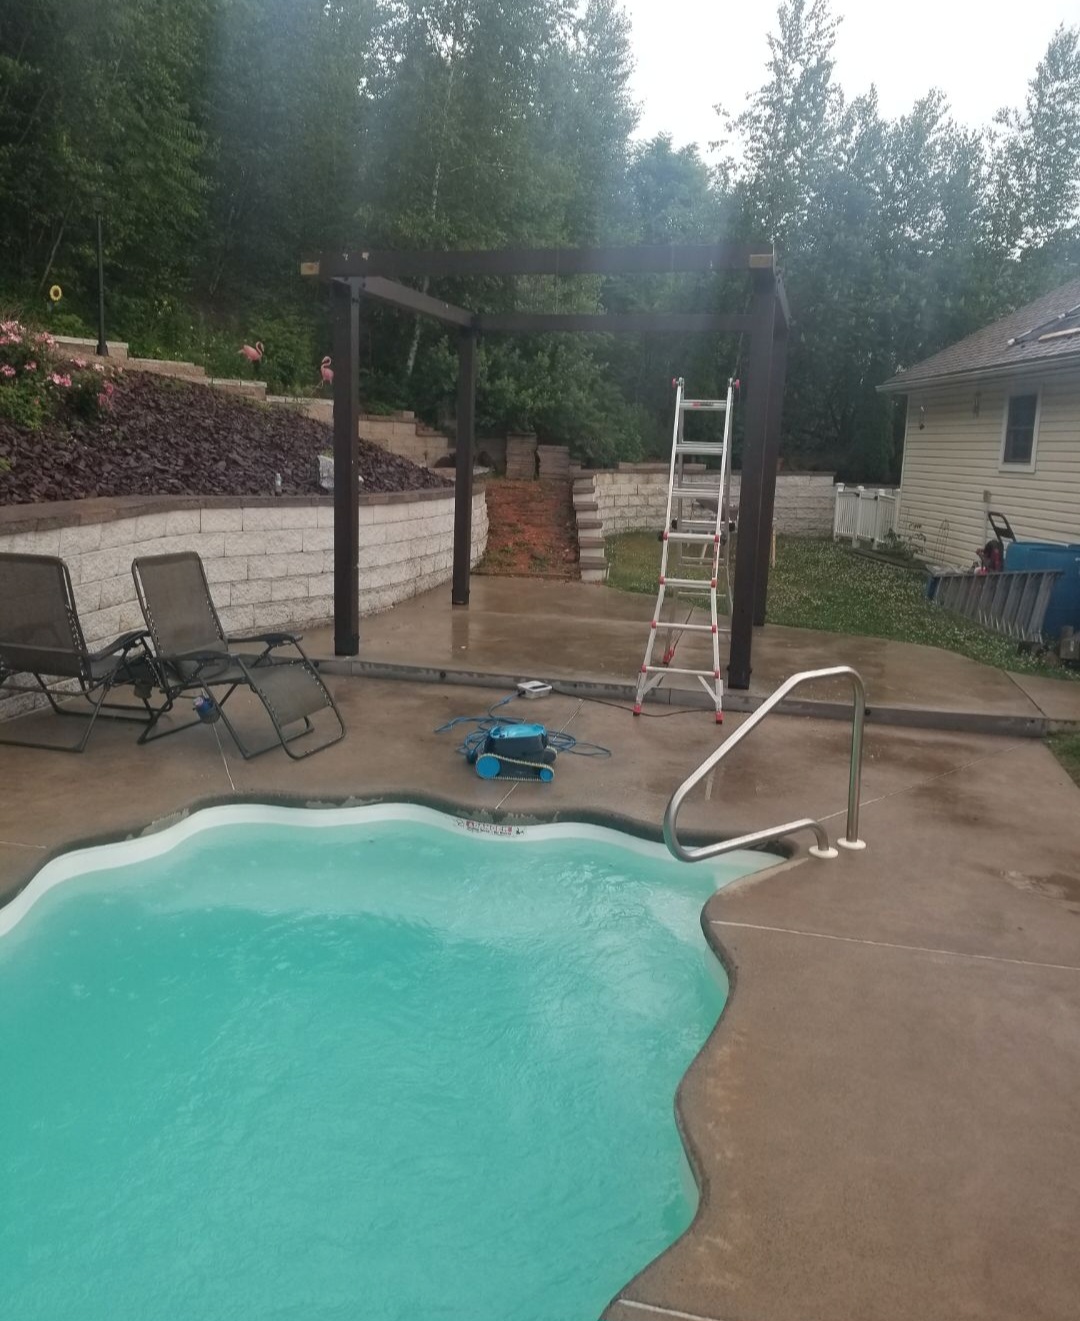
Another challenge we faced was creating the lap joints on the cantilevered end so the wood would look continuous and create the illusion that the top beams are all one piece. It was very important to me that the design made people question if the swings would hold and also question how we built this.
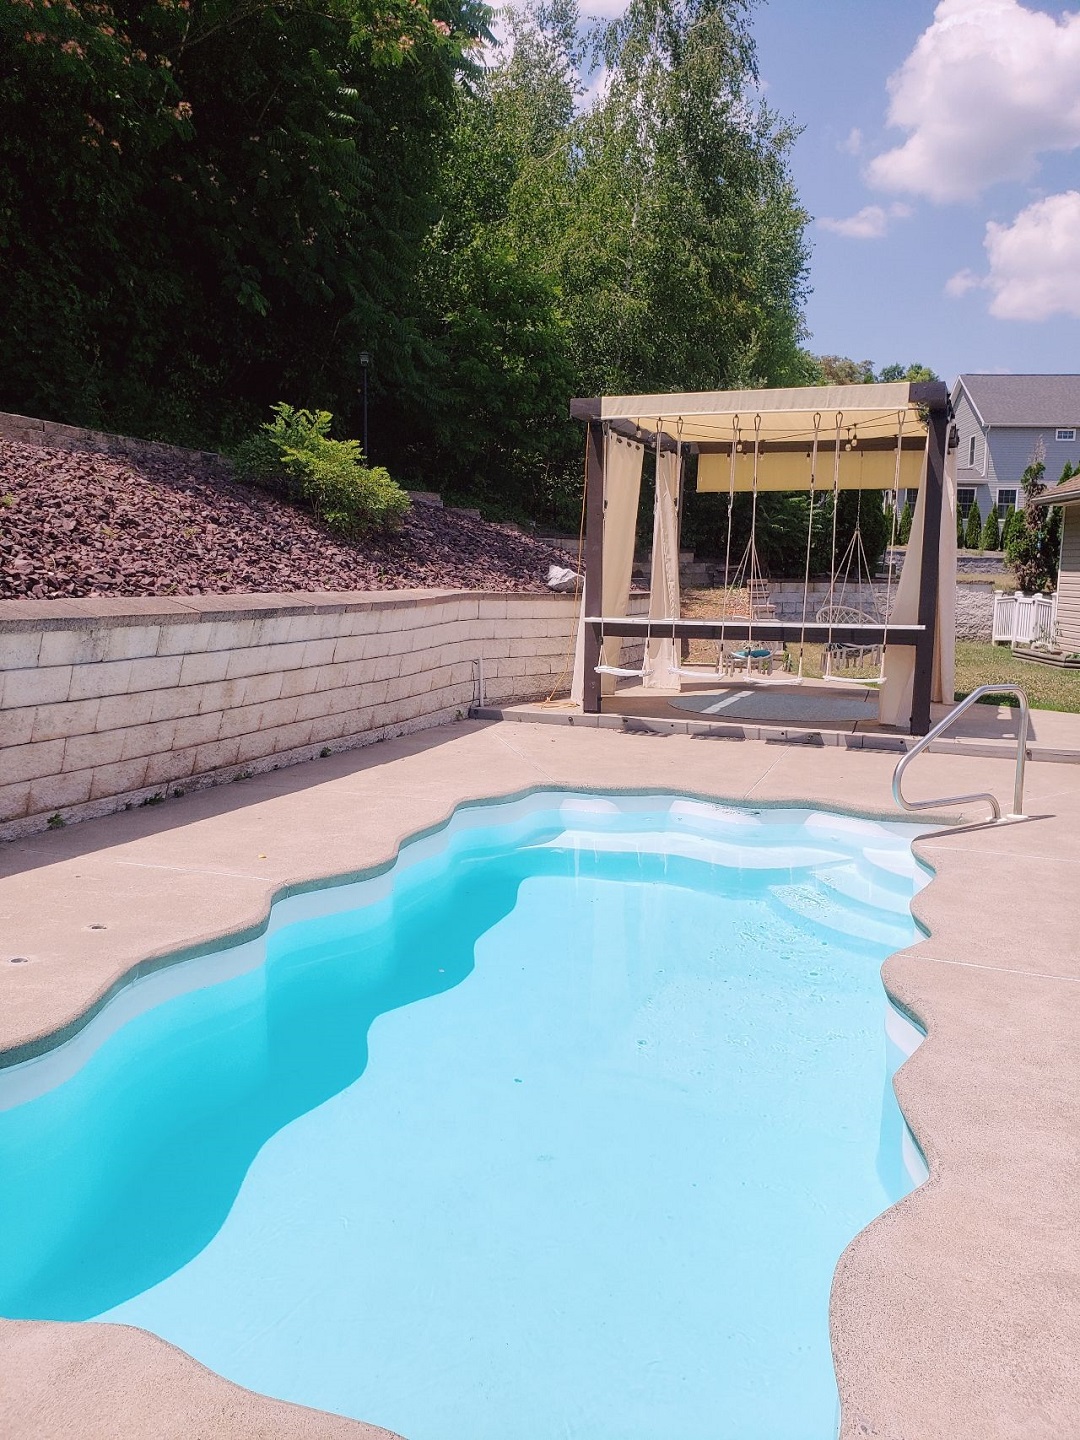
Upgrades
Since the build of this project, I have already been eyeing some upgrades. I’m planning to wrap the bottom of each of the four columns with stone to provide a more elegant look. Also, the current countertop is temporary and will be replaced with concrete countertops that wrap around from the swings to the retaining wall side, so I will also be incorporating an outdoor BBQ, landscaping the retaining wall, and finishing the walkway.


