
In one of our first weeks working together as a regional team of TSR and Field Engineer for the Commercial Market, Thomas and I had the opportunity to sponsor a hole for an upcoming golf tournament in Kansas City, Missouri, put on by a major distributor in the area. We knew we were going to have at least a sign at our hole featuring our company name, plus the opportunity to participate personally in the tournament, but we were aiming for a little bit more. We reached out to the host’s planner, and he gave us permission to have a tent setup that would allow us to market some products and strengthen our name recognition.
Now came the hard part of coming up with a joint vision of what we wanted to do. Thomas started the research by coming up with a few games based on a web search (cornhole, putt-putt, marshmallow drive), and I had an idea in mind to do something that would entertain our customers and teach them about products at the same time. I had seen some hole setups in the past at other golf tournaments or interbranch events, and I wanted to do something similar but with a custom twist from Thomas and me.
Thomas and I came to the agreement that we would do a skee-ball chipping game and a Plinko board and we would display our products on it. The next week, we met up at a coffee shop early on a Friday morning with pencil and paper and got to work putting together a list of needs based on some rough sketches and calculations of how much lumber it would take and the weight of the final product. We did not want to reinvent the wheel, so we decided to frame both games around a 2′ x 4′ backing of plywood. The next week we met at the warehouse with the materials we’d purchased and started to get to work creating our games.

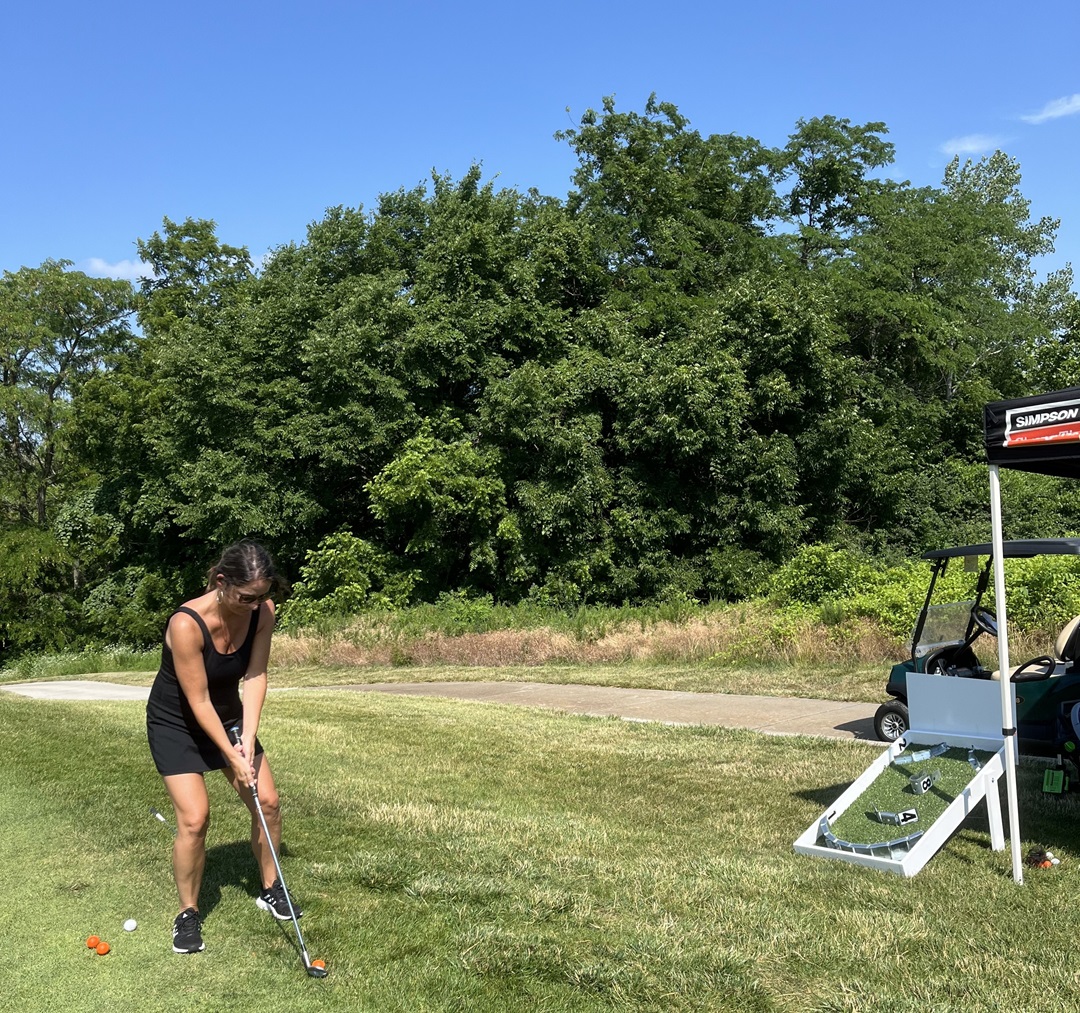
For the chipping game, we decided to use our Ready-Arch products to create a custom contour, and we continued using CFS clips to create some other spots for a golf ball to land. We used the full piece of 2′ x 4′ plywood and trimmed the 1x4s to fit the around the top and screw into the plywood. In order to create a range of difficulty on the game board, we made a place for intermediate shots using some of our popular bypass connectors and then a S/holdown to create a challenge shot for the skilled enthusiast. Before adding the clips, we painted the entire board white to give it a monolithic look and then added the grass pad to give the ball a softer landing surface and give it a nice “golf course” appearance. We then created some legs using the 1x4s and a through-bolt to allow the legs on the outside to fold.
Materials Needed
- (1) 2′ x 4′ sheet of 1/2″ plywood
- (2) 8′ 1x4s, to trim as needed for framing around the plywood; use the rest for the legs
- (1) 2′ x 4′ of artificial turf (the thicker the better, to prevent large bounces; or use a padding underneath)
- (2) 1/4″ bolt, wingnut and washer combinations for foldable legs
- (1) small box of framing screws (to fasten the plywood to the bottom of the 1x4s)
- (1) box of #10 self-drilling metal screws to fasten the connectors through the turf to the plywood backing
- (1) quart paint or stain of choice
- Your favorite Simpson Strong-Tie products (use your own creativity here; connectors probably work best!)

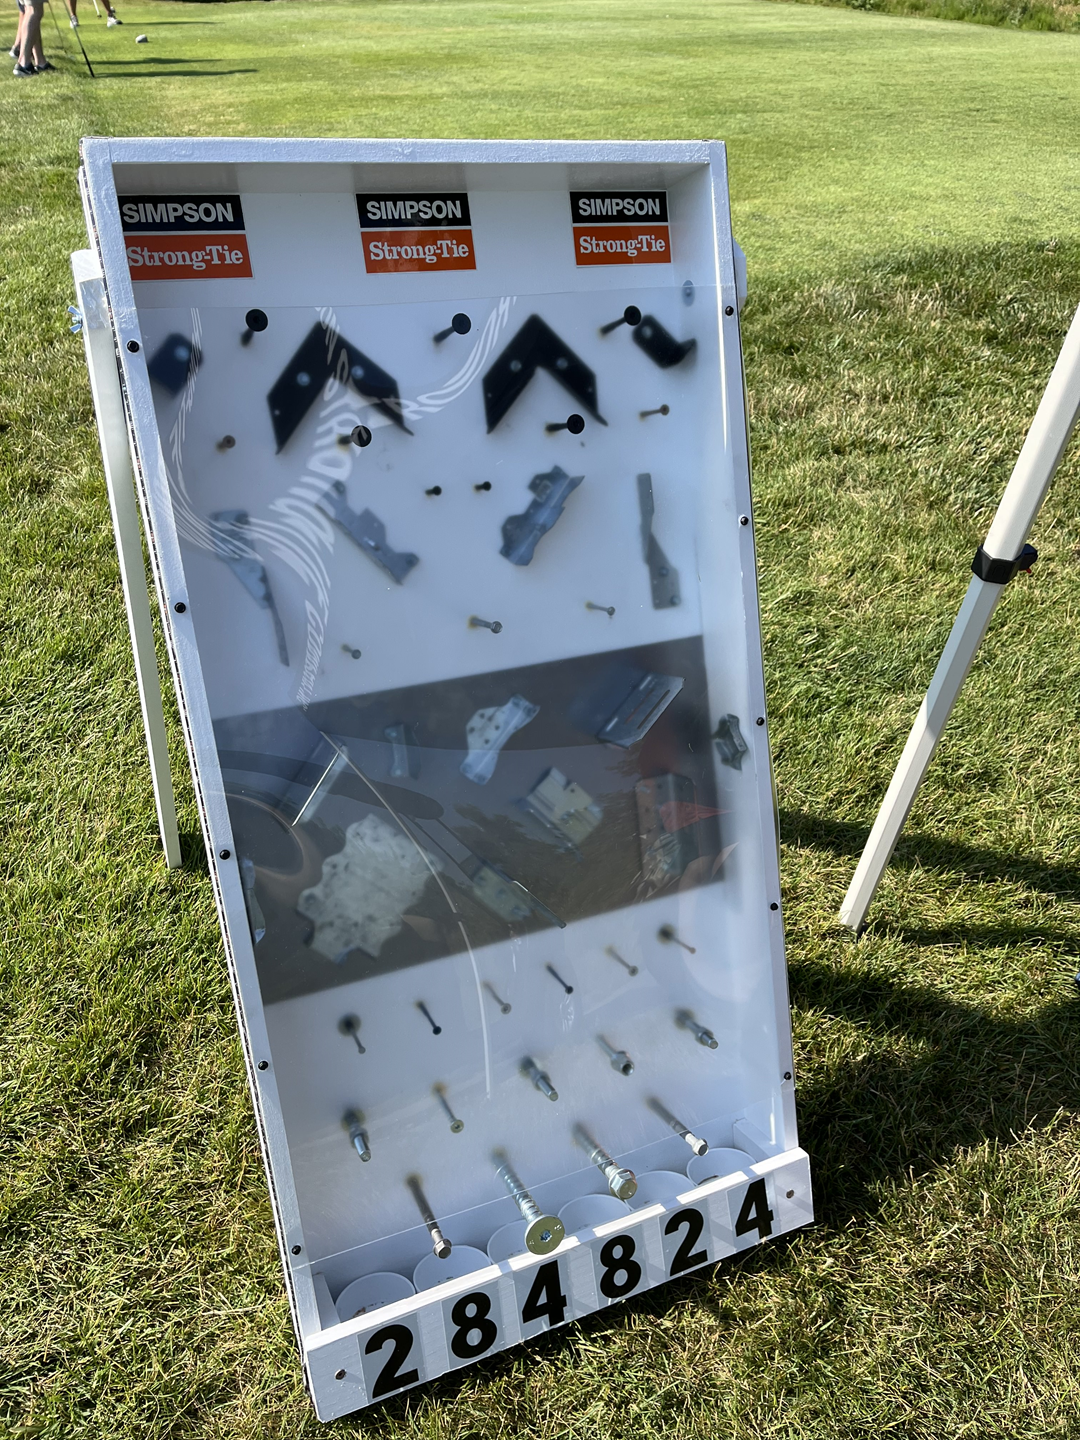
As far as the Plinko board went, we wanted to display as many various product lines as possible, so we decided to create a three–part transition between wood framing, cold-formed steel framing and lastly concrete fasteners and anchors. We went with the Outdoor Accents® framing pieces on the top followed by some framing screws and our most popular connectors (hurricane ties and framing angles), then used a random assortment of CFS clip connectors for both bypass framing and bracing to help illustrate the completeness of that line. The last portion was the concrete fasteners and anchors, and we decided to go from the smallest of fasteners (Titen Turbo™) to the largest anchors we had (5/8“ diameter) to show we had the full gamut of anchor sizes for concrete. We also used various head styles to show the architectural features of our products as well. The parts needed to be close enough to create a path for a ping-pong ball but large enough to allow for the chaos of bouncing around as well.
Materials Needed
- (1) 2′ x 4′ sheet of 1/2″ plywood
- (1) 2’ x 3’ sheet of 1/8′-thick plexiglass, allow 6″ of space at the top and the bottom of the course to drop and catch the ball
- (3) 8′ 1x4s, to trim as needed for framing around the plywood; use 4′ pieces for legs
- (1) 2′ x 16″ thin steel sheet for CFS framing portion of game, to create the look of steel construction
- (2) 1/4″ bolt, nut and washer combinations for foldable legs
- (1) small box of framing screws to fasten the plywood to the bottom of the 1x4s
- (1) box of #10 self-drilling metal screws to fasten the connectors to the plywood backing
- (6) 3″ PVC caps to capture the balls at the bottom of the game
- (1) quart paint or stain of choice; consider a different color of paint for the various transitions
- (1) small tube of quick-cure epoxy for gluing the fasteners and anchors to the thin plywood
- Simpson Strong-Tie products (use your own creativity again; the sky’s the limit here)
Next came the R&D stage. We were lucky to have several members of the KC warehouse and our local HR team around the same day to test our setup. Our original calculations were correct on the spacing of the connectors and the fasteners and anchors of the Plinko board so we wouldn’t have a predictable pattern for where the ping-pong ball landed at the bottom. Seemingly it was enjoyed by everyone willing to give it a try!
For the chipping game, we did some R&D as well. If we could have changed one thing, we would have added a thicker padding on the board itself, because no matter whether we used a real golf ball or a foam ball, we still got too much bounce on the board. We were able to determine that a maximum 10′ chipping distance gave the best angle to play and ultimately decided to go with foam balls for the final setup. During R&D, no one was able to hit the holdown for a max score, but a few got pretty darn close!
Now came the final show! On the day of the golf setup, we somehow were able to get both boards into a golf cart and haul them to our hole destination which luckily was hole #2. Each weighed about 50 lb., so while not the heaviest of objects, they were a bit cumbersome to haul around without some help. We definitely got our workout in that day hauling them from Point A (vehicle) to Point B (hole) and back! At the end of the day, they were definitely a hit! All of our booth customers played our games while interacting with us. The Plinko definitely drew them in because of curiosity and also started some conversations about our products. We were able to create some raffle ticket values at the bottom using mailbox stickers that allowed our customer to drop a ball for a certain number of raffle tickets. For the chipping game, we felt that we created a much tougher challenge for tickets as many were not able to chip on the board or the ball would bounce off, but 3 people did land a ball inside the holdown which made the game feel possible to win or at least land a ball on the bottom arch. Oddly, it seemed that the people who had the most drinks by the time they made it to our tent had the best luck hitting the board!
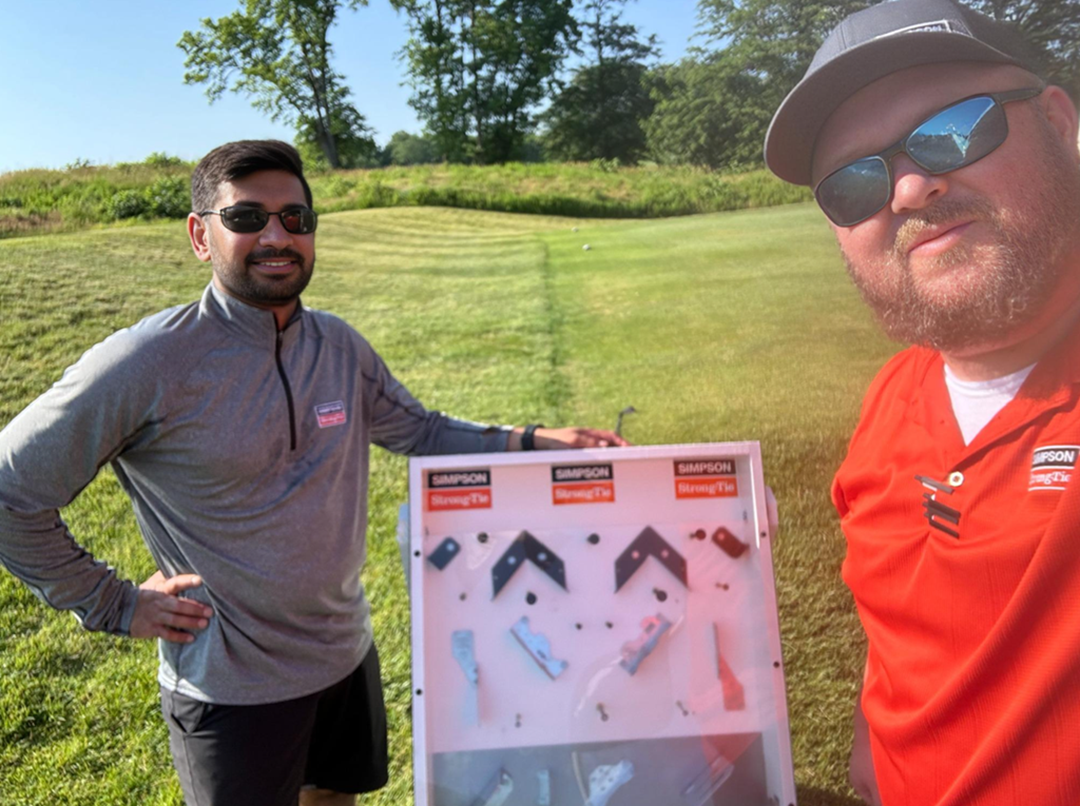
Overall, the show was a huge success and allowed us to be recognized as the “creative guys.” Thomas and I would joke around that this was a perfect idea to come from both sales and engineering, and these two creations also gave our customers a look into the team they were working with! We wanted to create something that would hold up for about 5-10 tournaments before making a version 2.0 that would be better and lighter and possibly replacing some old products with newer ones. We learned a lot from this experience, and most importantly it helped us to connect with Barc’s ninth principle, “Have Fun, Be Humble.”


