
Materials and Tools
Materials
- (4) 2×4 x 8′ lumber boards
- (1) 5/4″ x 6″ x 8′ deck board
- (1) 5/4″ x 6″ x 10′ deck board
- Simpson Strong–Tie® DSV Wood screws (exterior grade)
- Exterior wood stain or paint (optional)
Tools
- Miter saw or circular saw
- Speed square
- Drill or driver
- Measuring tape
- Digital angle finder (optional)
- Clamps (optional)
- Sandpaper or sander
- Staining supplies

Jamison began this project with a clear goal. He wanted to create his most comfortable outdoor chair yet. Traditional Adirondack chairs sit low, which can make them difficult to get in and out of. To improve this, he used an adjustable office chair and a digital angle gauge to find the ideal ergonomic positions. The measurements he came up with are these:
- Seat height was set at 18″ above the ground.
- Seat angle reclined to 10°.
- Backrest reclined to 30° from plumb.
- The upper backrest was eased to 17.5° for natural head support.
- The back length measured approximately 25″, and total chair height reached about 37″°.
This precise measurement combination produces a chair that is easier to sit in and stand from while still offering the laid-back comfort people expect from an Adirondack-style seat.
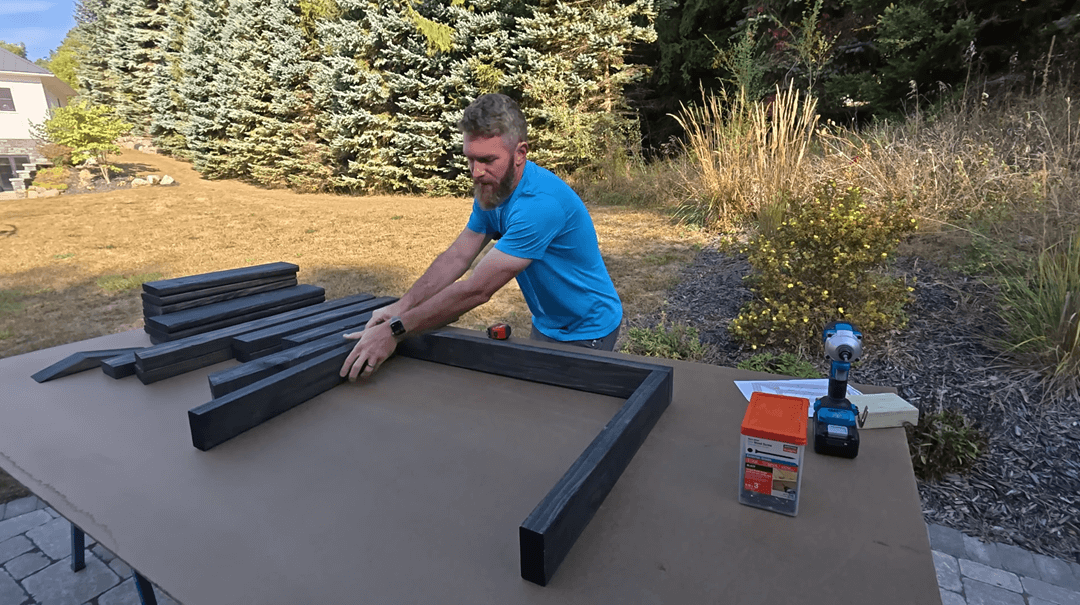
With measurements complete, Jamison cut all lumber according to his plan, which included a few angled cuts. Stain was applied before assembly which helps seal edges that are normally harder to reach later.
The project begins by building two side assemblies which include the legs the angled arm supports, and the back support. For all structural fastening, Jamison used Simpson Strong–Tie Deck-Drive™ DSV (exterior) Wood screws. These screws are load rated and do not require predrilling. They come with a Quik Guard® coating for corrosion protection and are available in black, which blends neatly into darker stain colors. They are a great choice for backyard projects including pergolas and decks.

With the two side frames complete, Jamison connected them using 21″-long front and back pieces to form the main structure. Additional angled top supports were added to create the ergonomic headrest curve.
Next, he installed the 5/4″-thick deck board slats. The seat slats measured 24″ long while the back slats measured 21″ long. Spacing was set at 1/2″ using improvised spacer blocks. The upper slats required shorter screws measuring 1 5/8″ to avoid poking through the backrest since those boards have less structural material behind them. After a few adjustments, the back slats aligned correctly and the full seat came together smoothly.
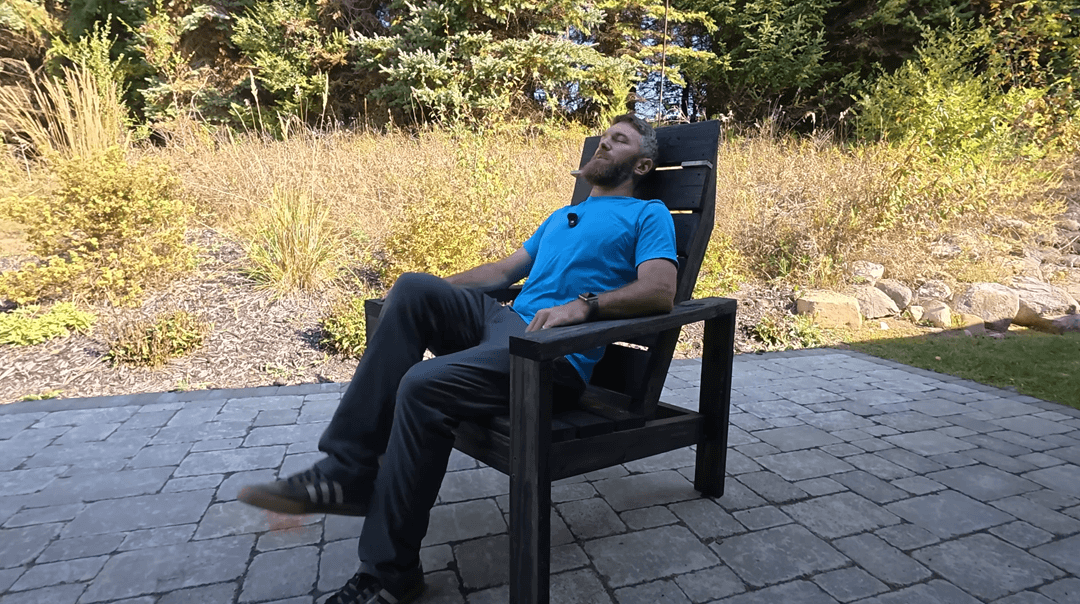
Once assembled, the chair exceeded Jamison’s expectations. It offered strong back support, a comfortable incline, a seat height that is easy to get in and out of, and a headrest angle that feels natural. For around $30 in lumber plus Simpson Strong Tie fasteners, the project resulted in a durable, comfortable and stylish outdoor chair.
You can watch the full project on Jamison’s Youtube channel, where he walks viewers through the whole build.


