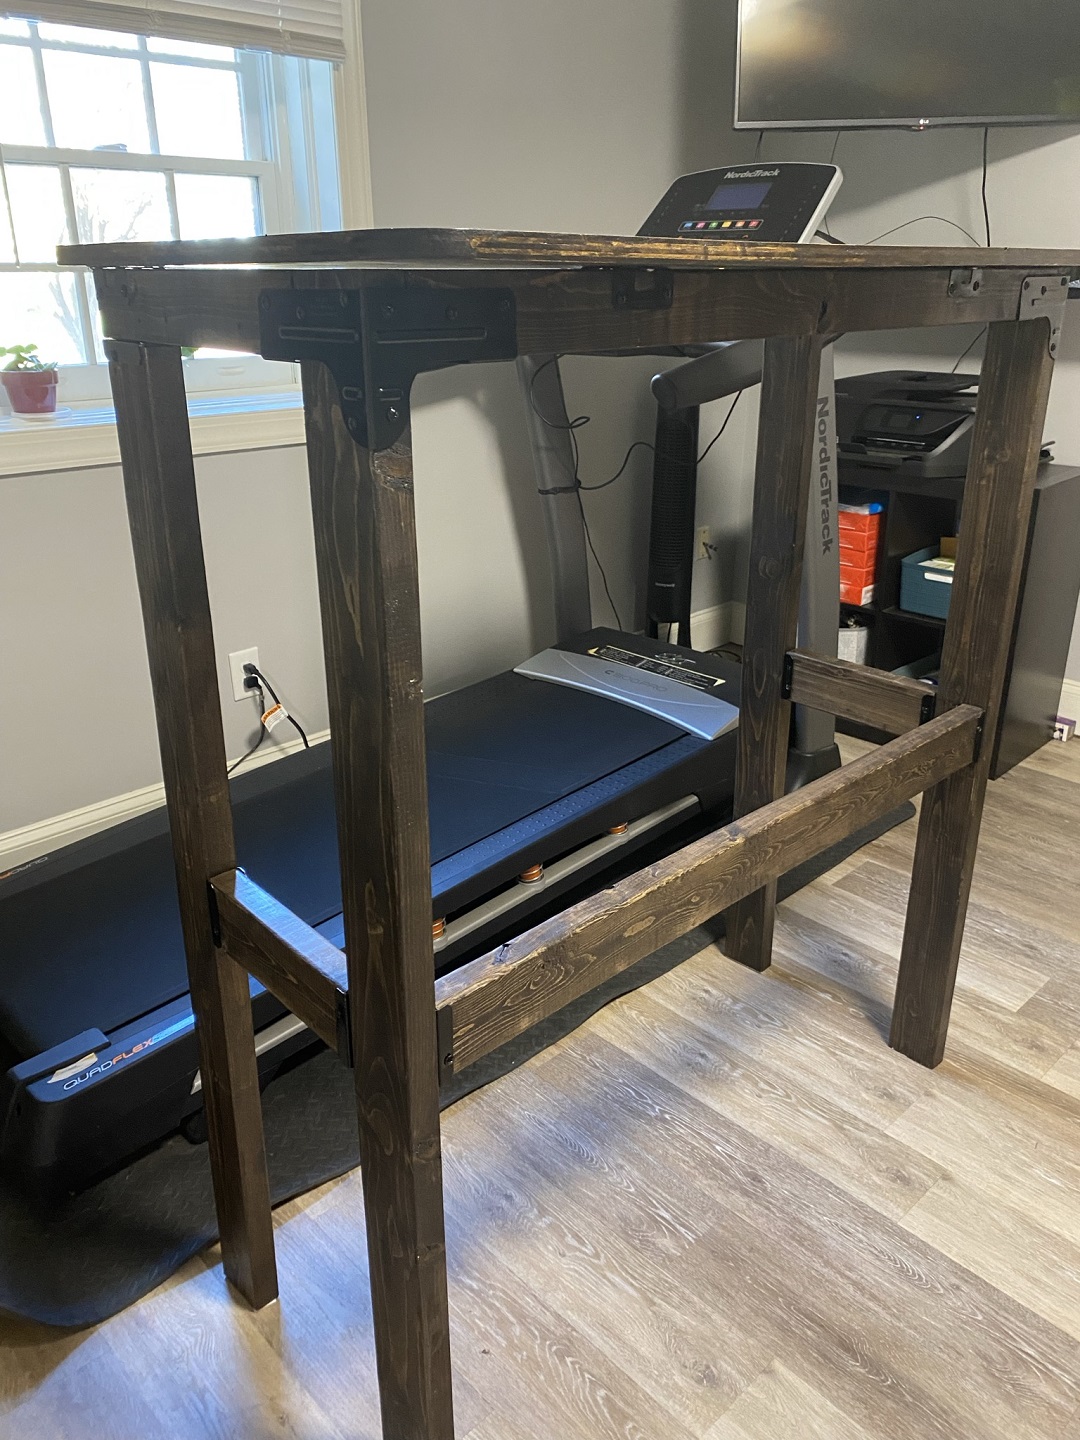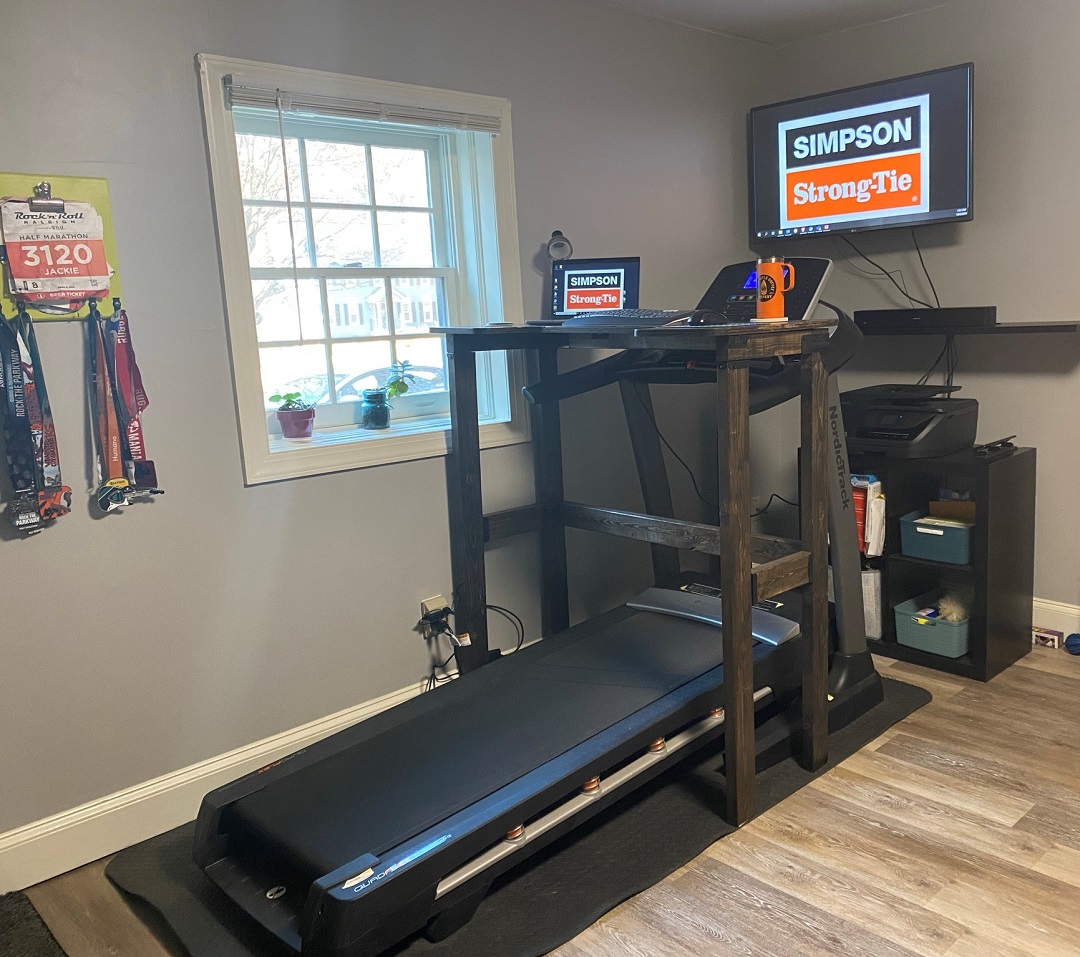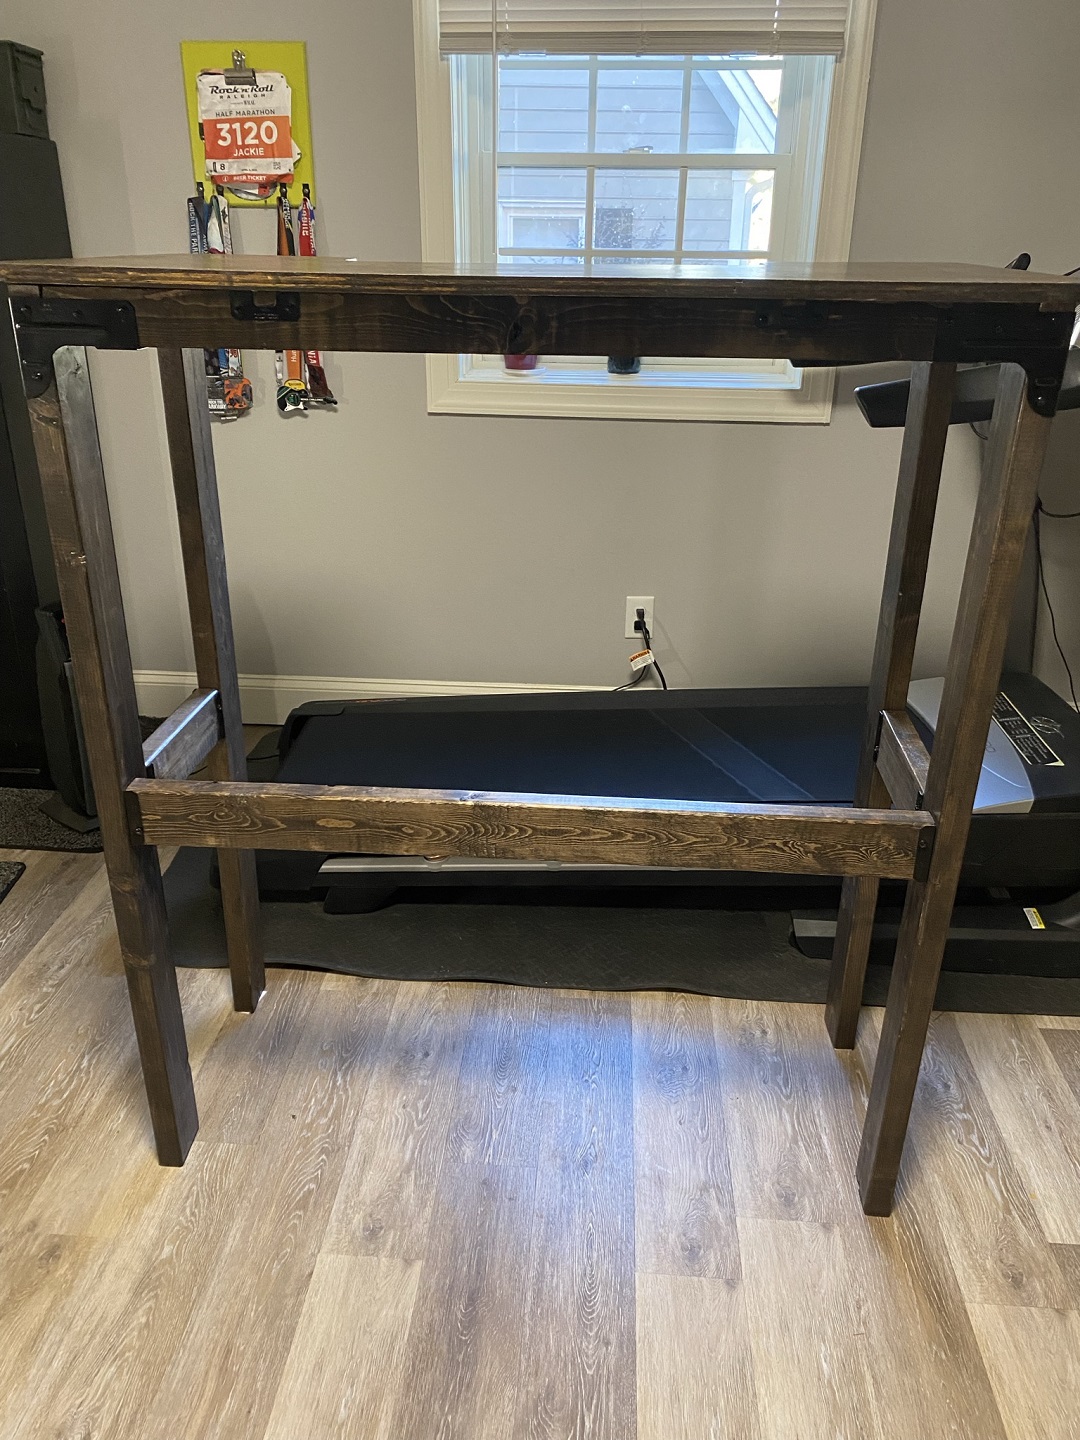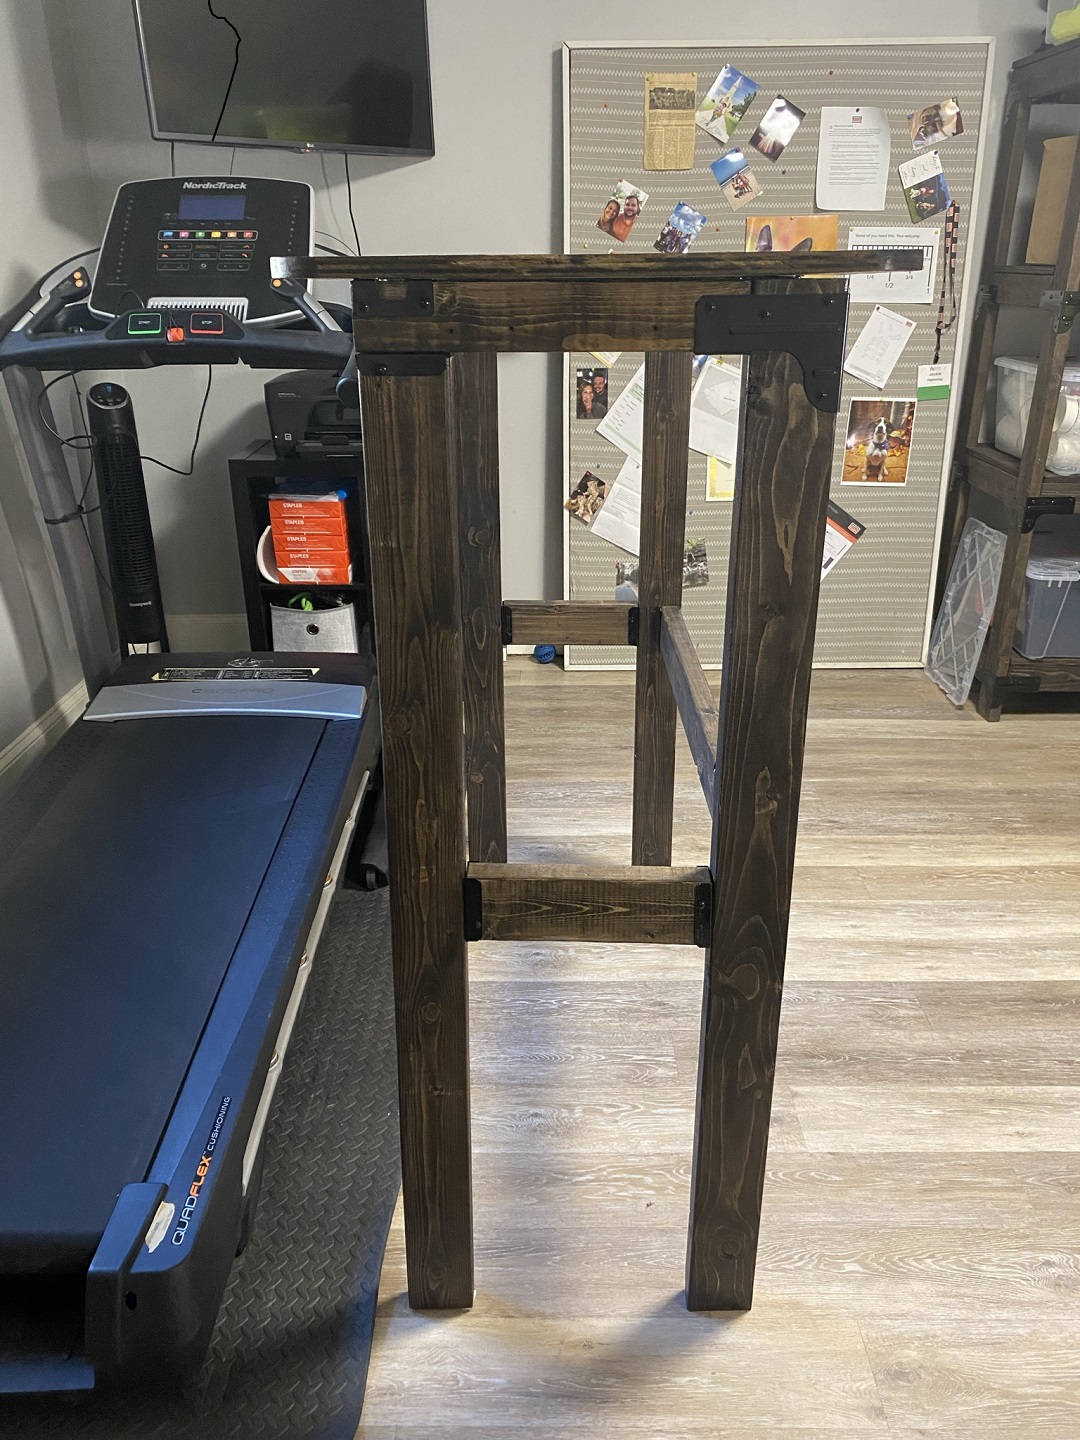
Side view of the DIY treadmill deskLike many others, I recently made the transition to working from home. After 10 years in outside sales, and as an active person, I knew I needed to find ways to stay moving while getting my work done. I decided to dust off that treadmill sitting in the corner, and build a treadmill desk to help me stay focused on my work, and still get my steps in. There’s no better way to get the blood flowing and the mind working.

If you find sitting still all day challenging, or just want to do something good for your body, build a treadmill desk. This is a flexible design that will accommodate most treadmills, and can easily be moved out of the way if you want to use the treadmill for some serious fitness.
Cut List*
- (2) 2×3 14.5″
- (1) 2×3 42″
- (1) 2×4 51″
- (2) 2×4 48.5″
- (2) 2×4 11″
- (1) 2×4 42″
- (8) Simpson Strong-Tie® FB24Z fence brackets
- (4) RTR Rigid Tie® rail connectors
- (2) RTC2Z Rigid Tie corner connectors
*Note: I used 1 2X3 X 6′ and 3 2X4 X 8′ and a 24″ X 46″ piece of 3/4″ plywood.
Trace out the shape for the desktop on the plywood. A straight edge will help you get the top and sides, and a protractor will help you get the rounded corners. Don’t have a protractor on hand? No problem, find round objects and trace them to connect the straight edges. Use a jigsaw to cut out the desktop, then sand everything to a smooth finish. Be sure to sand the edges.
Follow the cut list for the 2x material and you are ready to start assembly. I wanted a more finished look for my desk, so I chose to pre-stain my lumber and painted the hardware and fasteners.

Use the RTC2 corner connectors to connect the 51″ pieces of 2X4 to the 42″ piece of 2X3. Then attach the shorter pieces of 2X3 to the sides. Using the FB24Z fence brackets, attach the back legs flush with the end of the 2X3 X 14.5″.

The FB24Z will also be used to attach the bracing across the front and sides of legs. Now you have the framework for the desktop. The last step is attaching the desktop to the frame using the RTR. The 1 1/4″ screws will be used to attach the RTR to the underside of the desktop.
Now you are ready to walk your way through your workday. Position the desk over your existing treadmill and walk on.


