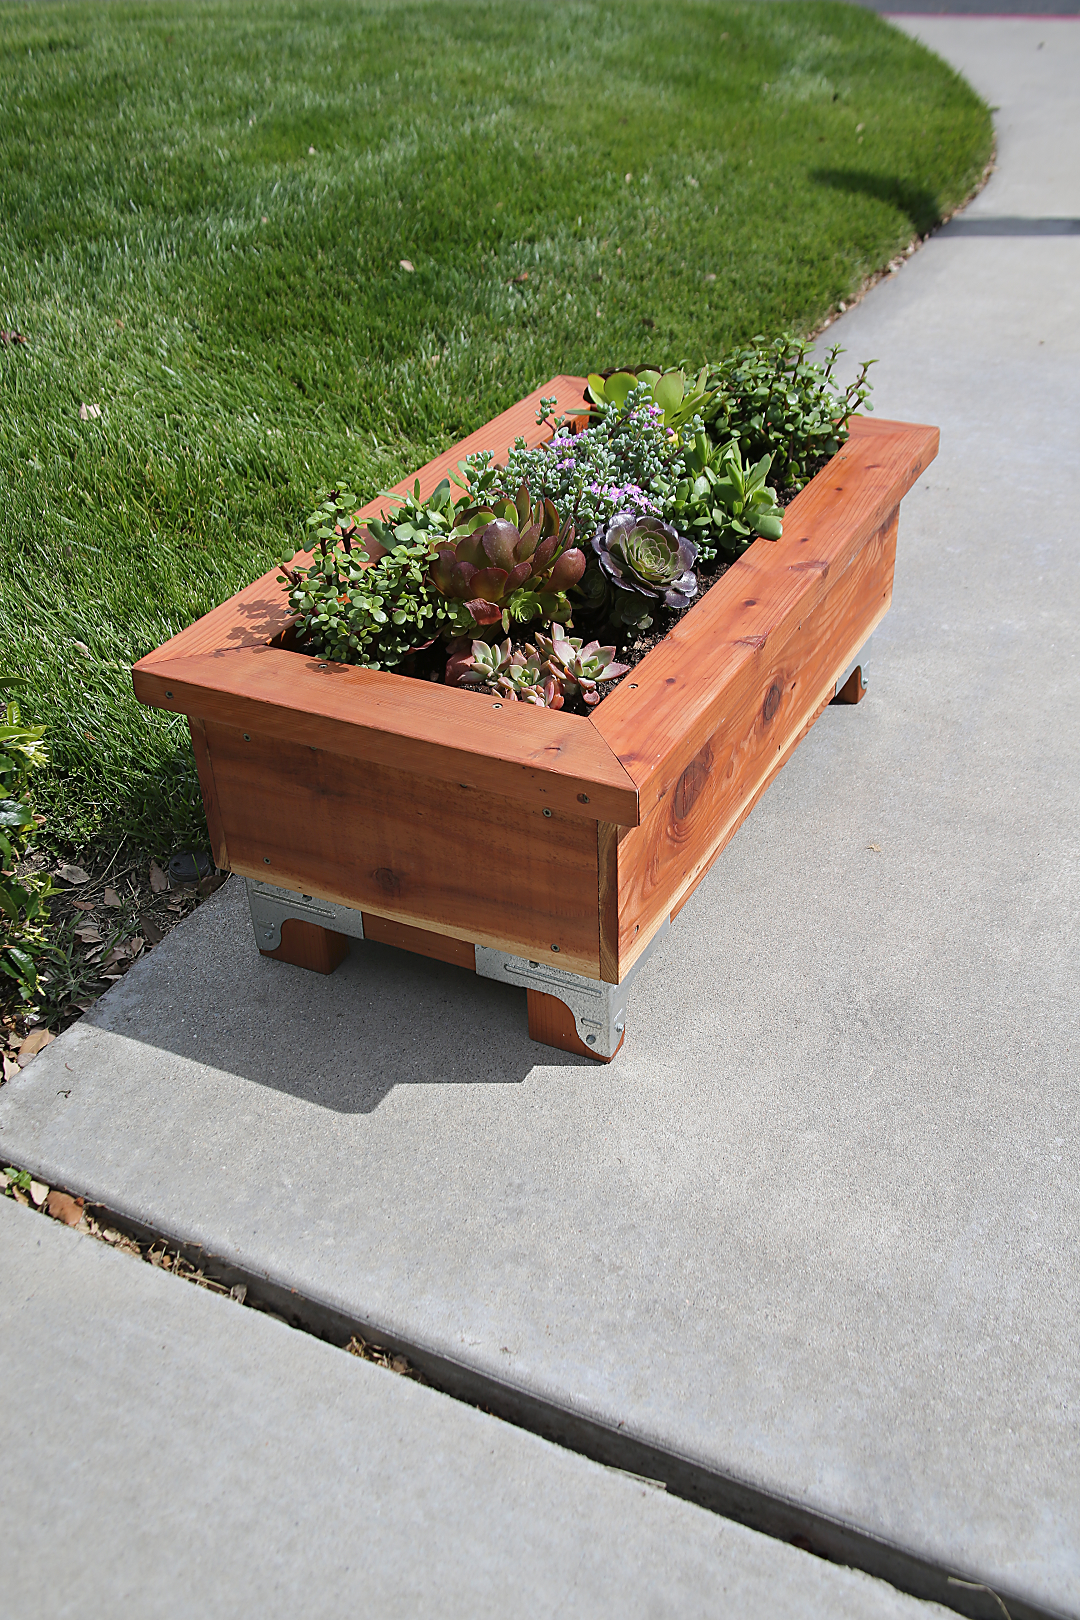
Simpson Strong-Tie® Strong-Drive® SDWS Timber screws make it quick and easy to build this simple but strong raised bed in just one day. Use cedar, redwood or non-treated lumber with your favorite stain, sealant or paint color to protect and personalize it.
Download the plans for this DIY Raised Garden Bed here.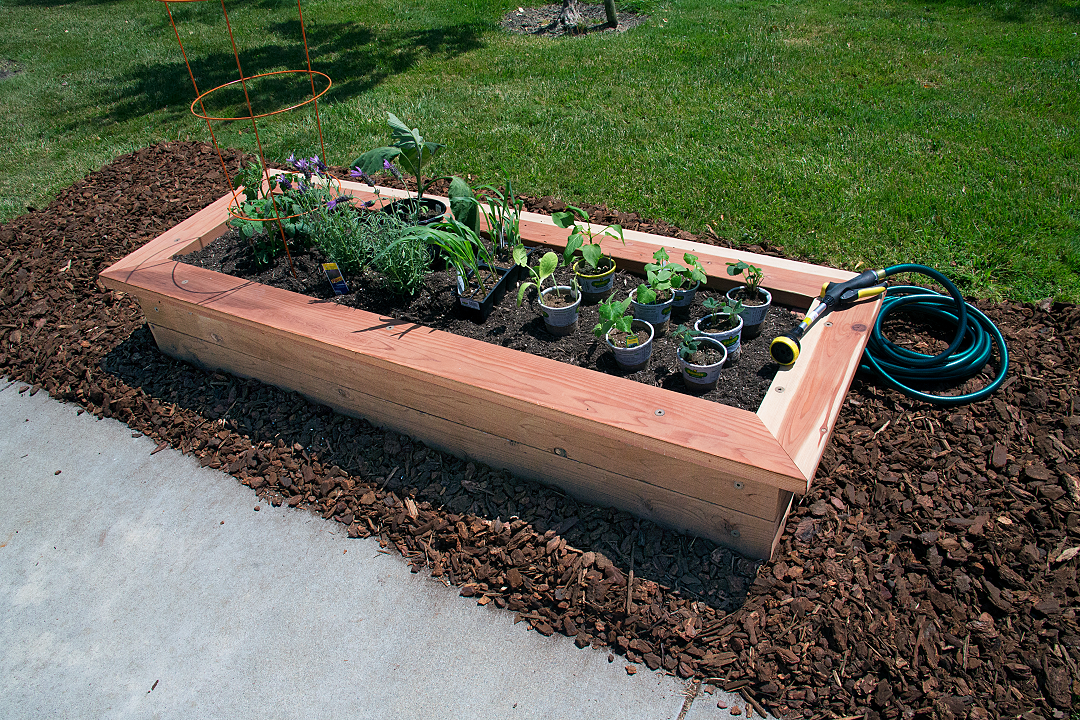
Tools Needed
- Saw/ miter saw
- Drill/ screw gun
- #2 Phillips-head bit
- Tape measure
- Framing square
- Straightedge or chalk line
- Clamps
- Bit holder (optional)
- Paint brush (for sealing or painting)
Installation Instructions
- Measure and cut lumber to size. Wait to cut top lip until the frame is assembled.
- Connect 2×6 short sides to 4×4 end posts. Use a clamp to help hold the wood to the posts, making sure the seam is flush with the outside edge of the posts. Attach with 3″ Strong-Drive SDWS Timber screws.
- Attach 2×4 short inside support boards. Clamp the short support 2x4s between the vertical end posts to the inside top of the short side boards and attach from the outside with the 3″ screws.
- Connect long sides to the end posts. Clamp the 2×6 long sides to the corner posts, making sure the seams are flush to the short sides. Attach with the 3″ screws.
- Attach 2×4 long inside support boards. Clamp the long support 2x4s to the inside top of the long side boards and attach from the outside with the 3″ screws.
- Attach 2×4 center support boards. Attach the center supports to the inside of the long side boards with the 3″ screws from the inside, placing one screw on either side of the seam.
- Measure, cut, assemble and install top lip. Assemble the top lip, making sure the mitered corners fit snugly and fasten together with the 2″Deck-Drive™ DSV Wood screws. Attach to the top of the frame with two 3″ screws in the short lips and three into the long lips.
Hardware Needed
- (1) 50qty. Simpson Strong-Tie® 3″ Strong-Drive SDWS Timber screws
- (1) 1lb. box Simpson Strong-Tie 2″ Deck-Drive DSV Wood screws
Other
- Exterior-grade paint or stain
- Plastic liner if needed
Lumber Needed
- (2) Pieces 2×6 x 10′ redwood*deck boards
- (4) Pieces 2×6 x 8′ redwood*deck boards
- (2) Pieces 2×4 x 8′ redwood* lumber
- (1) 4×4 x 4′ redwood* post
*Cedar or non-treated wood also may be used
Cut List
Cut from 2×6 x 10′ redwood deck boards
- (2) 72 3/4” top lips
- (2) 27 5/8” short lips
Cut from 2×6 x 8′ redwood deck boards
- (4) 68″ long sides
- (4) 21″ short sides
Cut from 2×4 x 8′ redwood deck boards
- (1) 58″ long side support
- (2) 14″ short side supports
- (1) 7 3/8” center support
- (1) 58″ long side support
- (1) 7 3/8” center support
Cut from 4×4 x 8′ end posts
- (4) 10 7/8“end posts
Find more do-it-yourself project plans at strongtie.com/diy.