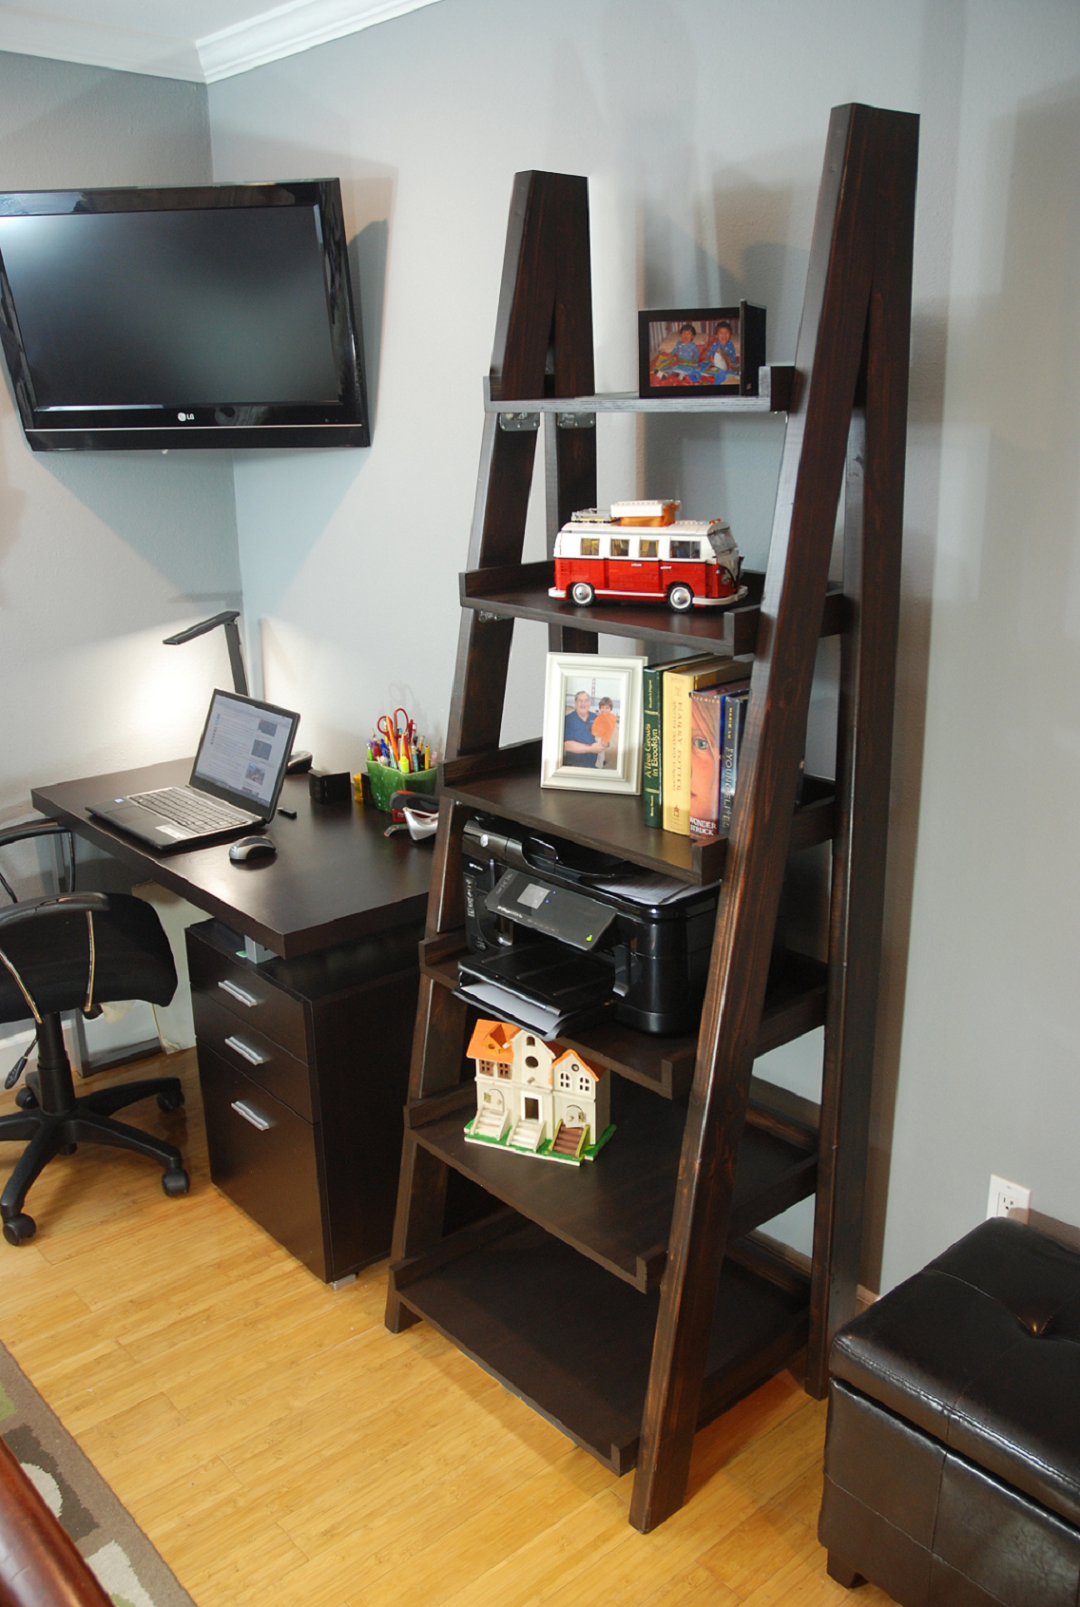
Six shelves provide ample room to store books or display your favorite keepsakes. Construction is easy, and Simpson Strong-Tie® gusset angles ensure that your bookshelf provides years of lasting enjoyment.
Download the plans for this DIY Leaning Ladder Bookshelf here.

Tools Needed
- Circulator miter saw
- Speed square
- Pencil
- Screw gun with Phillips-head bit
- 2′ level or straight edge
- 5/16″ drill bit
- Clamps(not necessary but helpful)
- Wood putty
- Sandpaper
- Stain and varnish
Installation Instructions
- Cut lumber to size.
- Attach tops of legs. Adjoin the top of front and back legs (A and B) with two Simpson Strong-Tie 3″ Deck-Drive™ DSV Wood screws per side.
- Install gusset angles to legs. Mark placement of GA2 gusset angles on back legs at 12″ intervals starting at 4″ from bottom and working your way up. Attach with wafer-head screws (SD8). Use a level or straight edge to mark placement of gusset angles on front legs at same height. Attach angles to front legs with wafer-head screws (SD8).
- Assemble shelves. Attach side rails (I through N) and back rails (O) to each of the six shelves (C through H) with wafer-head screws (SD8).
- Attach shelves to legs with pan-head screws.
Hardware Needed
- (24) GA2 gusset angles
- (4) #10 x 3″ Simpson Strong-Tie Deck-Drive SV Wood screws (tan) (DSVT3)
- (1) box Simpson Strong-Tie #8 x 11/4″ wafer-head screws (SD8 x 1.25″)
- (1) pack #8 x 3/4″ pan-head screws (T08J075P)
Lumber Needed
- (4)pieces 2×4 x 8′
- (4)pieces 1×2 x 8′
- (1)-half-sheet 3/4″ plywood
Cut List
Cut from 2×4 x 8′
- (2) 80″ front legs
- (2) 78 1/4″ rear legs
Cut from 1×2 x 8′
- (4) 23 3/4″ shelf back rails
- (2) 23 3/4″ shelf back rails
- (2) 20″ shelf side rails
- (2) 17 3/4″ shelf side rails
- (2) 15 1/2″ shelf side rails
- (2) 13 1/4″ shelf side rails
- (2) 11″ shelf side rails
- (2) 8 3/4″ shelf side rails
Cut from 4′ x 4′ x 3/4″ plywood
- (1) 9 1/2″ shelves
- (1) 11 3/4″ shelves
- (1) 14″ shelves
- (1) 16 1/4″ shelves
- (1) 18 1/2″ shelves
- (1) 20 3/4″ shelves
Find more do-it-yourself project plans at strongtie.com/diy.


