
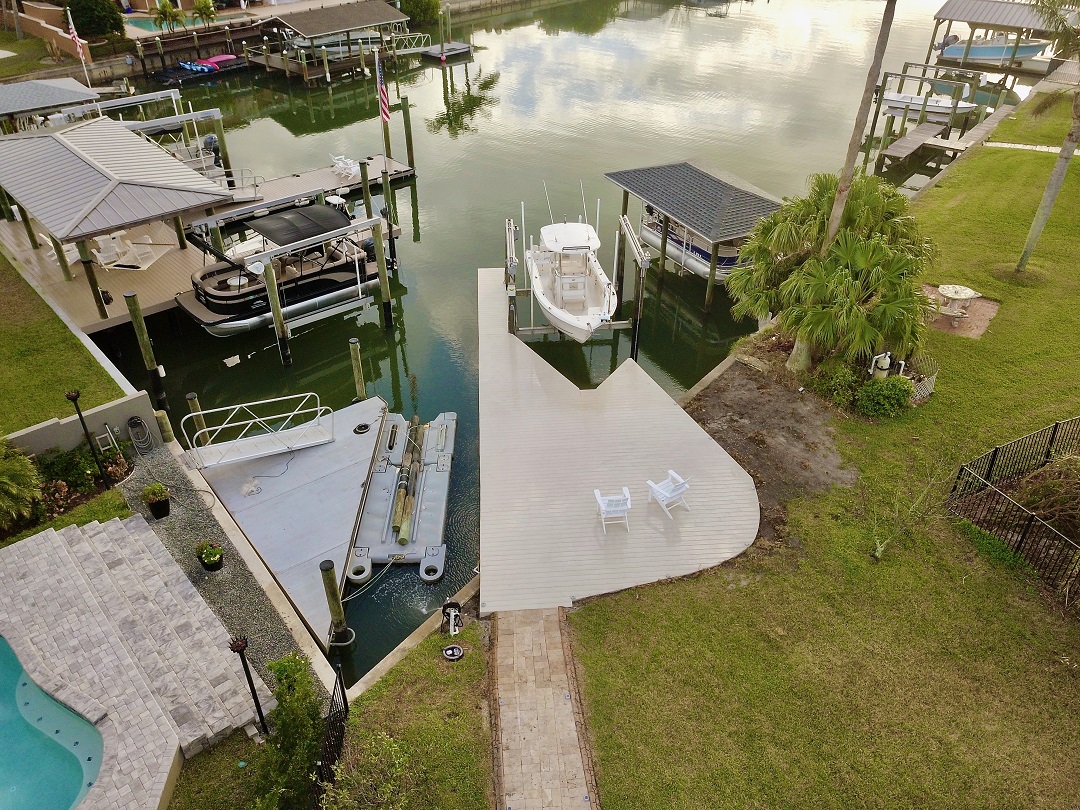
Completed costal dock renovationJamison’s parents had recently purchased a home in Florida that had a dock that was in need of repair. The existing dock had pressure-treated deck boards that were splintering and unsafe. The layout of the dock was essentially a narrow pier positioned a few feet from the boat, making it difficult for more than one person to fish from or for mobility-impaired individuals to board the boat. Additionally, the piles were covered in oysters and barnacles, so their structural integrity was uncertain.
First, he designed a plan to utilize the dock’s existing space and create a design to allow safe entrance onto the boat. Then, he obtained the necessary permits and submitted the required paperwork for approval. Next, Jamison and his team demolished the old decking, joists, and piles and set aside the old boat lift.
The team then set new piles, installed the beams and ledger board, and installed the joists and hardware. They also installed a new boat lift and replaced the decking with WearDeck in the color Barefoot Sand. Additionally, they expanded the decked area to create a more enjoyable space for hanging out, fishing, and safely boarding the boat.
Below is a brief overview of the steps Jamison took for this dock rebuild. You can also learn more details about this build here.
Steps to Rebuild a Dock
- Design — figuring out how to utilize the dock’s existing space and create a design to allow safe entrance onto the boat was the first step
- Permitting — making sure all papers, including a checklist, survey and plans, were in order to submit to government officials for approval and to receive a permit
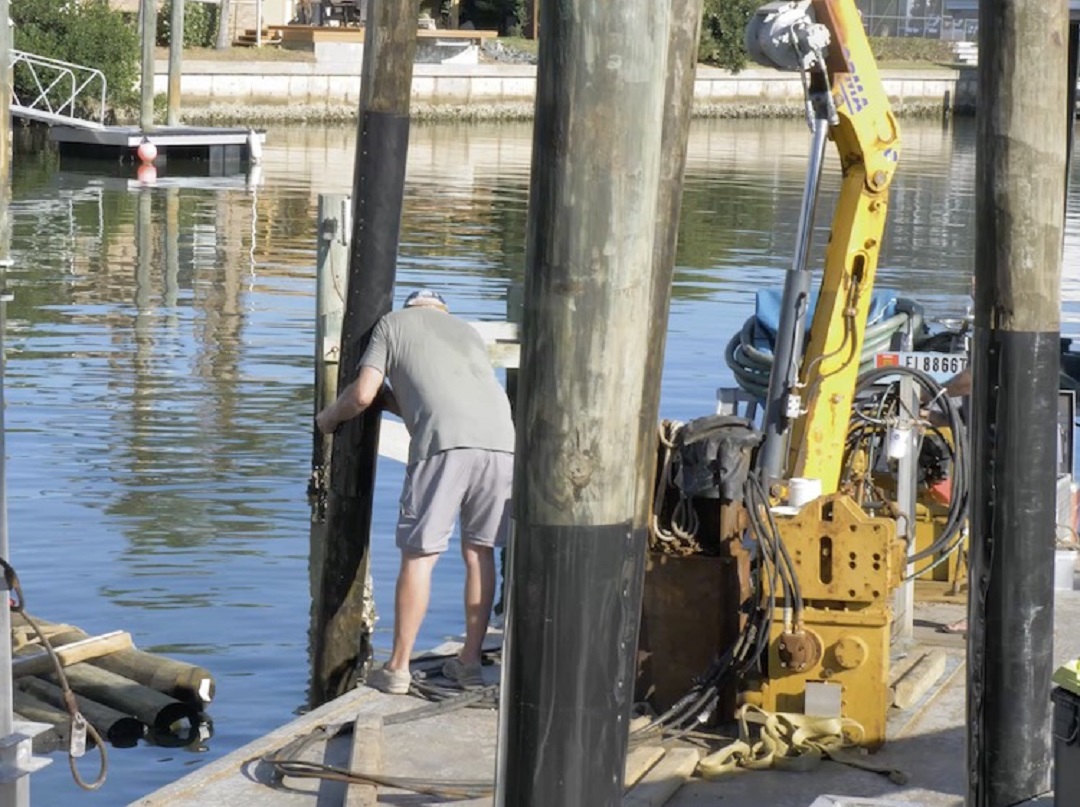
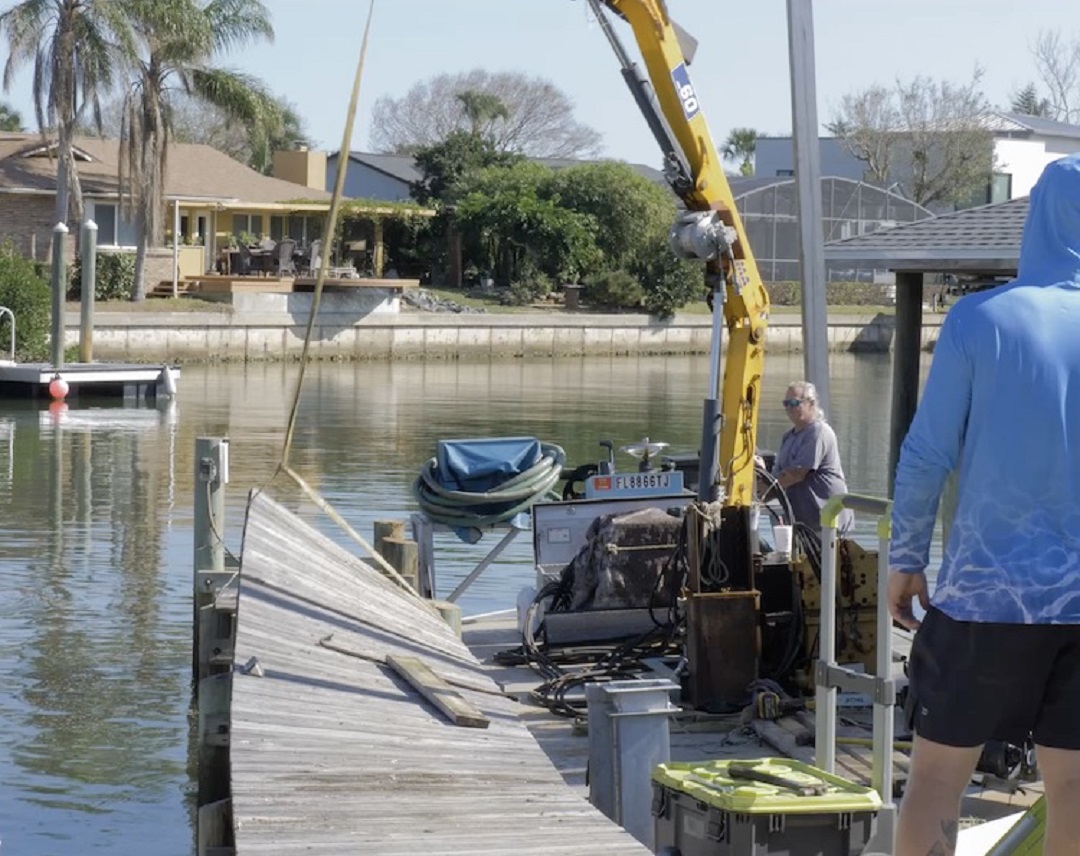
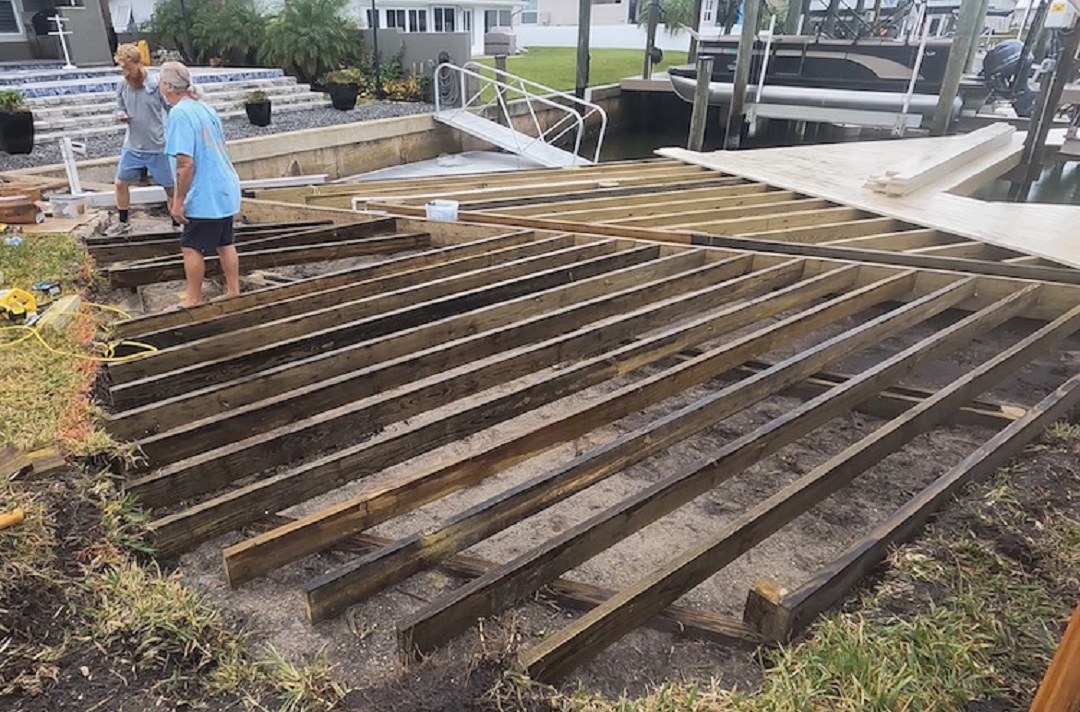
- Demolition — removing old decking, joists, and piles, and setting aside old boat lift
- Setting new piles
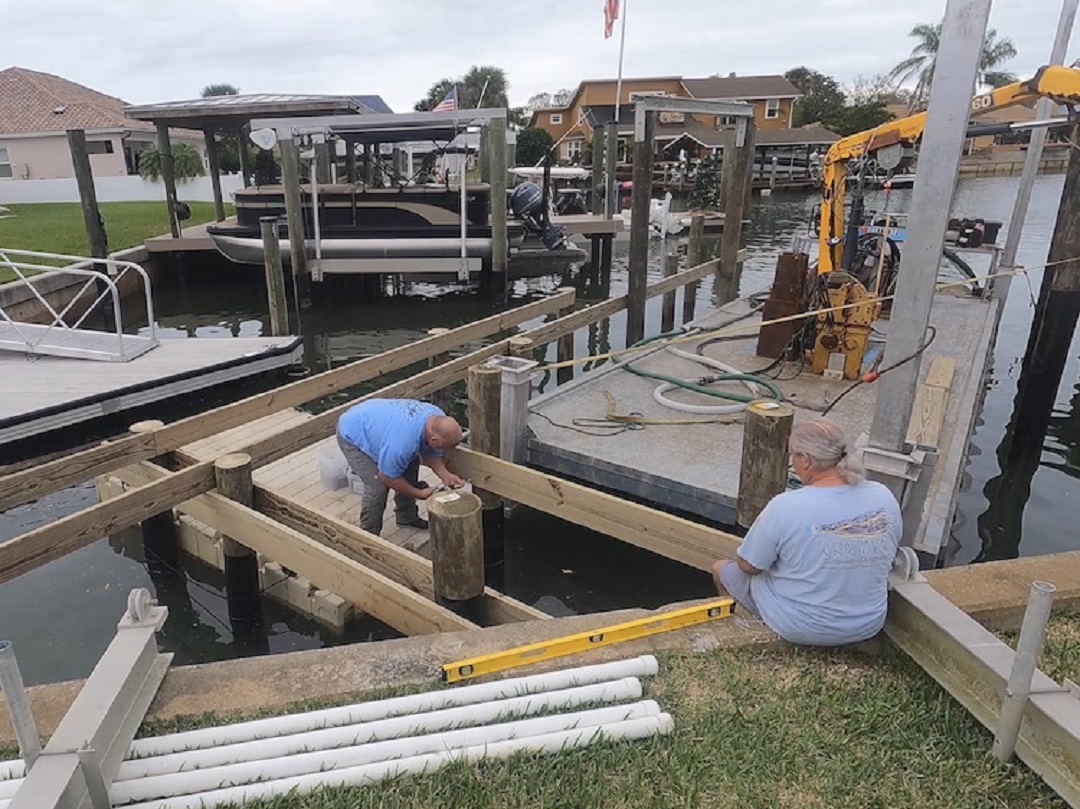
- Installing the beams
- Installing the ledger board
- Installing the joists
- Installing the hardware
- Installing the boat lift
- Decking
- Expanding the Deck (optional)
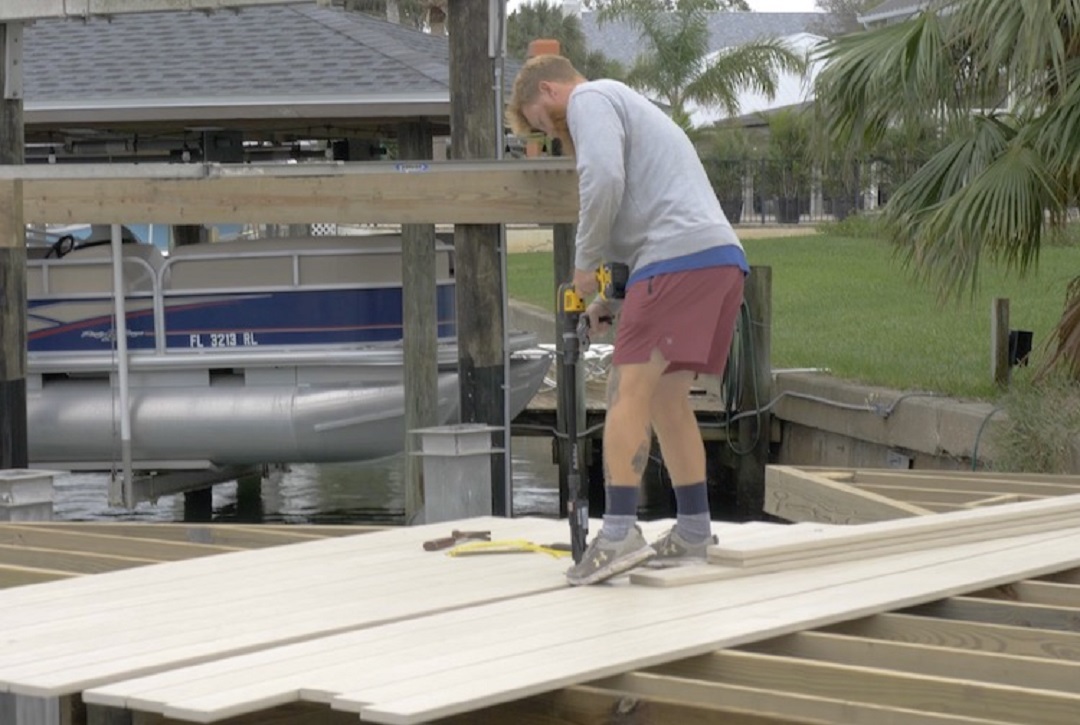
Laying the new board with Simpson Strong-Tie Quik Drive® Cordless PRO300SG2 Decking System
Materials for a Dock Rebuild
- APE vibratory hammer
- Strong-Drive® SDWS TIMBER SS Screw
- Titen HD® heavy-duty screw anchor
- H2.5A hurricane ties
- LS skewable L angles
- Quik Drive® Cordless PRO300SG2 Decking System
- Deck-Drive™ DWP WOOD SS Screw (Collated)
- WearDeck (color: Barefoot Sand)
In the video below, Jamison goes over the dock rebuild and expansion in more detail.


