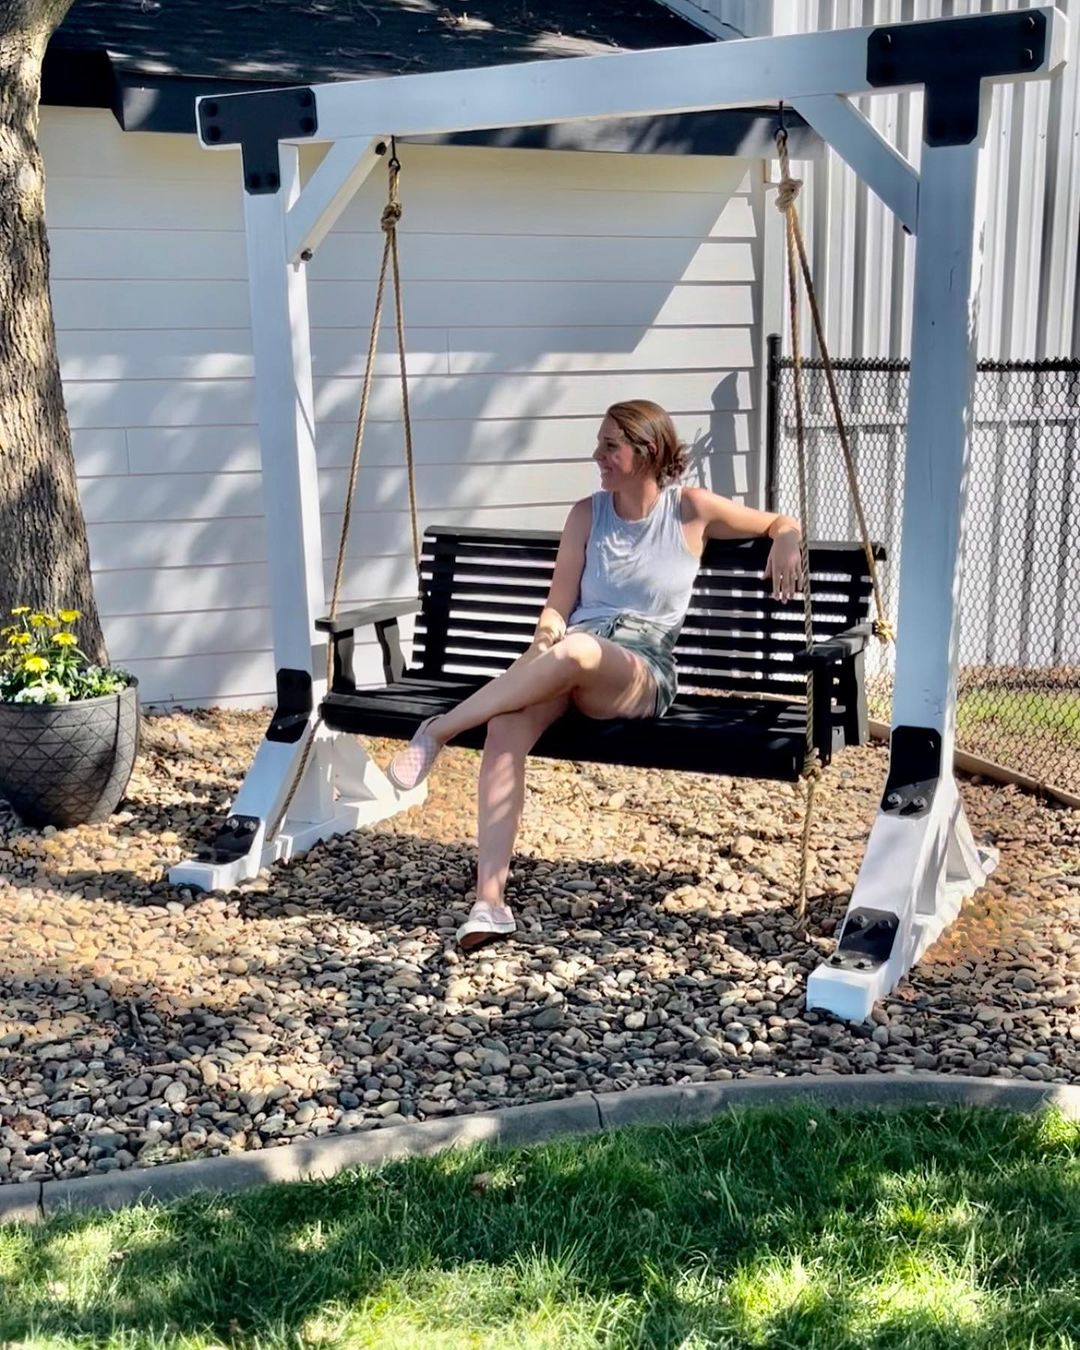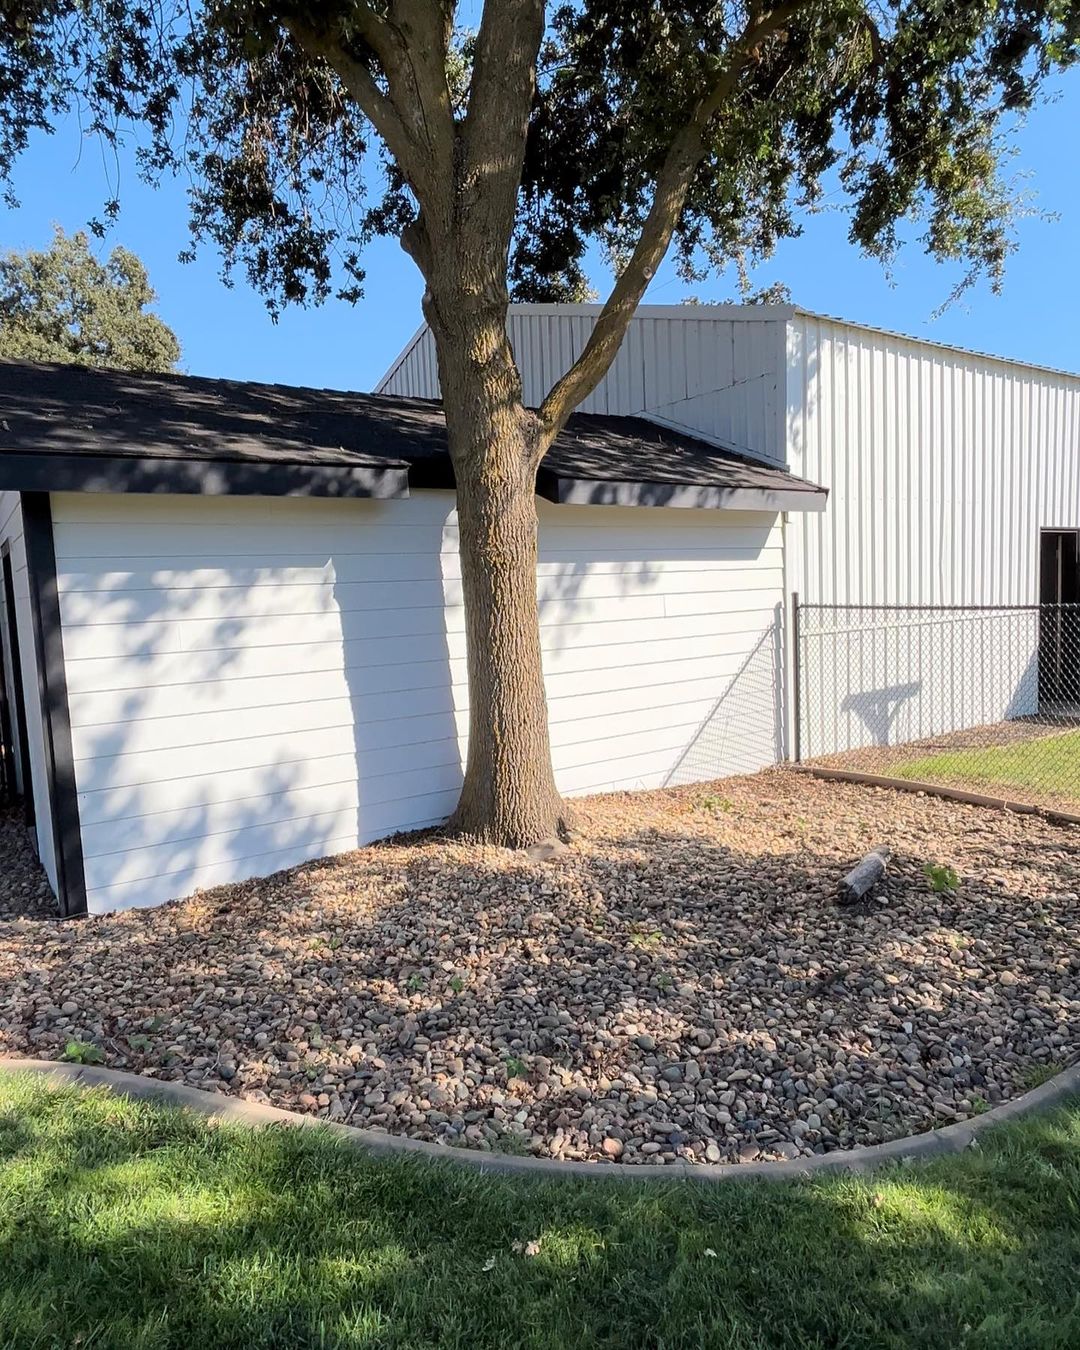
My parents had an empty backyard space my mom really wanted to add a little character to in the corner of their yard, so we came up with the idea of a porch swing. But she really didn’t want to dig holes or pour concrete, so we designed it to be freestanding. It’s the perfect addition to the corner under the tree.
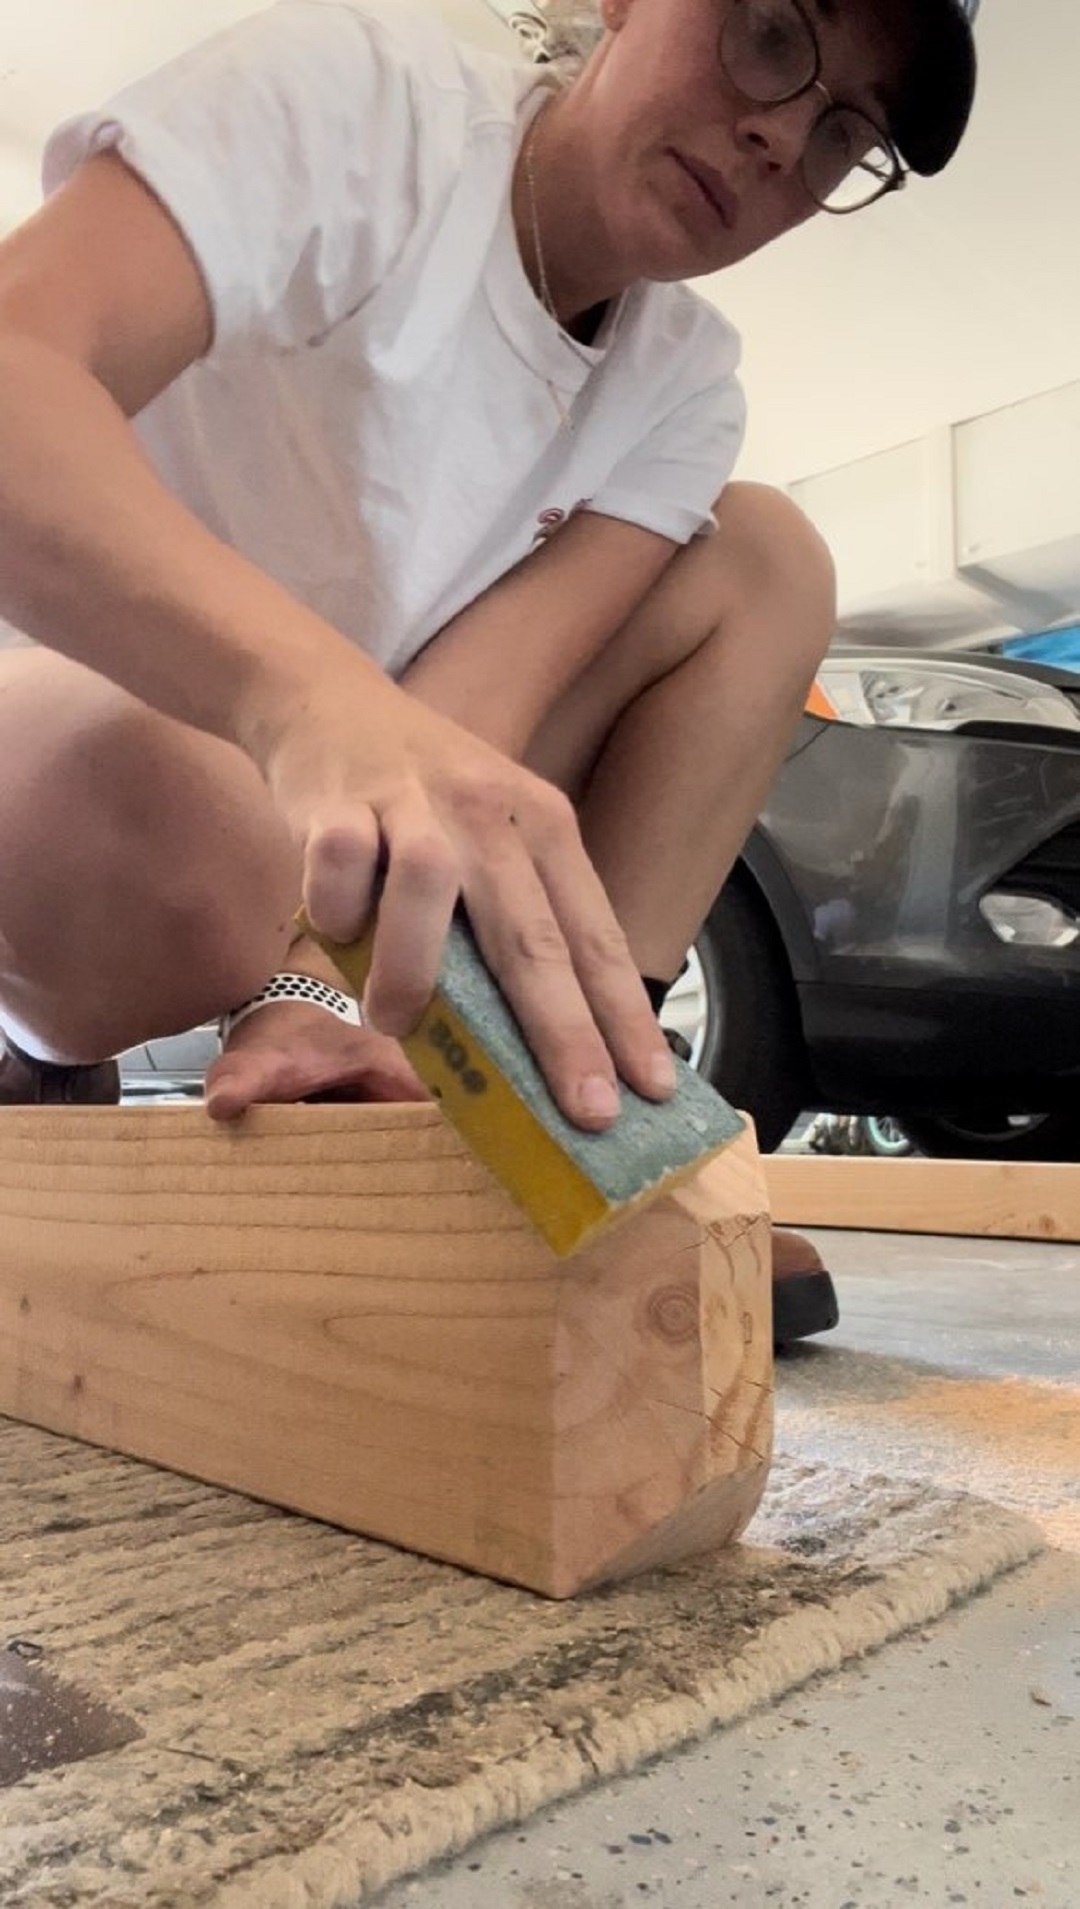
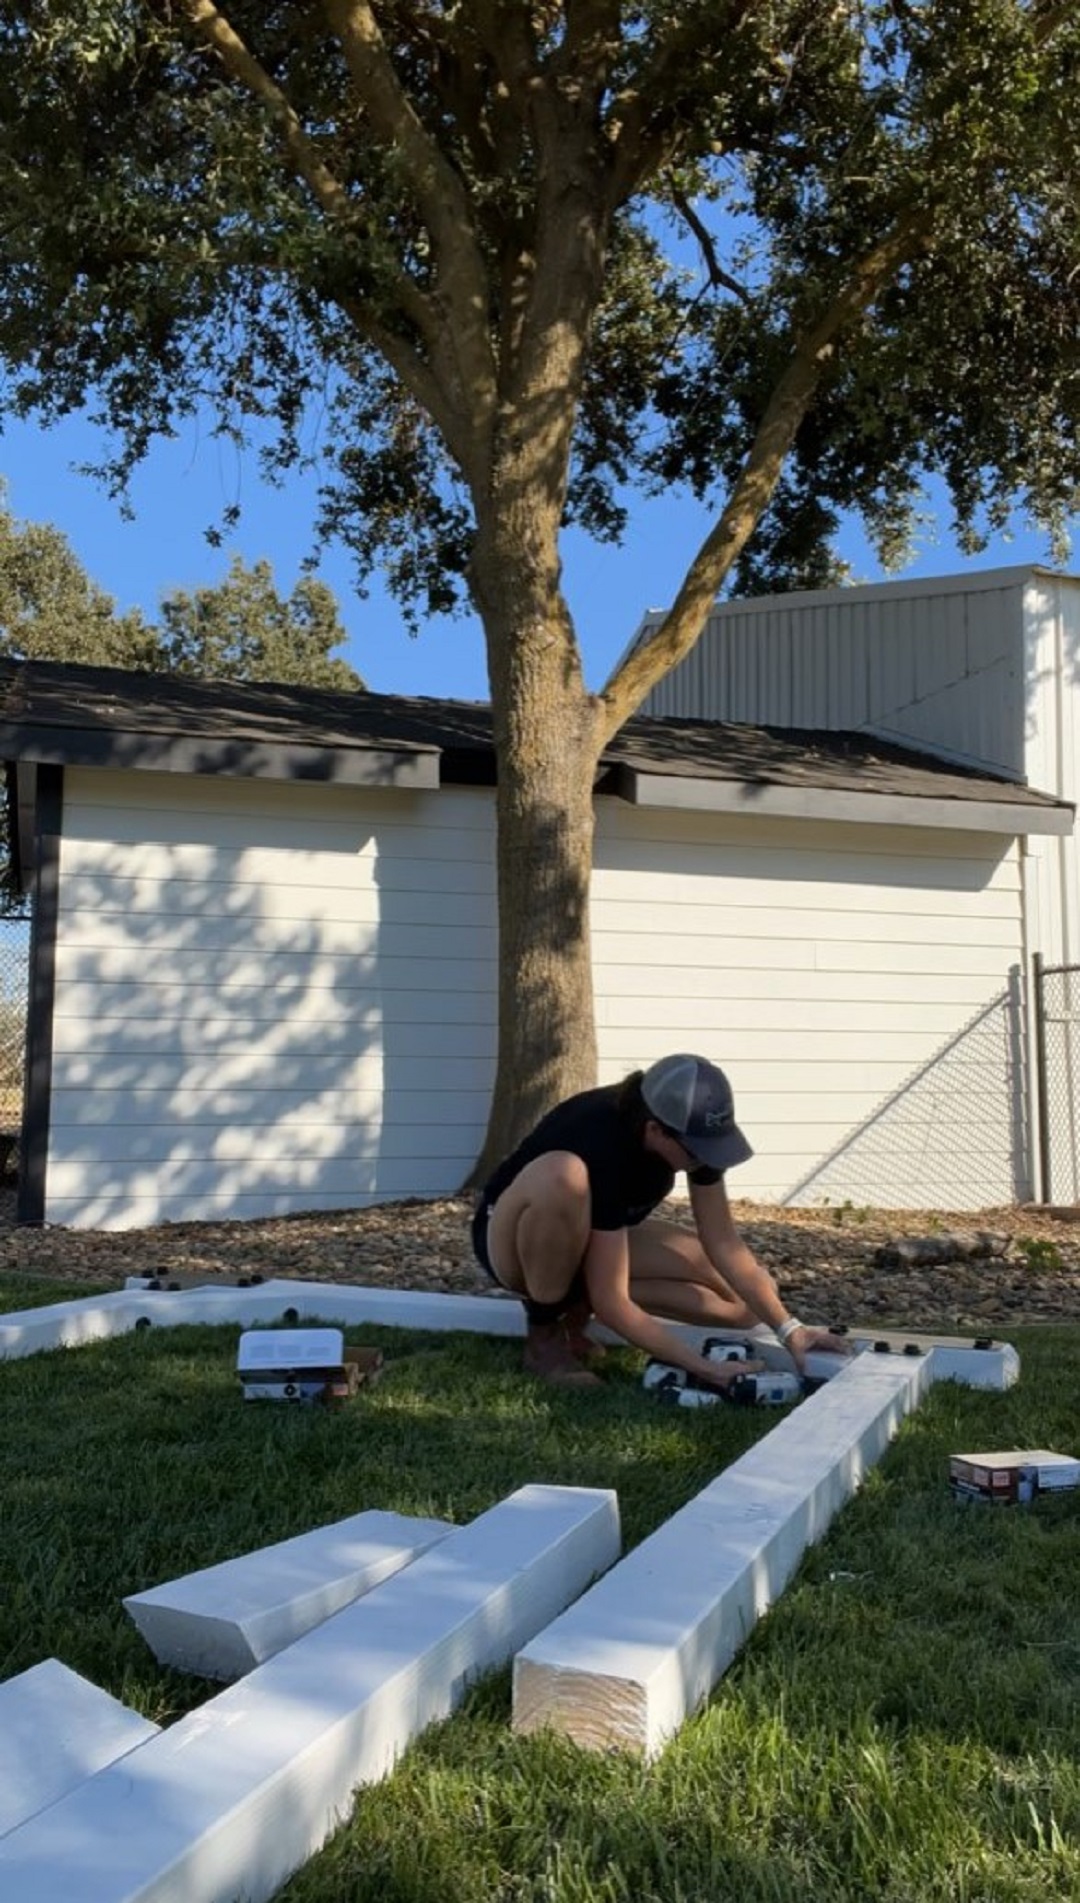
For the porch swing frame, I decided to use 2×6 lumber to give it a sturdier look. The top horizontal beam is 8’ long, and I made 45-degree cuts to allow a decorative end cap on that beam. The horizontal beams I cut to 6 1/2’. Each base piece is made of 4’ lumber, with 18” supports cut at 45 degrees. I stained the boards with a semitransparent outdoor weather-resistant white stain.

I couldn’t have done this project without some amazing Simpson Strong-Tie Outdoor Accents hardware. I used the Outdoor Accents knee brace to connect the base of the swing together, the T strap for the top lateral pieces of the swing and 2” structural wood screws to fasten everything in place. Simpson Strong-Tie products make these outdoor projects so simple!
After I painted the lumber, I had to wait a day for the paint to dry before assembly could begin. The flip to the backside of the swing was a little precarious, so I had to call in some reinforcements. Thanks to Dad, Elle and the doggies for their help with this project.

I picked a hot day to assemble the swing. From the feel of things, I’m guessing it was hotter outside than on the surface of the sun that day! But we made it, and my dogs were a great audience. Now that it’s all done, I’m so excited to share this build with you. Let me know how it turned out!