
Whether you’re looking to create a DIY cocktail lounge in the garage, a full-scale tropical bar by the pool or a simple bar for family barbecues and cocktail parties, your experiences will be better knowing that you’re enjoying them at your personal, hand-built bar.
As part of our engineering internship, we designed this project, calculated the required materials, drafted a cut sheet, and built it from scratch. Our plans are included here, but the great part about this bar is that it can be customized to fit your space.
Download: DIY Home Bar Plans
DIY Home Bar Materials List:
LUMBER:
2×4 x 96″ (8FT) – 10 NEEDED
4×4 x 96″ (8FT) – 4 NEEDED
SHEATHING:
4’x8′-1⁄2″ – 2 NEEDED
4’x8′-3⁄4″ – 2 NEEDED
CONNECTORS:
A21 – 24 NEEDED
A23 – 16 NEEDED
RTA2Z – 32 NEEDED
RTC42 – 4 NEEDED
FASTENERS:
#8 x 11⁄4″ Strong-Drive Screws (SD8x1.25) 6 Boxes
#10 x 2″ Deck-Drive DSV Wood Screw – Red (DSVR2R1LB) 1 Box
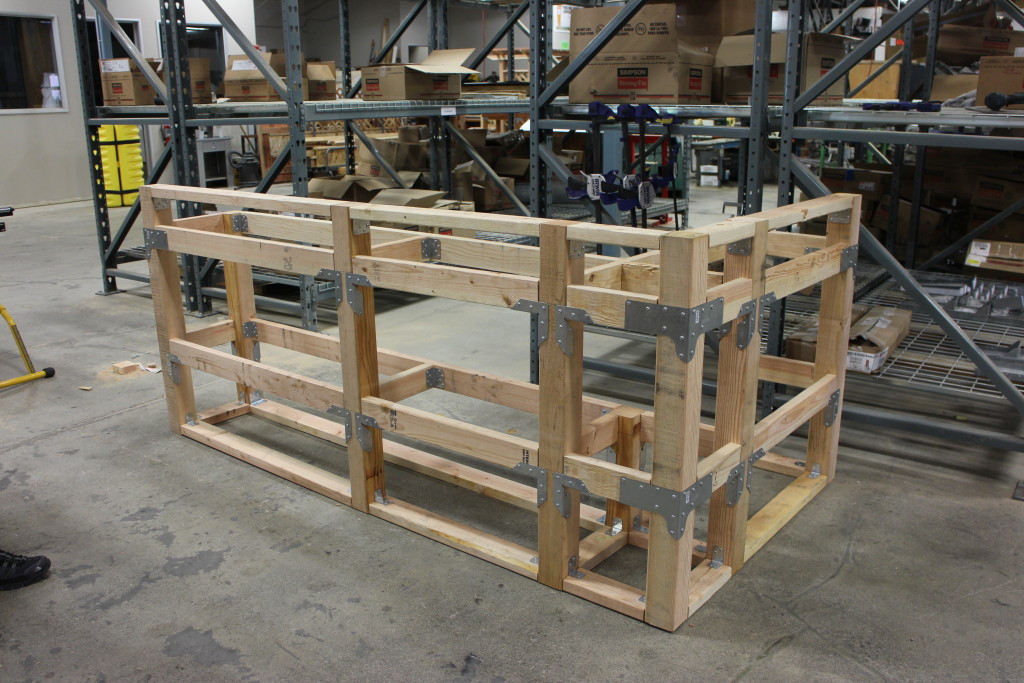
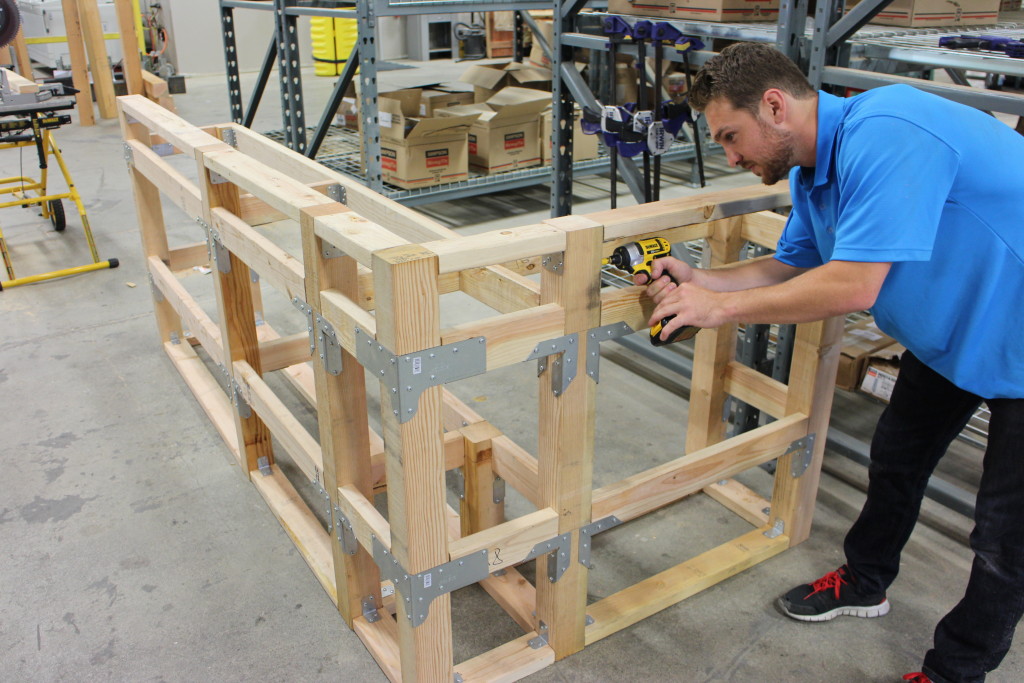
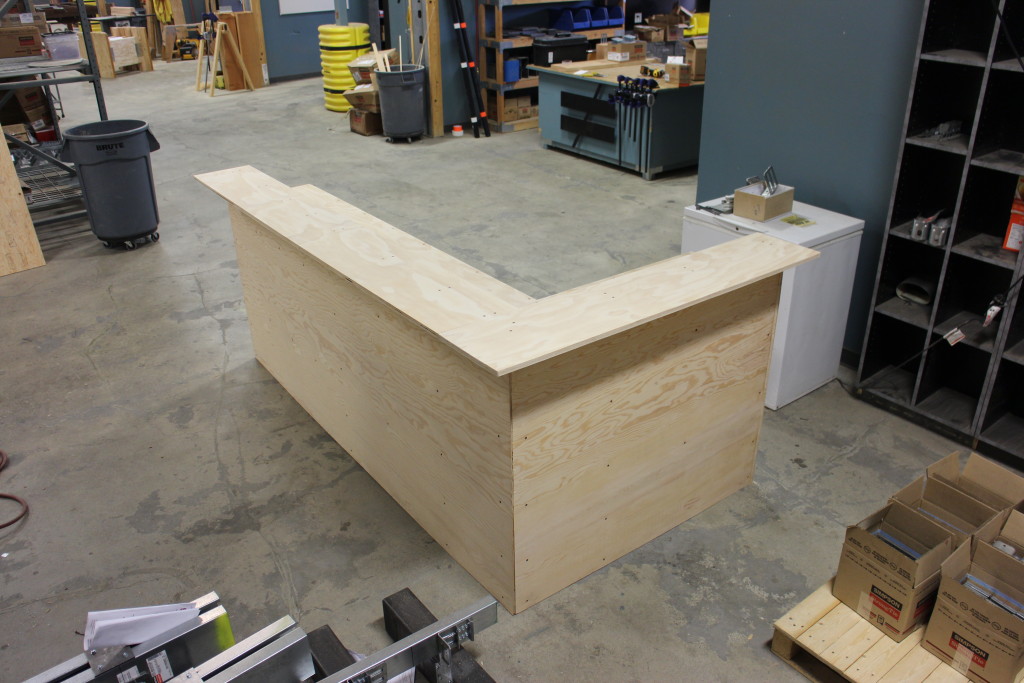
We designed the frame to allow for maximum use of the space by including a two-level bar top, two massive shelves spanning the length of the bar and a cutout for a mini-fridge (or a sink if you decide to take on the plumbing challenge). Thanks to Simpson Strong-Tie connectors, this DIY bar design uses minimal wood and provides maximum load-bearing strength. This frame can be slightly modified if desired and provides a fun, challenging project for the intermediate/advanced builder. As you’ll see, this bar is sturdy and durable!
To further stabilize your bar, you may decide to anchor it into the concrete or surface you’re working on. If you build this bar on your deck, simple wood screws will do the trick. However, if you’re anchoring this bar into concrete, you’ll want to use concrete screws.
Once the frame is complete, this project can get as creative as you like, since there are many ways you can personalize the finished bar.
Thick cuts of genuine wood for the bar top can be expensive, so we have a few suggestions to bypass this. You can use 1″-thick hardwood ply and add an overhang to give the illusion of a thicker piece of wood — or glue multiple sheets of plywood together to create an even thicker bar top. If you choose to use wood for the bar top, you may decide to stain it and add varnish, to paint it, or simply to leave a sanded wood finish that will let the lumber show its color over time.
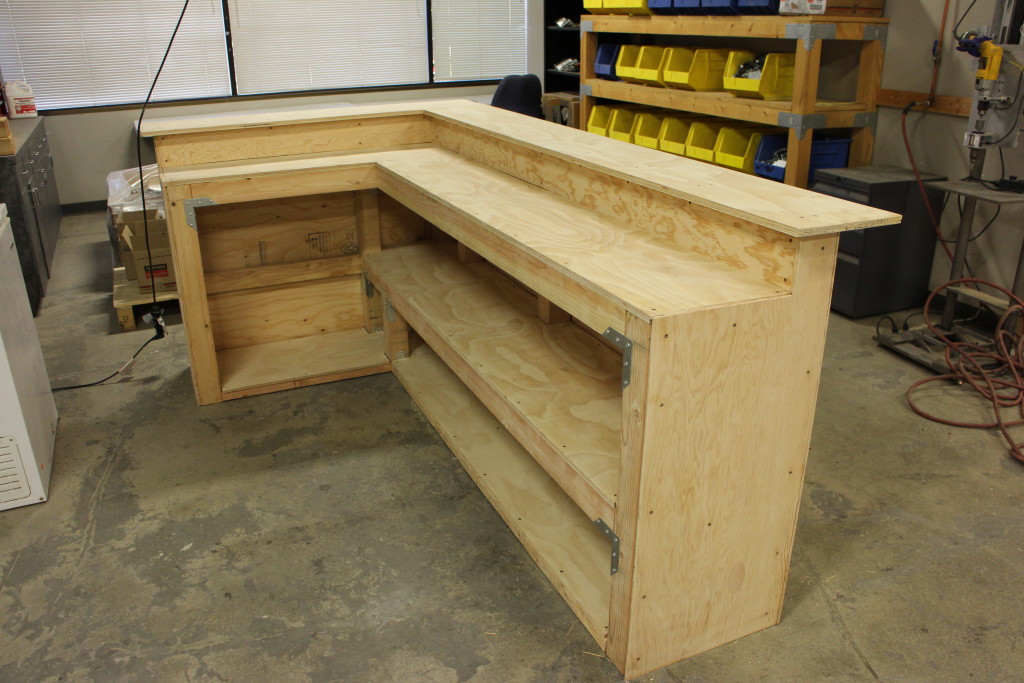
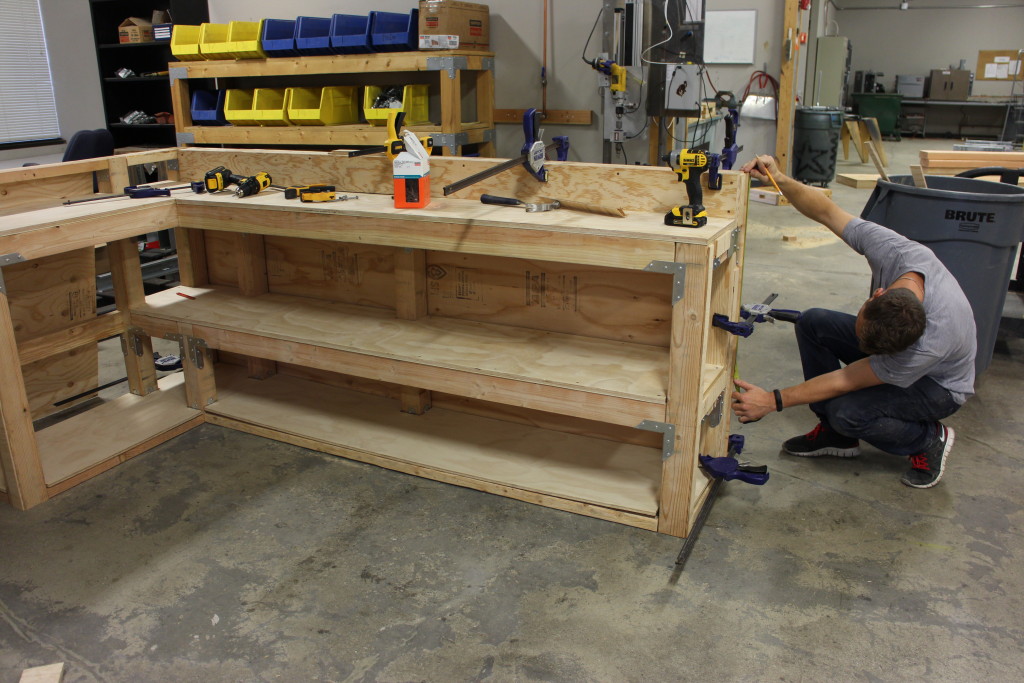
You may decide not to use wood at all for the countertop and instead try a Plexiglas® (plexiglass) bar top or even stainless steel – the possibilities are endless! Paneling brings up another creative decision, as you can either use simple thin plywood spanning the entire frame or use individual planks. In our build, we used thin plywood.
To help you get started, we’ve listed various ideas and modifications you can make to personalize your DIY bar, along with pictures to inspire you no matter what you choose. So have fun, allow your creative juices to flow, and make your dream bar exactly how you want it!

This blog post was written by college interns in our Engineering Department. They were tasked with creating a DIY project that would be sturdy and durable, so they decided to create a DIY bar. Thank you to Carlos McEniry, Grant Groshans, Griffin Hornyak, Jeff Dyer and Sienna Palos for the post.


