
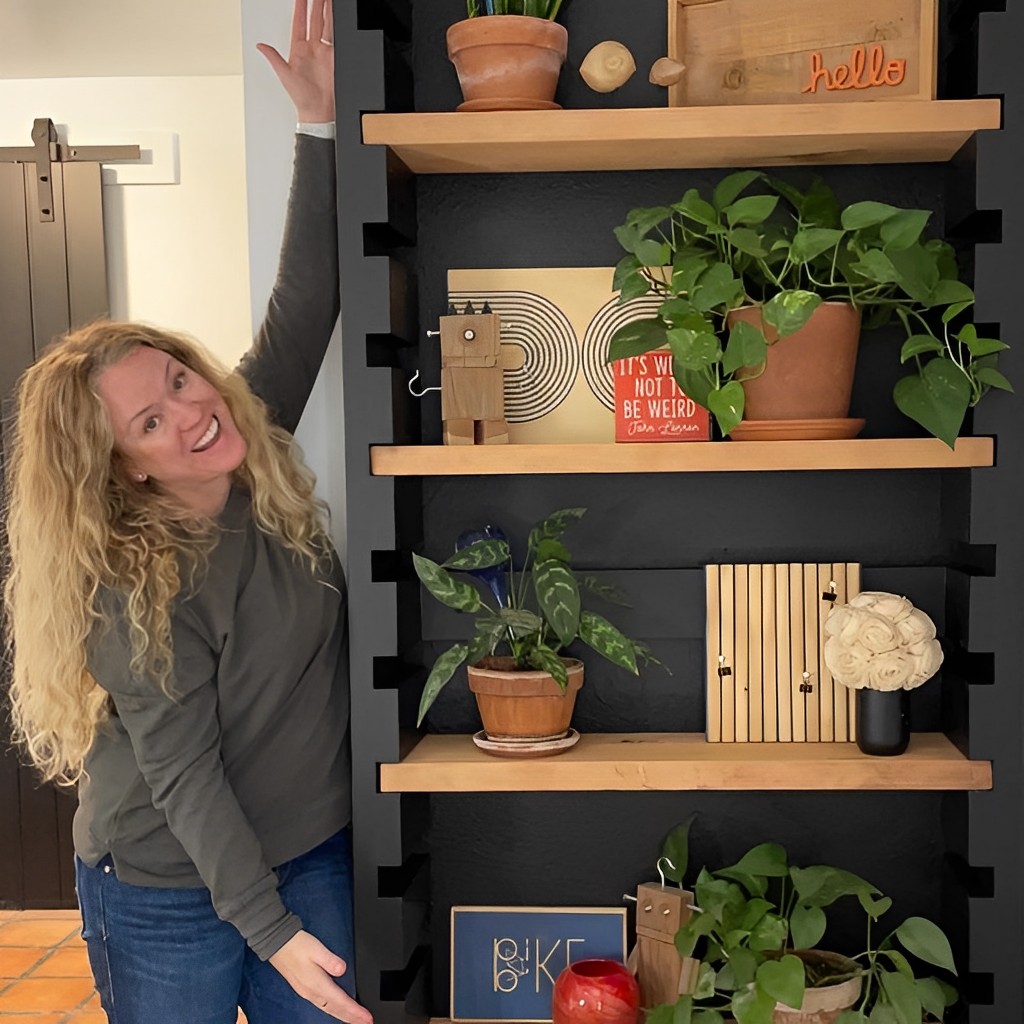
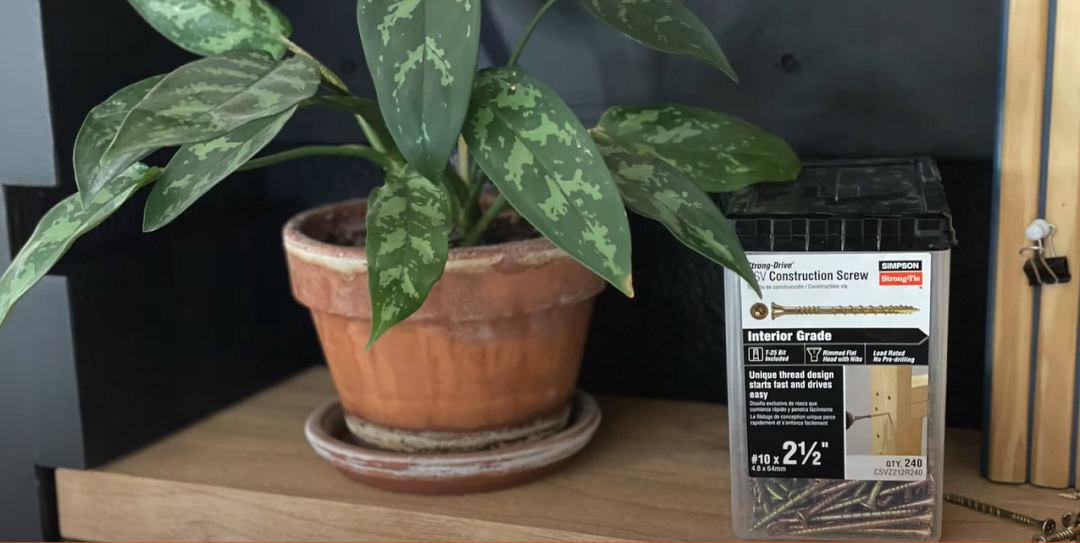
Creating a stylish yet functional bookshelf that wouldn’t take up too much space and had adjustable shelving was the goal of Sadie Mae Johns (aka The Awesome Orange) goal when she made this built-in bookshelf. Not only did it transform her empty wall space into a lively, organized nook but it also allowed her flexibility in the future if she wants to swap out plants or other decorative items on display. She chose to use our easy–driving Strong-Drive® CSV Construction screws to create the connections for this project. These screws come in multiple sizes, making them a great choice for a variety of DIY projects.
Below are a few lists to consult before you start building. You can get more in-depth information about Sadie’s build on her blog here.
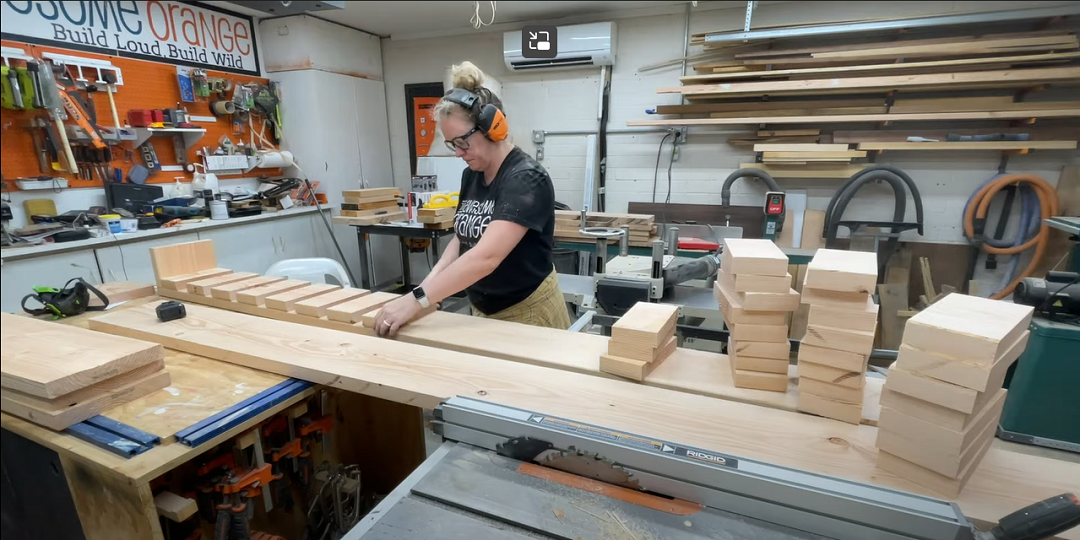
Tools Needed:
- Saw (preferably a miter saw)
- Drill
- Sander
- Optional: thickness planer and table saw — saves on sanding
Materials for the Build:
- Frame: (5) 2×10″ x * construction grade lumber (*height depends on your ceiling height)
- Shelves: (2) 2×10 for shelves using a lumber of preference — Sadie used scrap knotty alder she had lying around
- Approx. (100) 2 1/2 ” Simpson Strong-Tie Strong-Drive CSV Construction Screws
- Approx. (10) 3 ” Strong-Drive CSV Construction Screws
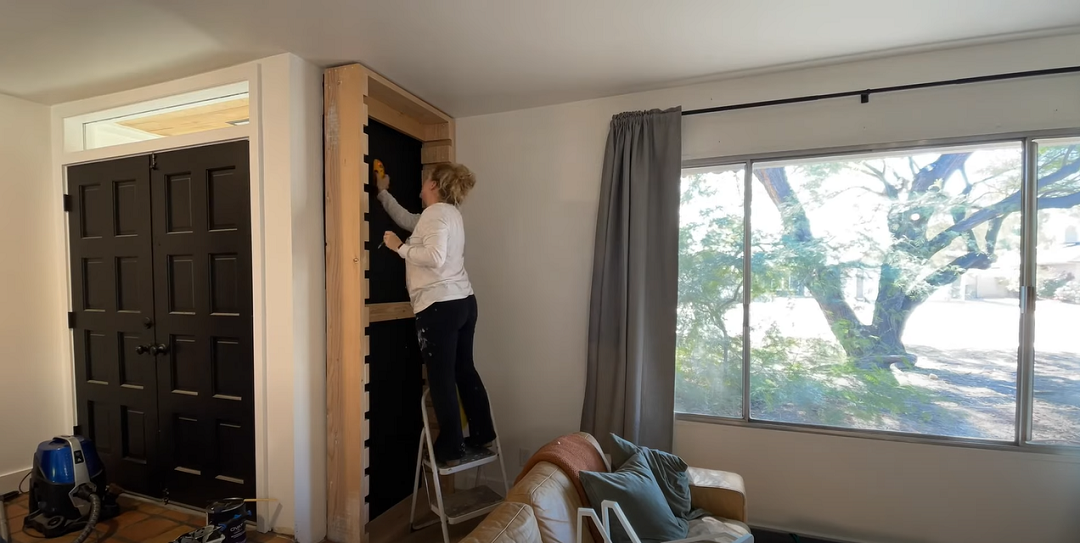
Setting up Bookshelf
Cut List (the lengths listed are those Sadie selected to fit her space):
- Cut side pieces: (2) 2×10 x 102 1/2″
- Cut top and bottom pieces: (2) 2×10 x 34 1/4″
- Cut short pieces: (34) 2×10 x 4.22″ — Sadie recommends using a stop block on your miter saw to ensure all pieces are the exact same width. And then cut two pieces at a time, make sure they are the same width and place them on your side boards. This ensures that the short pieces will be the exact same on both sides of the uprights. And will help you catch any mistakes before assembly.
- Cut to brace pieces: 2 x 4.22″ x 34 1/4″ — these are put on the top and middle of the bookcase to support it and to secure it to the wall during installation.
Check out her YouTube video tutorial for her build.


