
Most people plan vacations to get away from their homes, but ever since we moved into our current house, my wife and I have been working hard to make it a place our family doesn’t want to leave. We want to have fun here and also make it a place where our kids and their friends want to hang out.
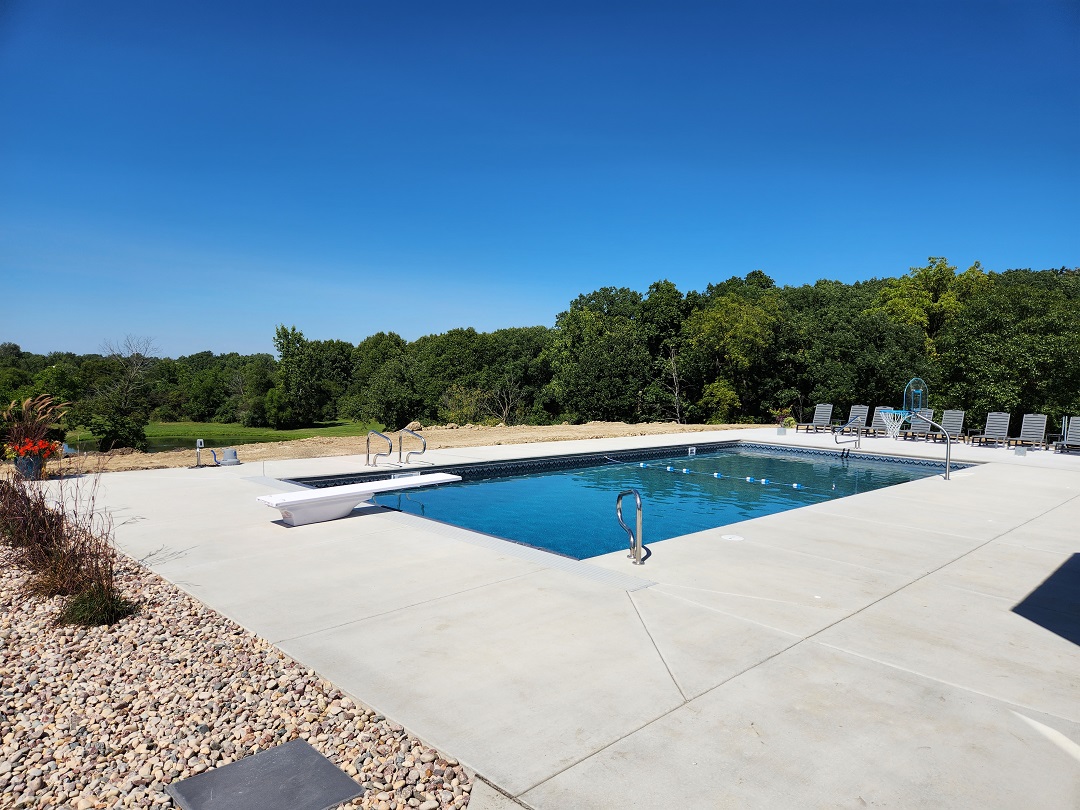
Our ultimate dream was to put in a pool along with all the other entertainment items that go with it. After 10 years of saving and planning, we finally accomplished the first part of that dream this past summer as we watched our pool go into the ground. Since our backyard is wide open with no trees or shade close to the pool, we knew we would have to build some type of shelter in order to fully enjoy the pool, so we decided to add a pavilion nearby.
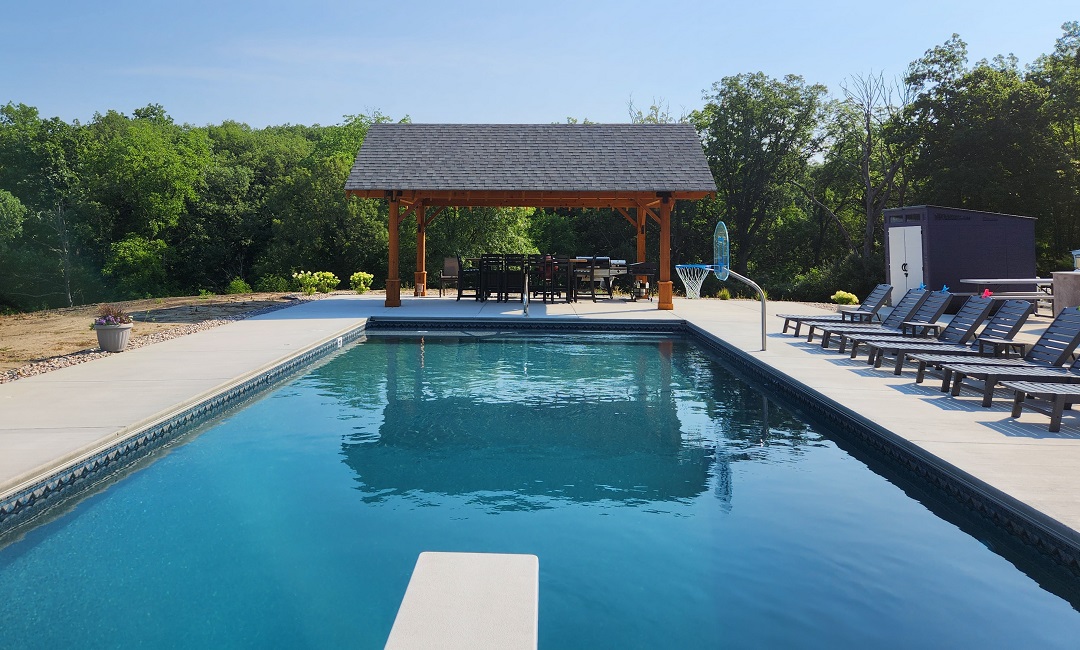
We wanted the pavilion to be structurally sound, so I did some initial design work using Simpson’s Pergola Builder Software™ and came up with a design we all liked. We flip-flopped quite a bit with what color we wanted the pavilion to be. We originally wanted a natural wood color, but we also really liked the gray color of the pavilion shown on Simpson’s Outdoor Accents web page. We eventually settled on real cedar wood for the pavilion, which combined with the black Simpson Outdoor Accents products and the dark shingles for a nice color contrast.
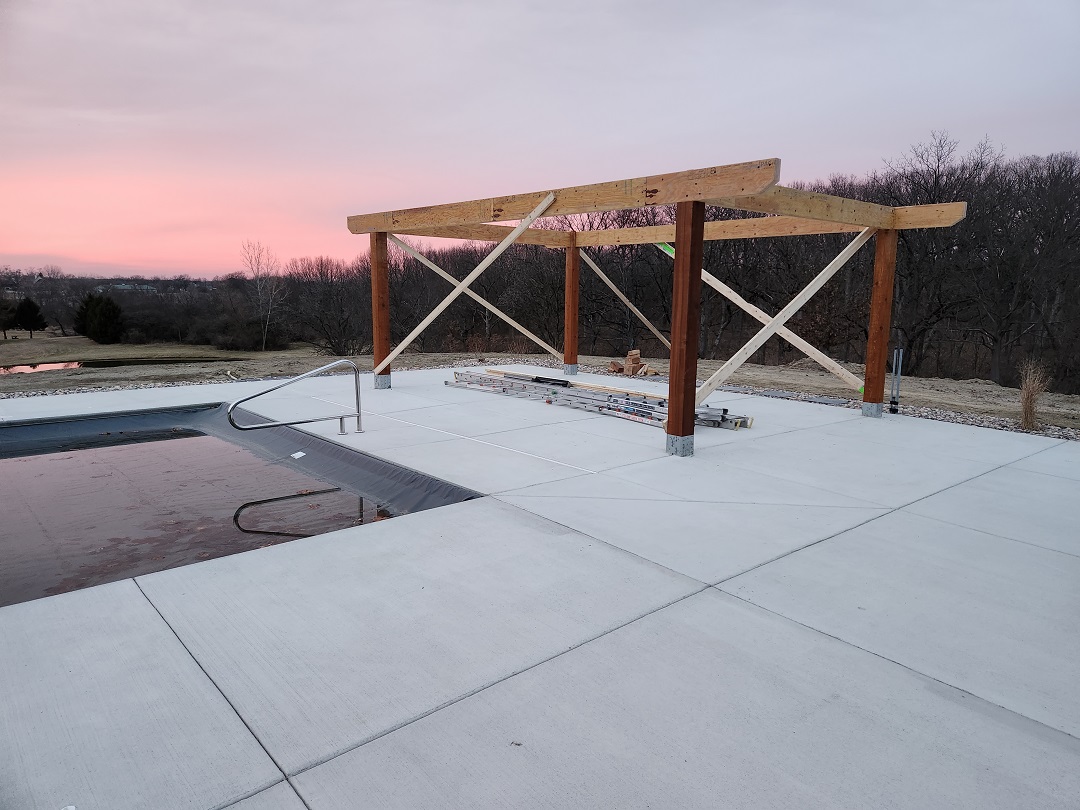
Once we had the design figured out, it was time to get the foundation set. Even though the ground doesn’t shake where I live, we can get some really strong storms and high winds ripping through our yard, so we decided to use the Simpson Strong-Tie moment post bases to make sure we had a solid connection to the earth.
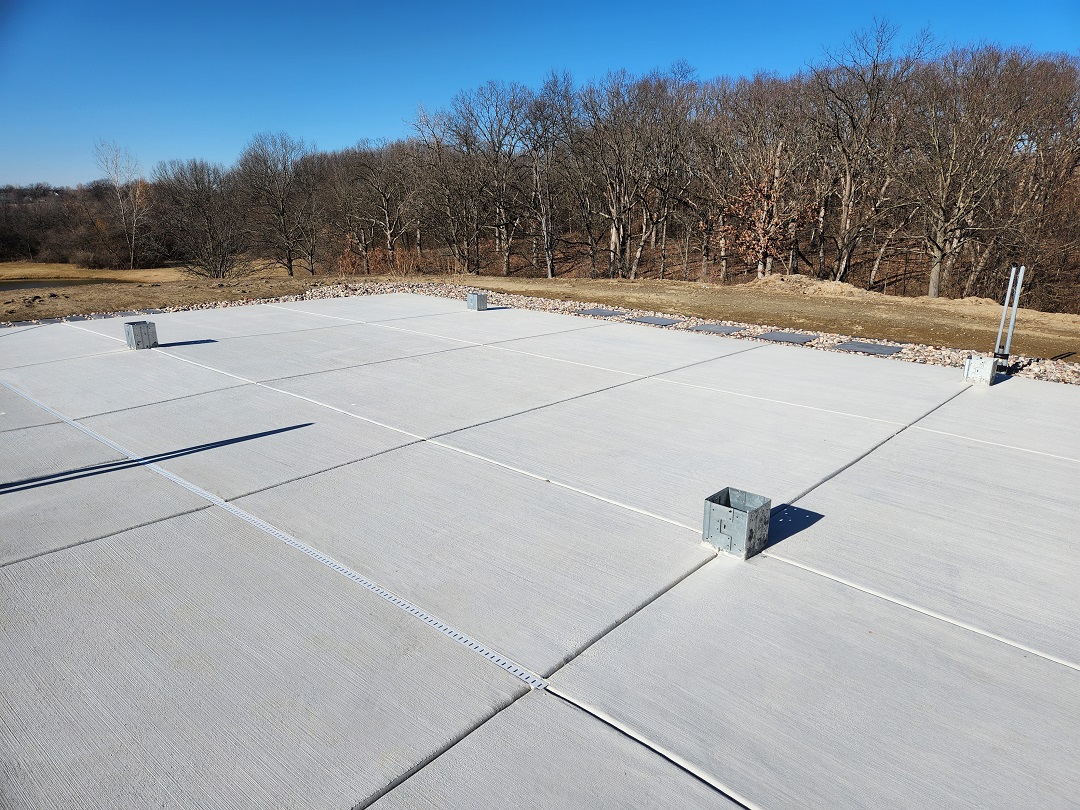
We ran the footing forms deep into the ground and set the post bases in the concrete when the pool deck was poured. Then the wait was on. Since the pool deck was poured shortly before the weather would be turning colder for the fall, we decided to hold off on building the pavilion until the spring. (We also wanted more time to make sure we were happy with our design choices.)
Once spring came, we ordered all the wood, the Simpson screws, and the Outdoor Accents connectors, and we were ready to start. The biggest time commitment was staining all the wood. Since it was still cold outside, we stained all the wood inside the garage, creating a giant jigsaw puzzle of moving parts as we rotated the wood from storage to staining to drying and back to storage again. We spent 40 man hours total as a family staining the wood, which gave us a lot of bonding time, and when it was done, the wood color was perfect. The natural cedar stain really pulled out the cedar color in the wood and gave it a deep, rich, weather-resistant finish.
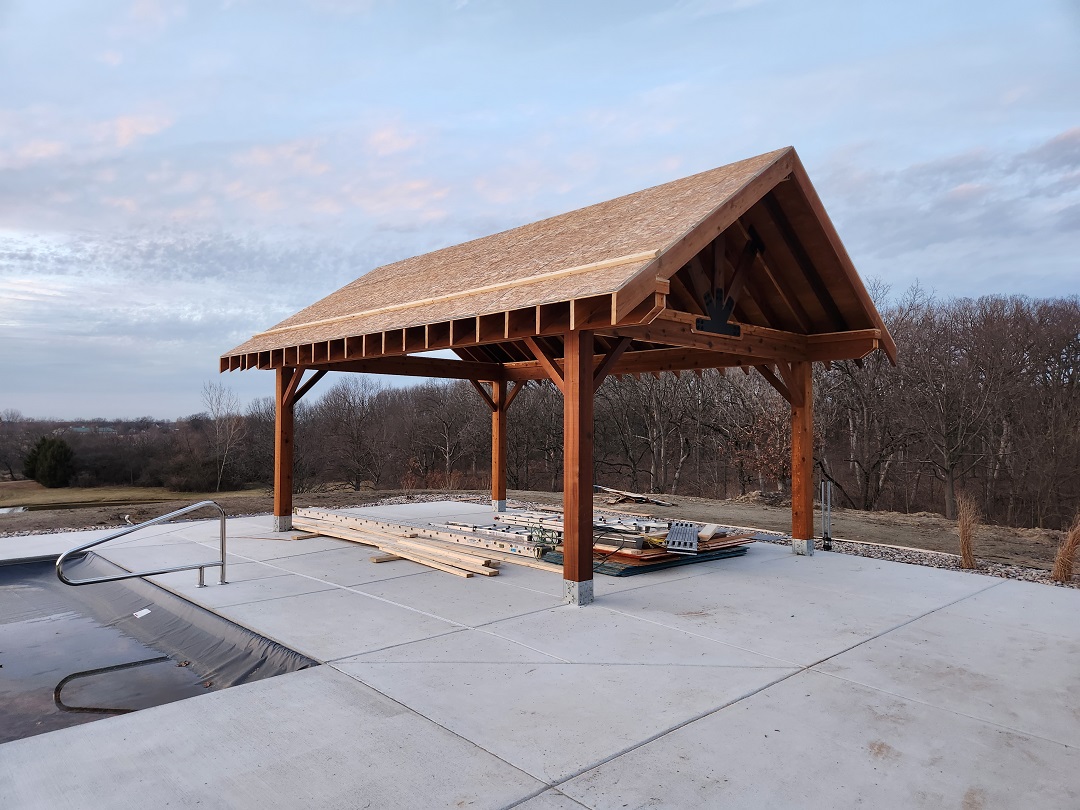
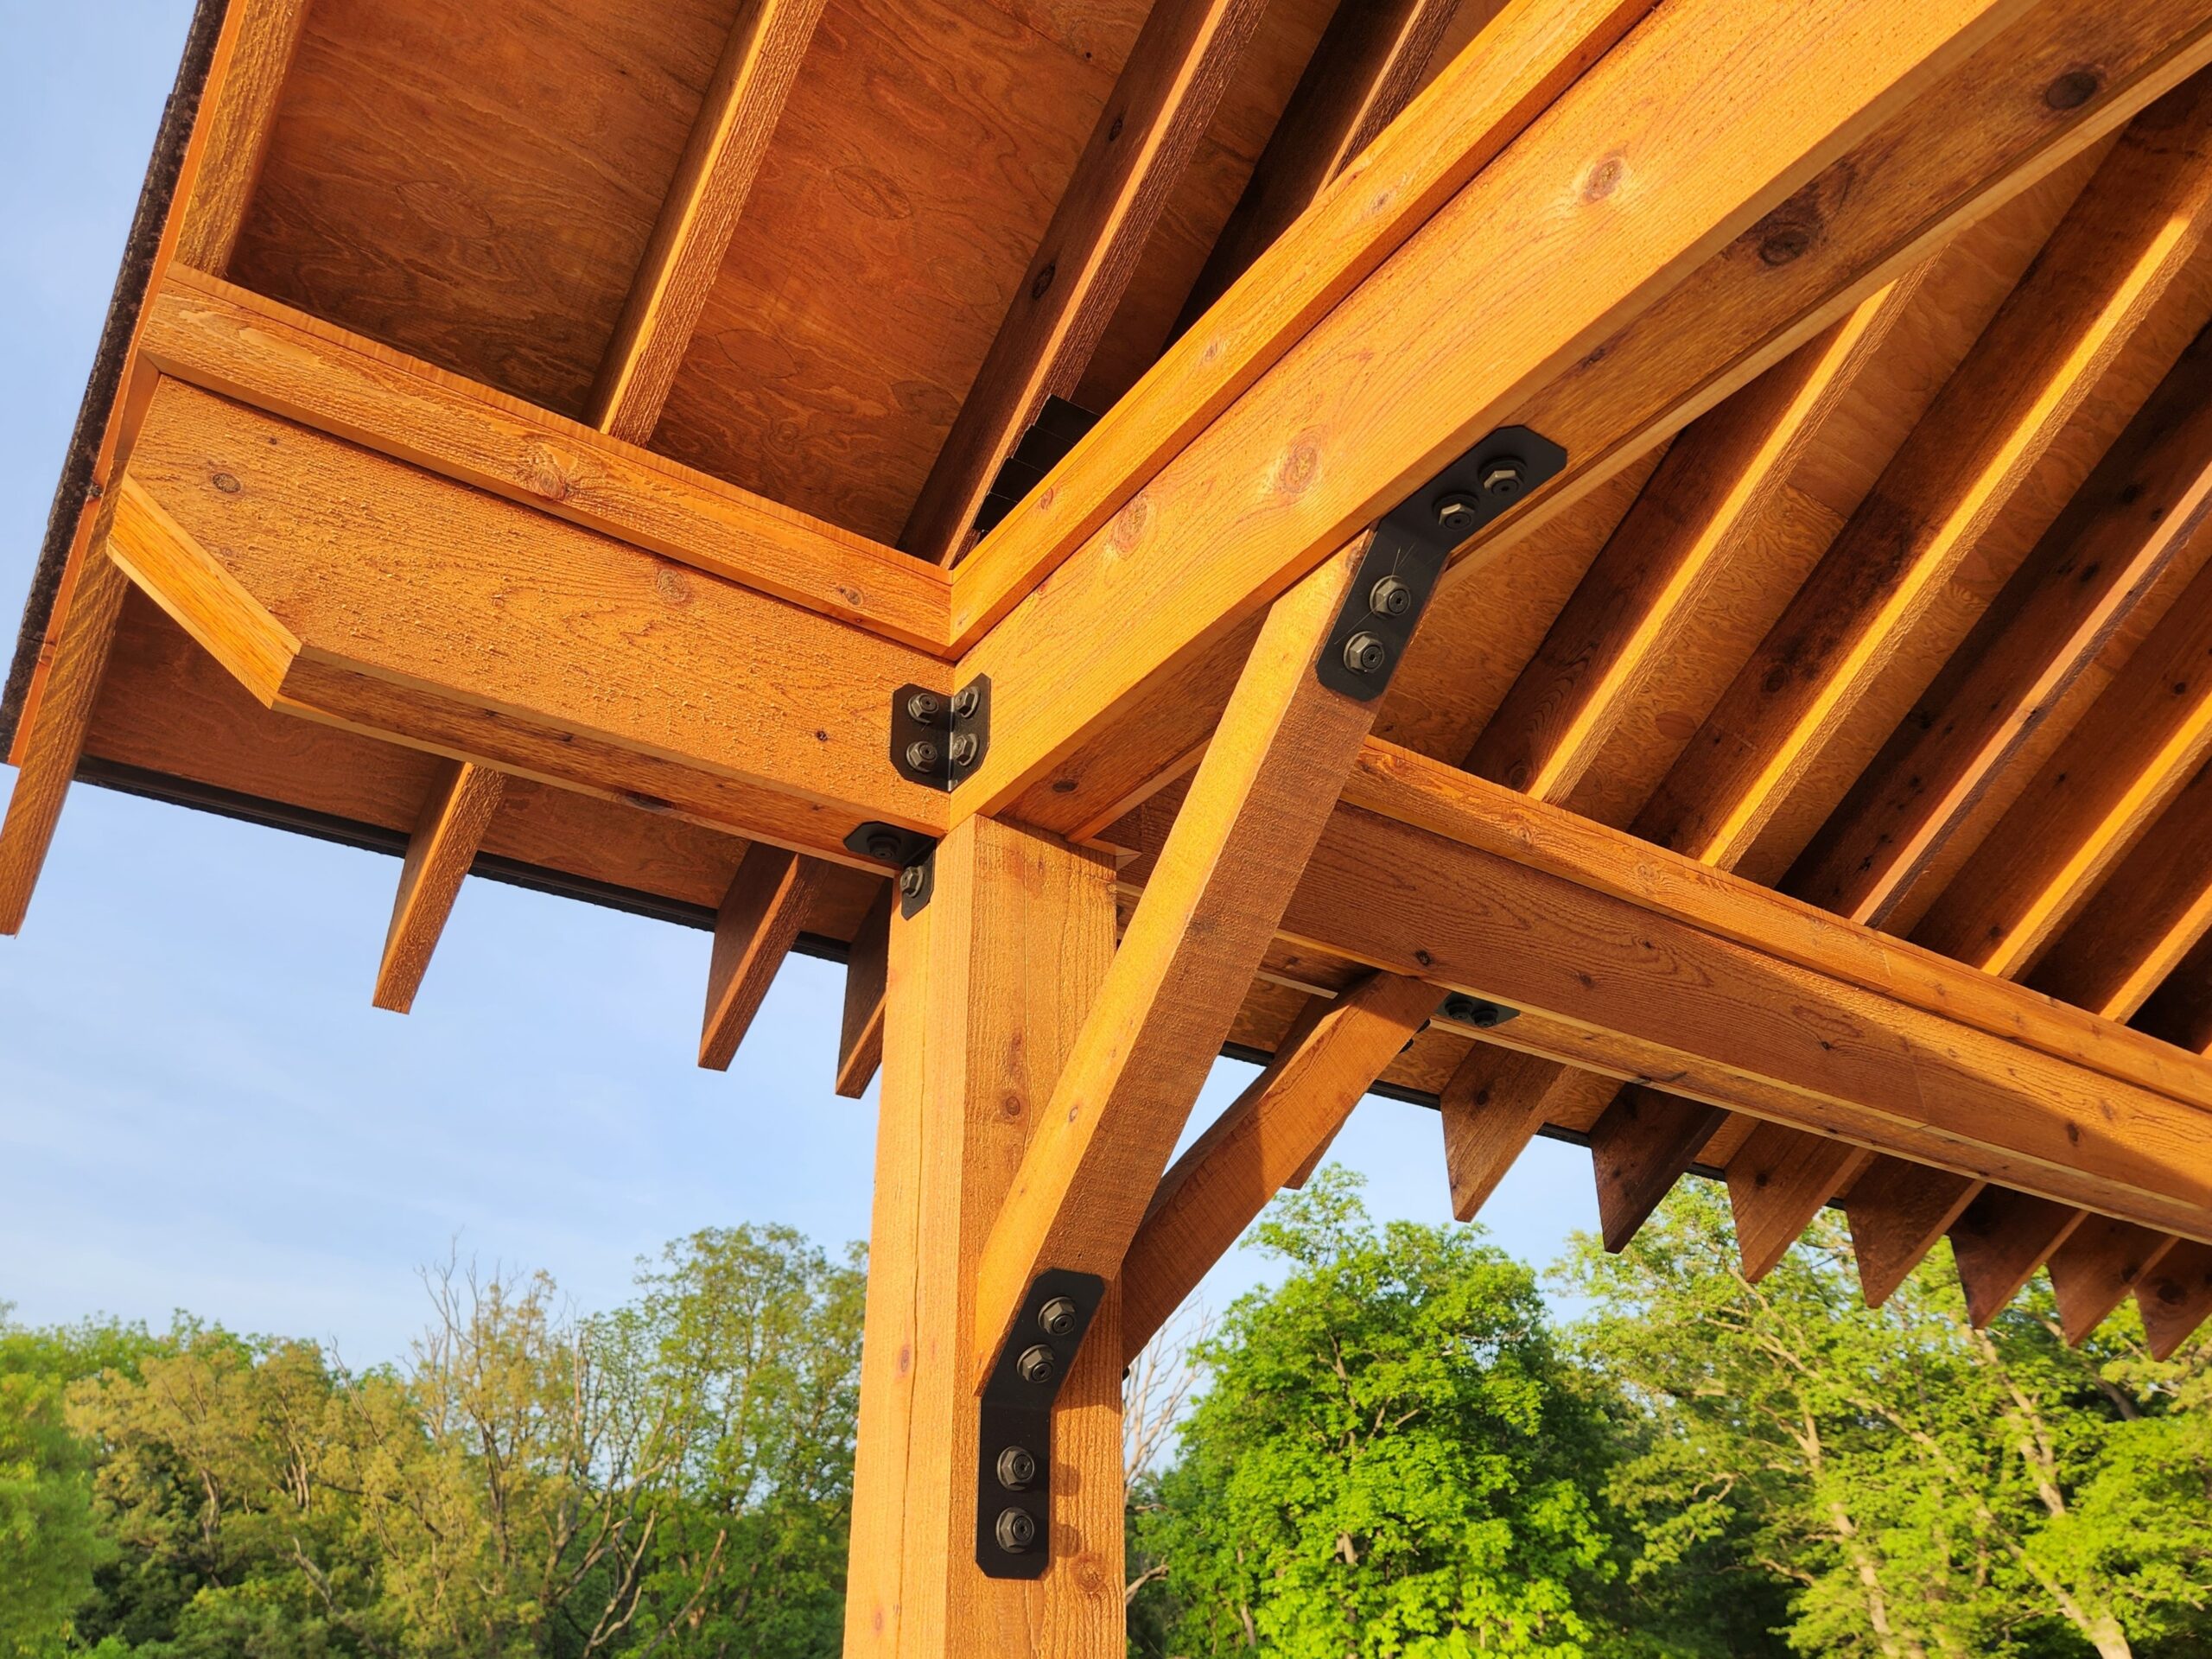
To erect the actual structure of the pavilion, we enlisted the help of a friend who works as a carpenter and was willing to help us on this build. He does incredible work, and it really showed in the construction of the final product. Over the course of two weeks, the frame went up, then the rafters, then the sheeting and roof, and finally all the trim details. The trim details look like the custom trim work inside a house, even though it was all done with rough sawn cedar!
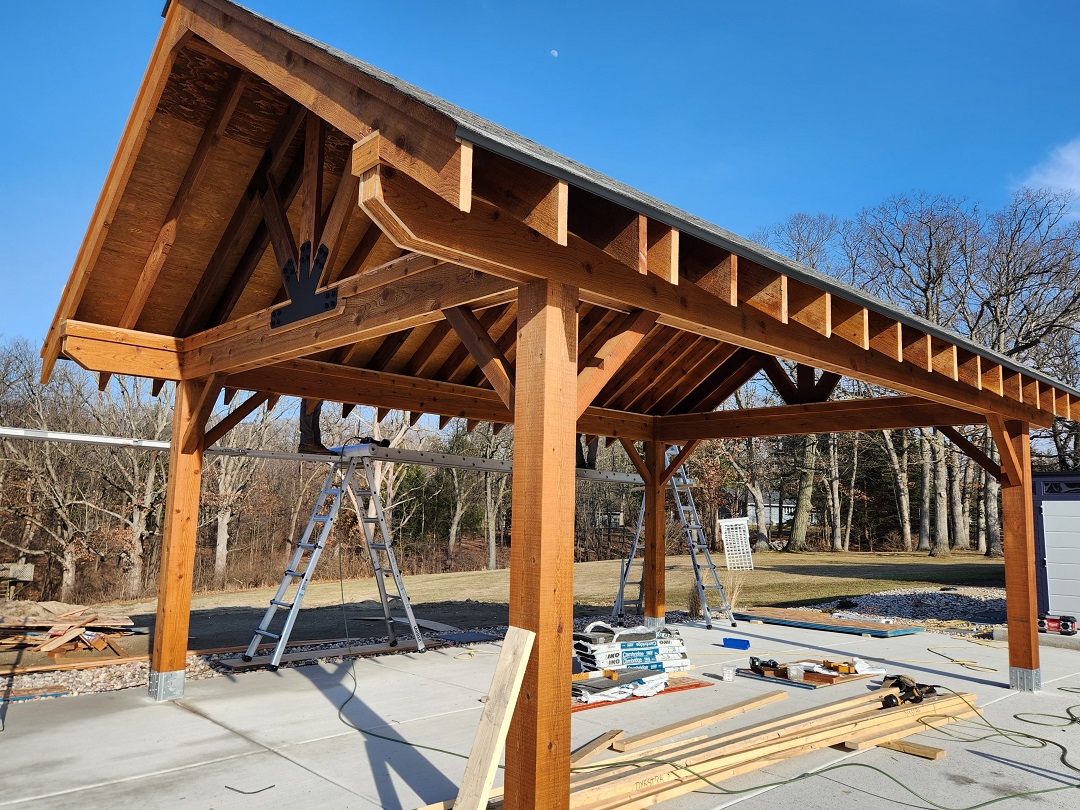
We were very impressed with the quality of the build. The five beams couldn’t be made from solid cedar because cedar isn’t rated for long spans, so we used structural LVL beams and wrapped them all with cedar boards for a seamless cedar look all around.
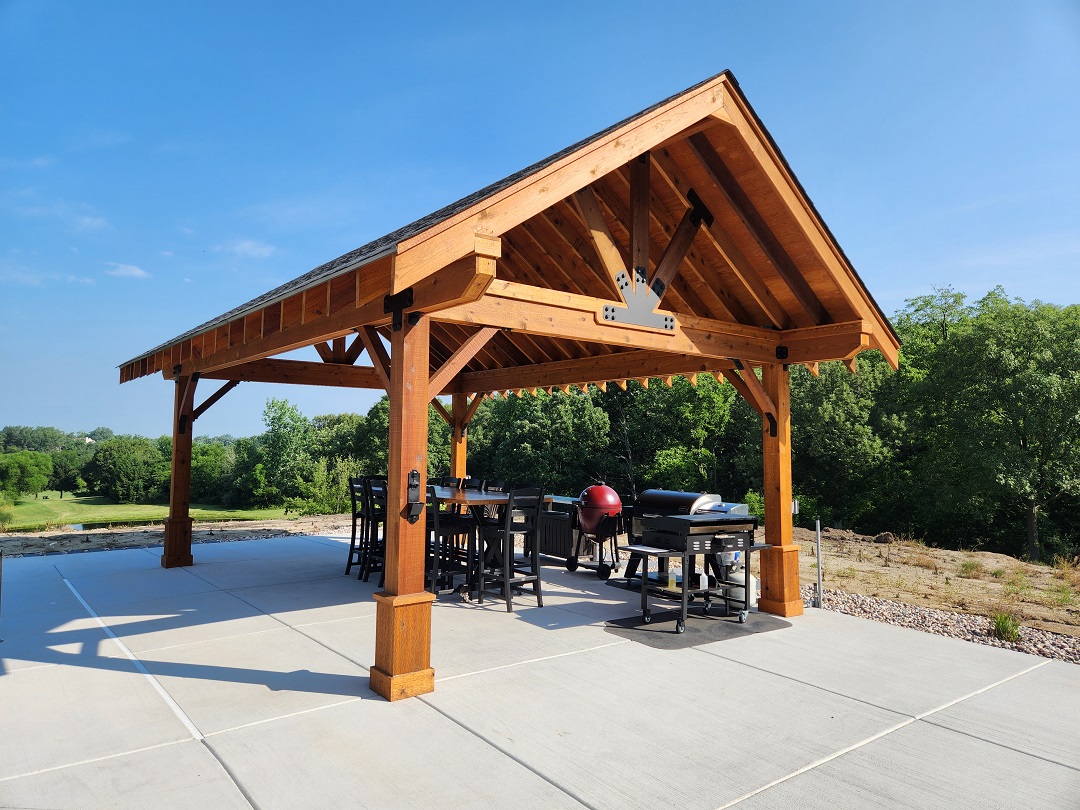
The finishing touch was to add the black Outdoor Accents brackets, which really made the final product pop. My favorite piece is the bottle opener — Simpson really thought of everything when it came to these products!
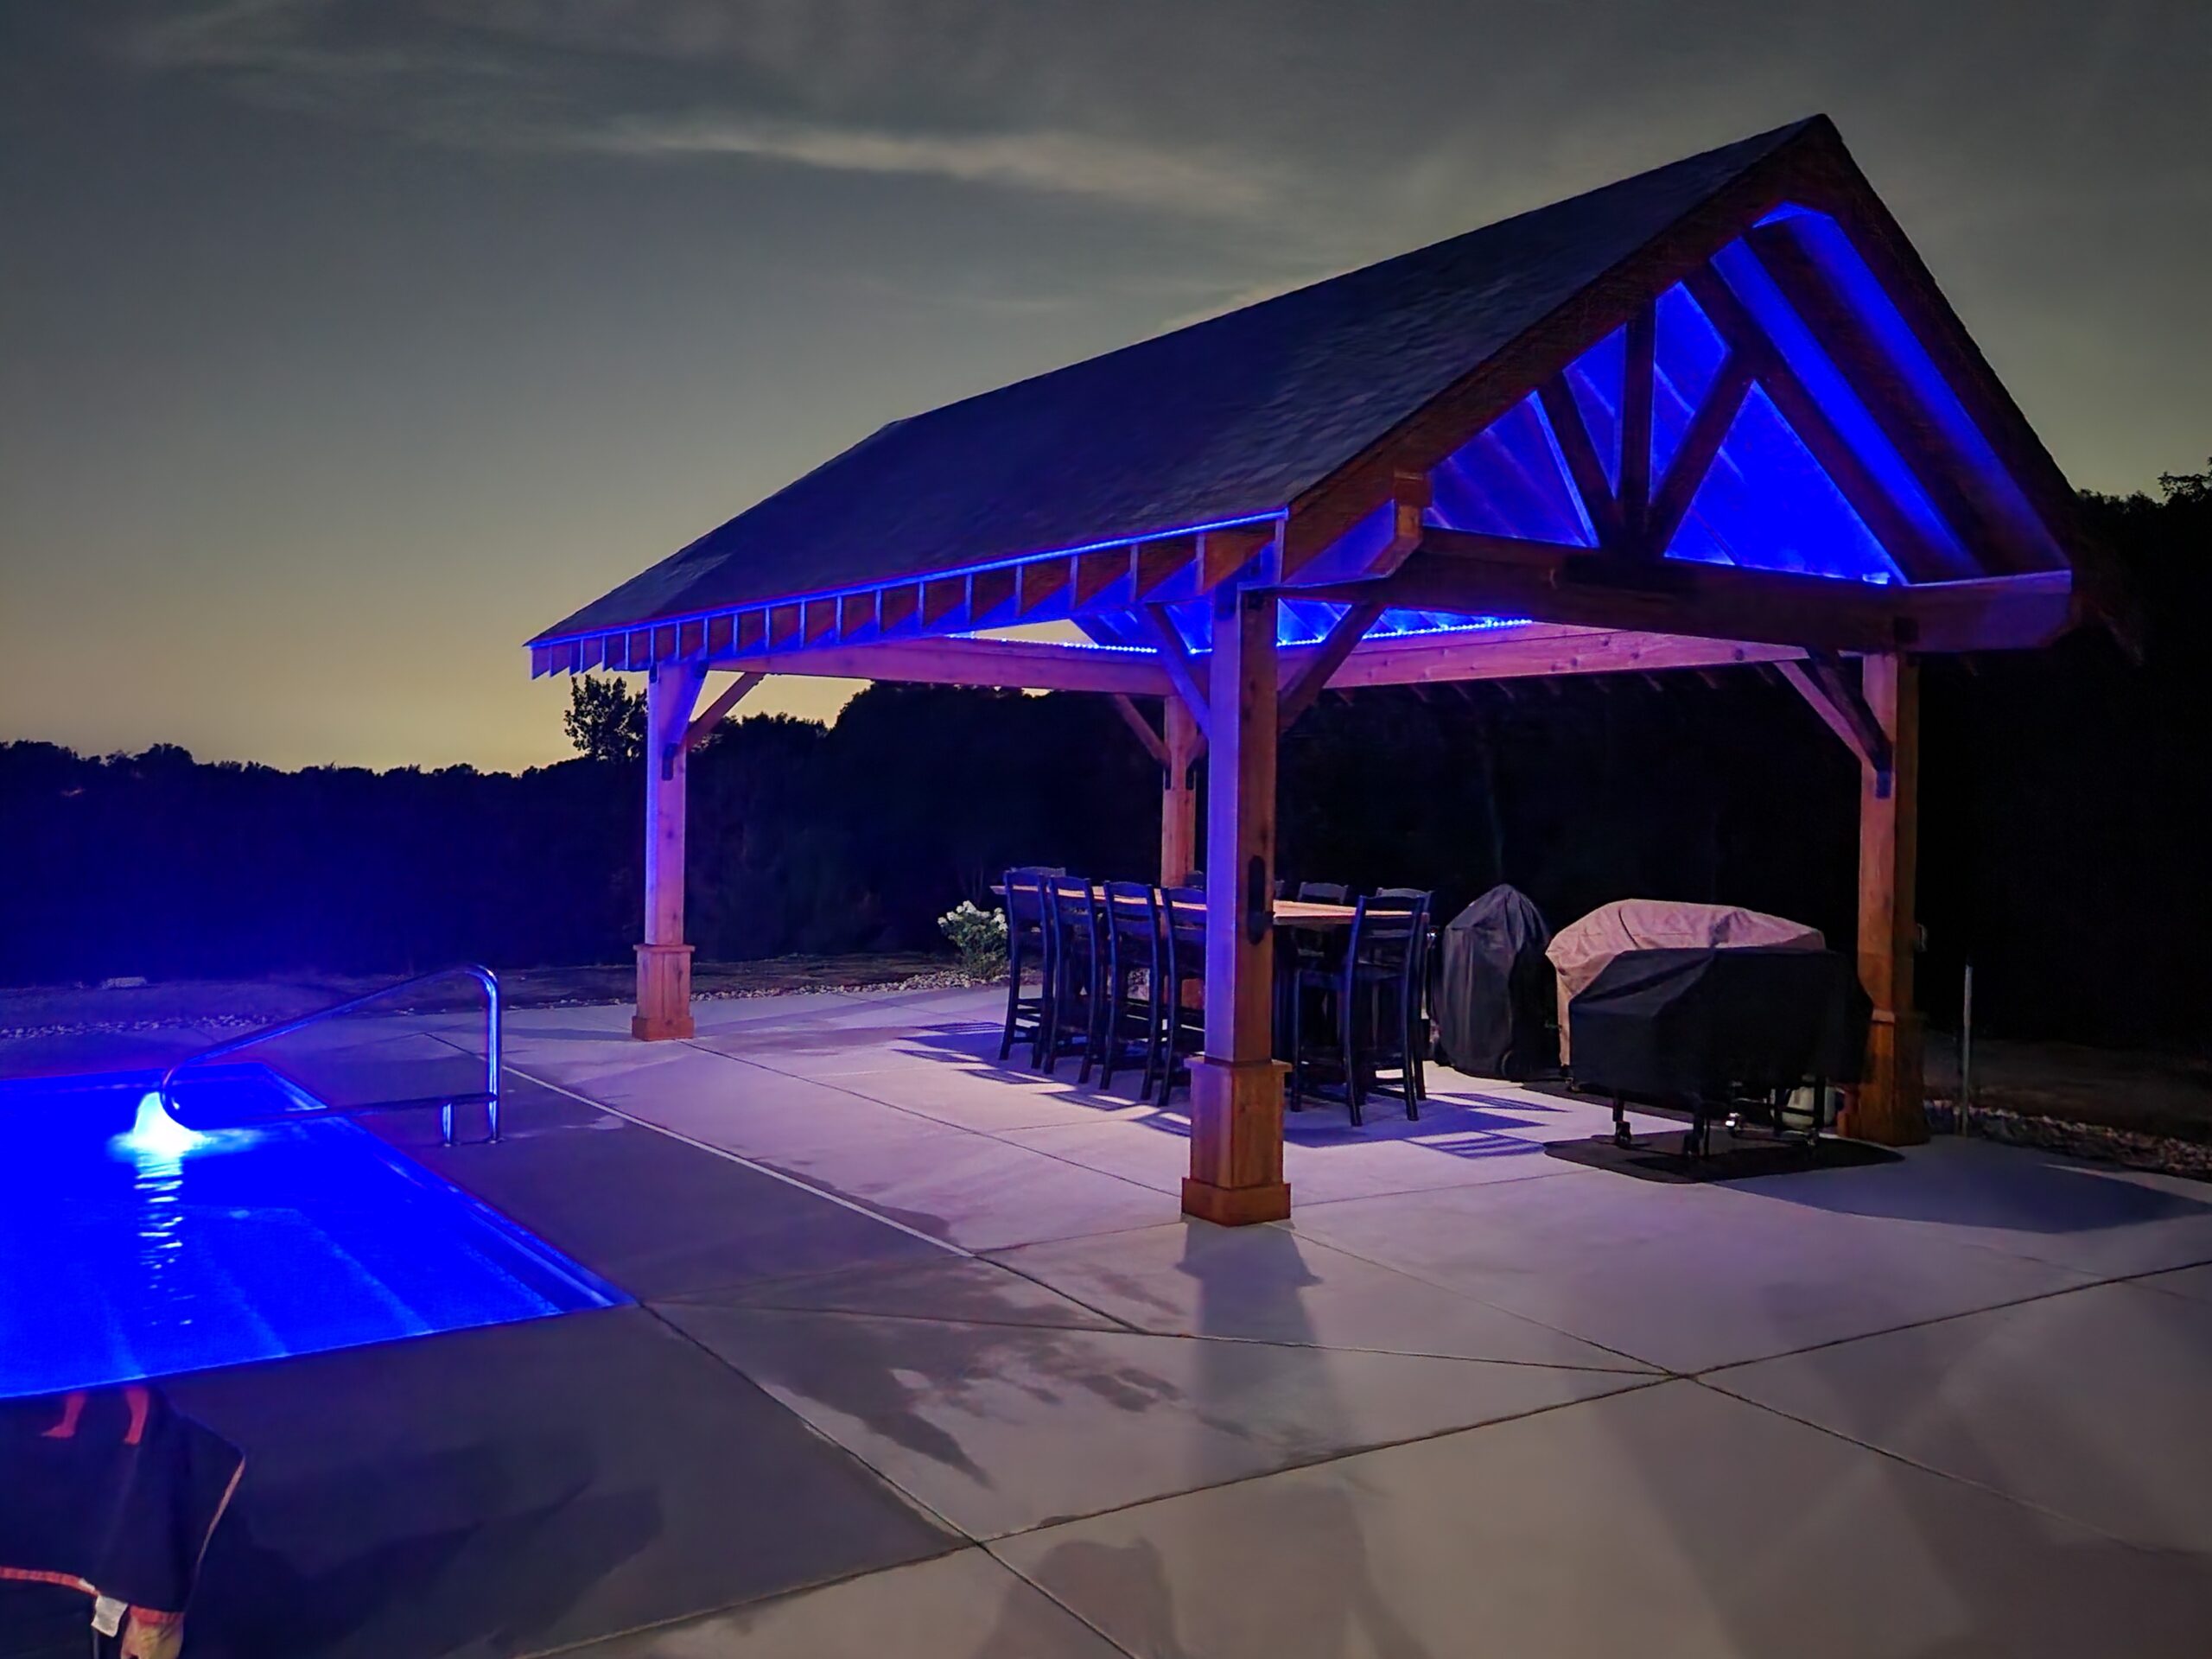
I’ve also added electricity to the pavilion for lights, heaters, TV, and other stuff; including putting in a ceiling fan to keep it cool in the summer; and built a long solid oak slab bar table under it for entertaining. My grill, flat top, and smoker all have a new home out of the weather now too. We’re looking forward to a full season of enjoying the fruits of our labors this year, and this pavilion will help us extend that season even further into the cooler climate here in the Midwest.

Simpson Strong-Tie Outdoor Accents products used in this build:
- 8×8 MPB88Z moment post base
- APVA4 ornamental angle
- APVA6 ornamental angle
- APVT6 ornamental T strap
- APVGP812 arch gable plate
- APVKB45-4 knee brace
- APBO-KT bottle opener
- 3.5″ SDWS22312DBB structural wood screw
- 2″ SDWS25200DBB structural wood screw
- STN22 ornamental hex-head washer
Get a full tour of Joel’s pergola below.


