
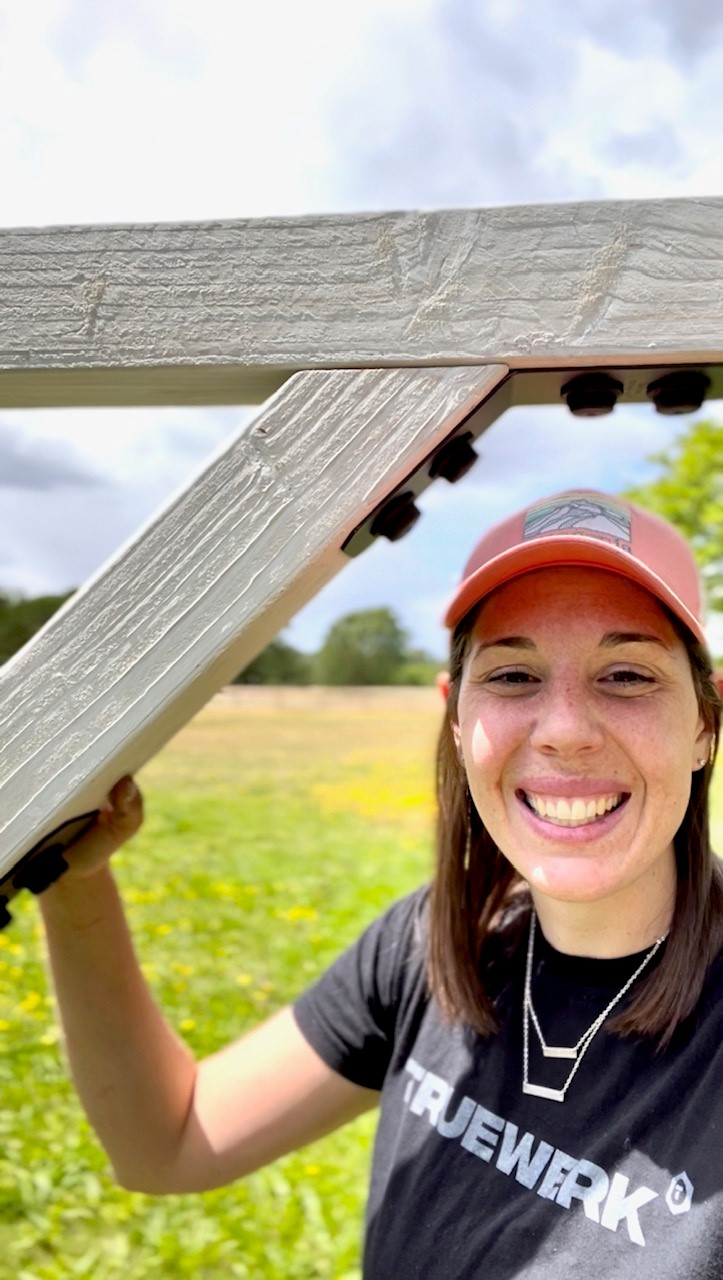
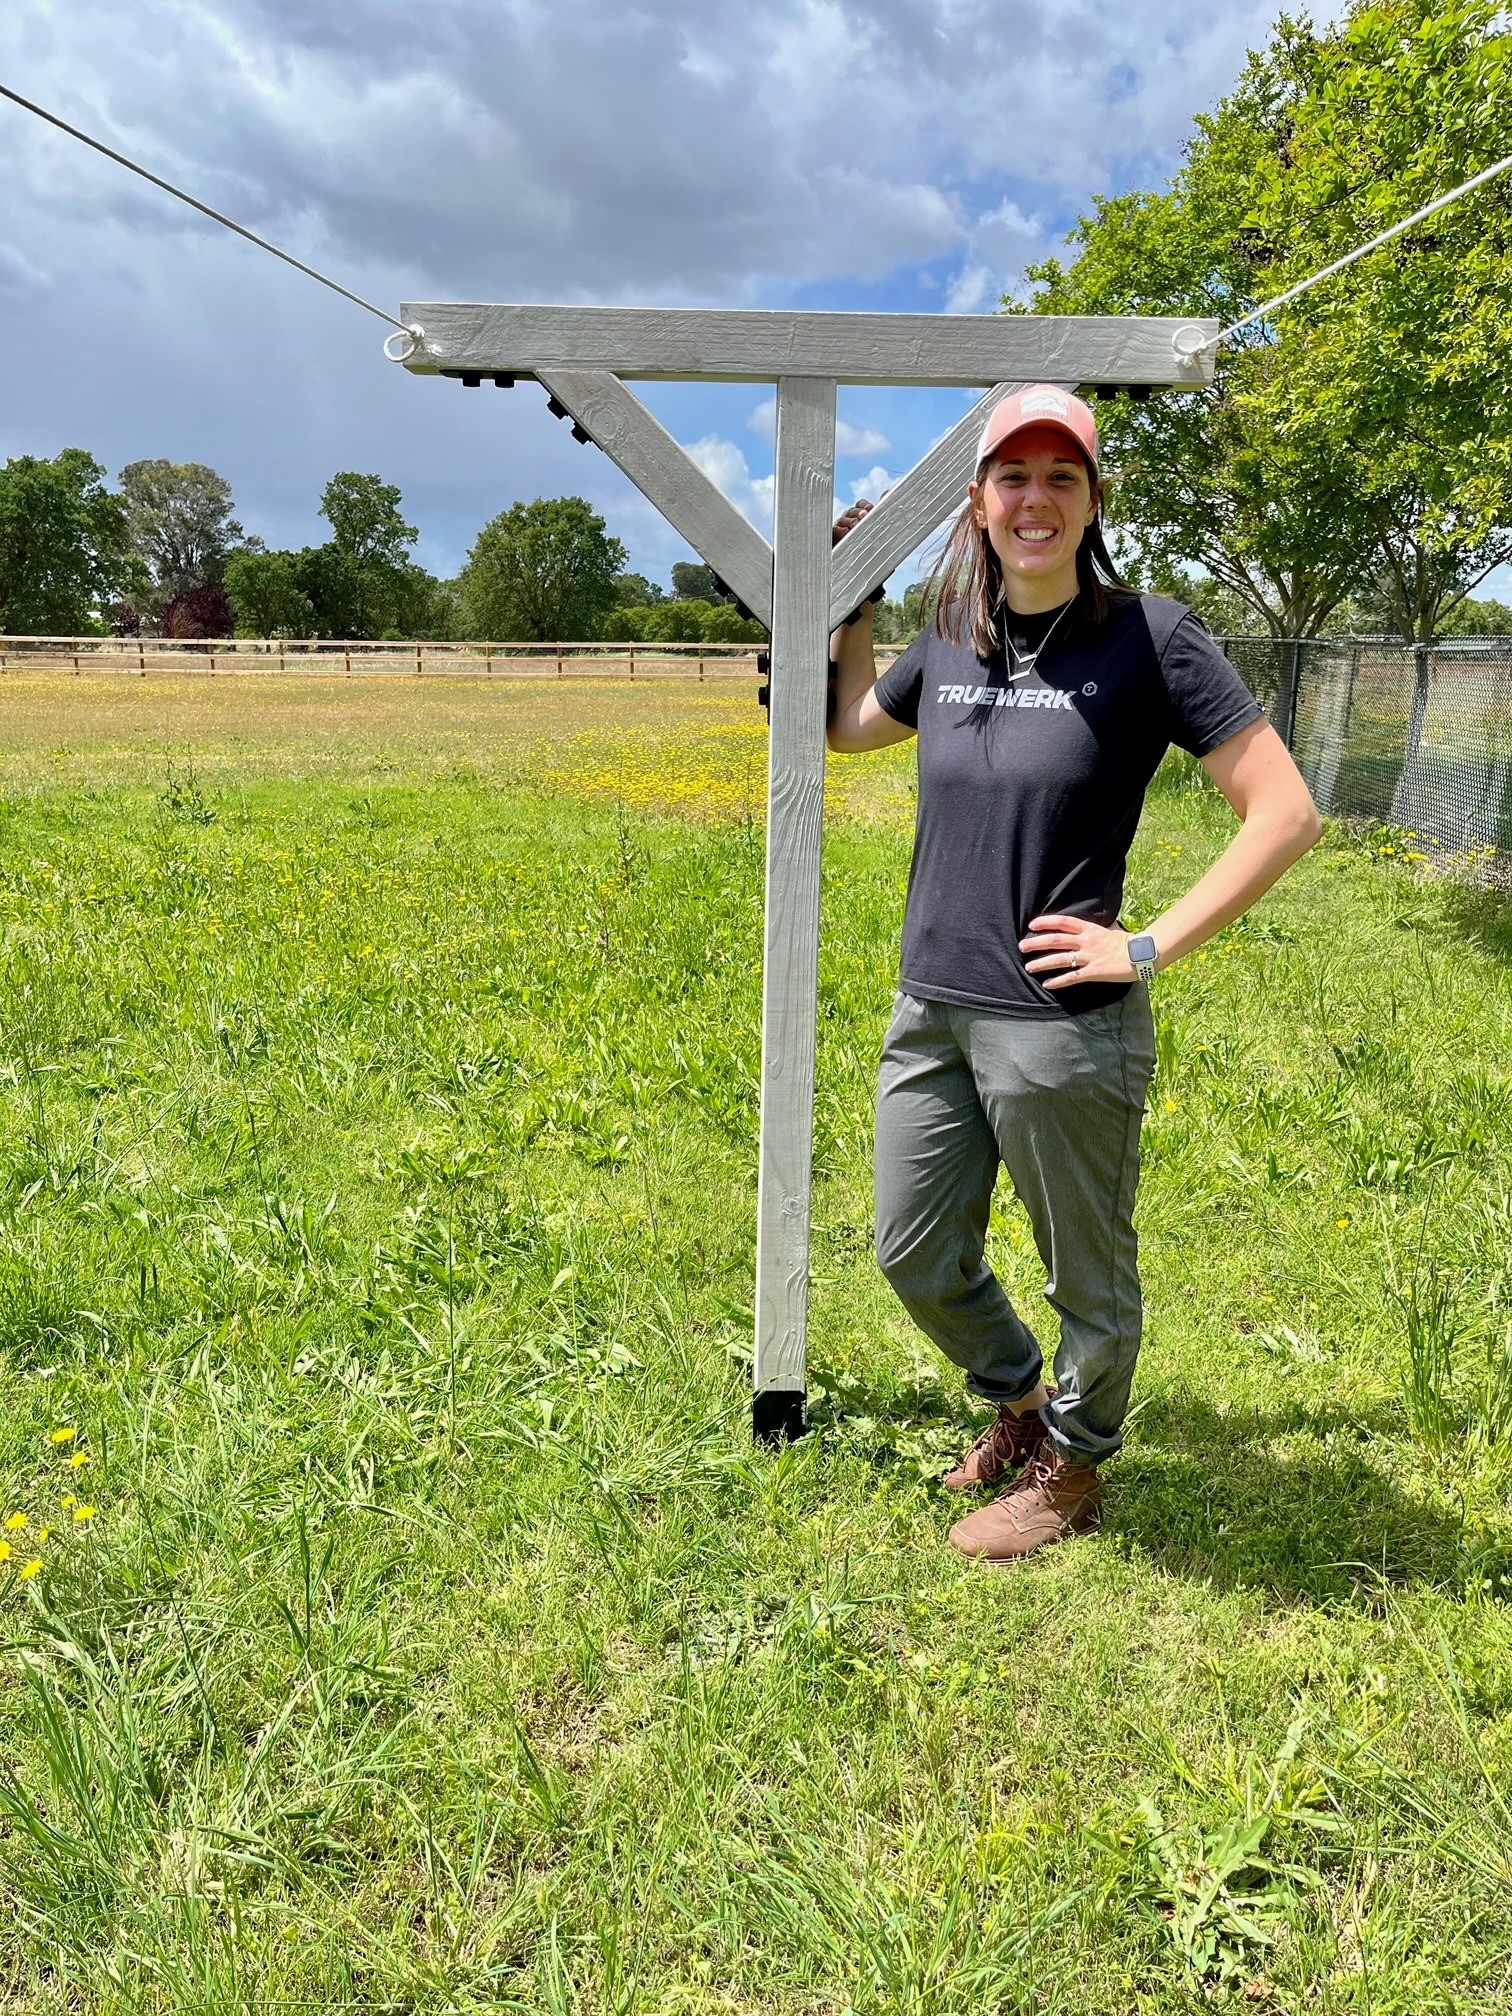
Jenny Palo with Completed ClotheslineWhen grandma asks for a clothesline, grandma gets two clotheslines! I had a blast collaborating on the project with Simpson Strong-Tie. Their Outdoor Accents®, E-Z Spike™, and Outdoor Accents® Decorative Knee Brace Connectors are easy to use and look so professional!
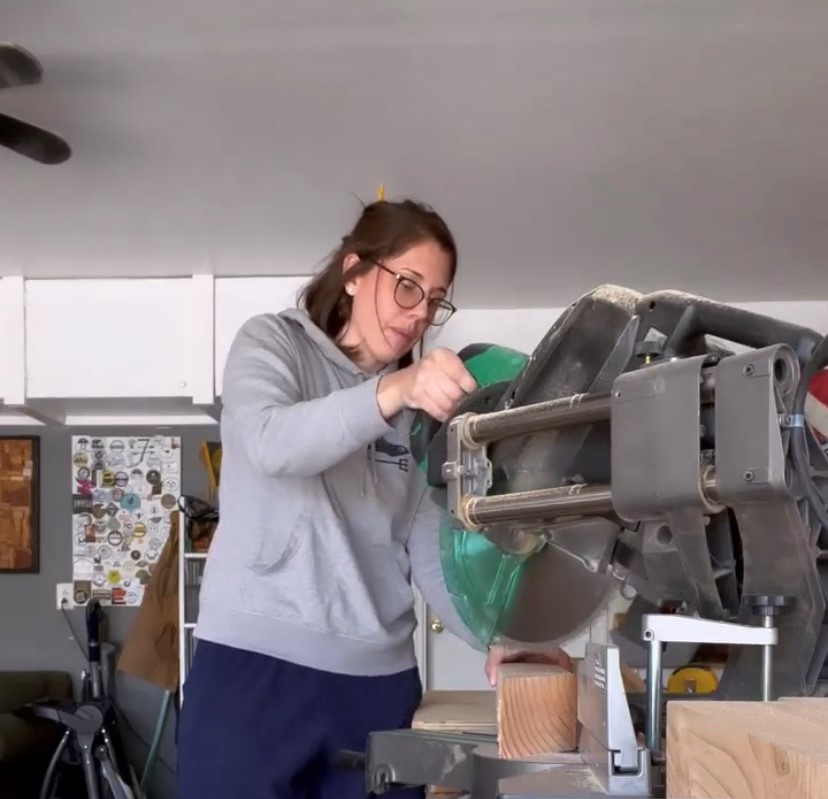
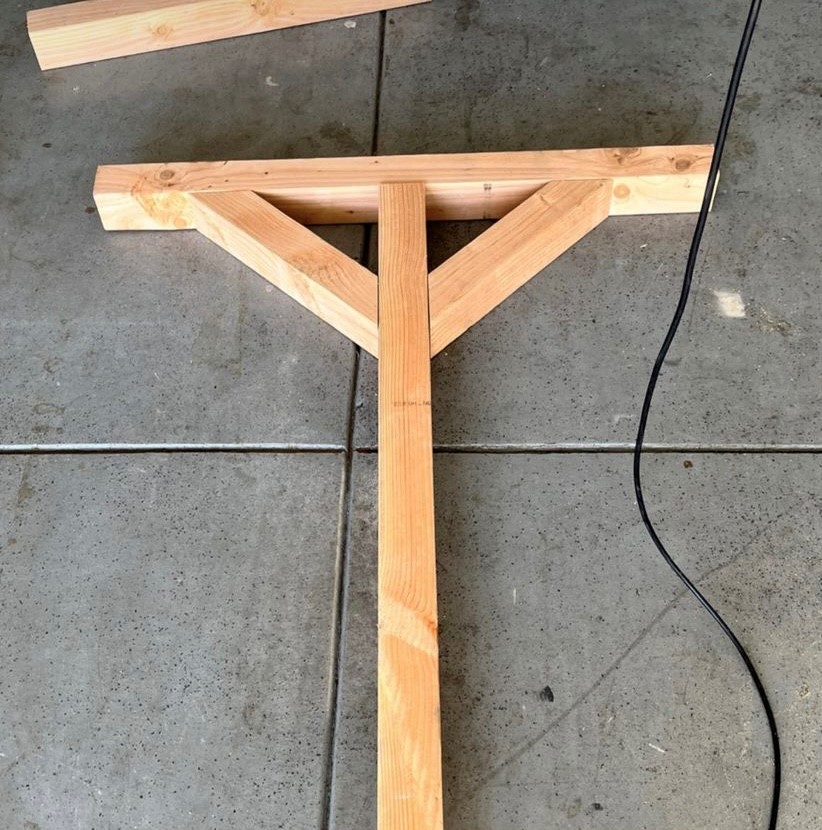
I first started this project by heading to my local home center to pick up some lumber for the project. Both posts can be made with only four 4x4x8 pieces. I then cut smaller pieces of wood with a 45-degree cut.
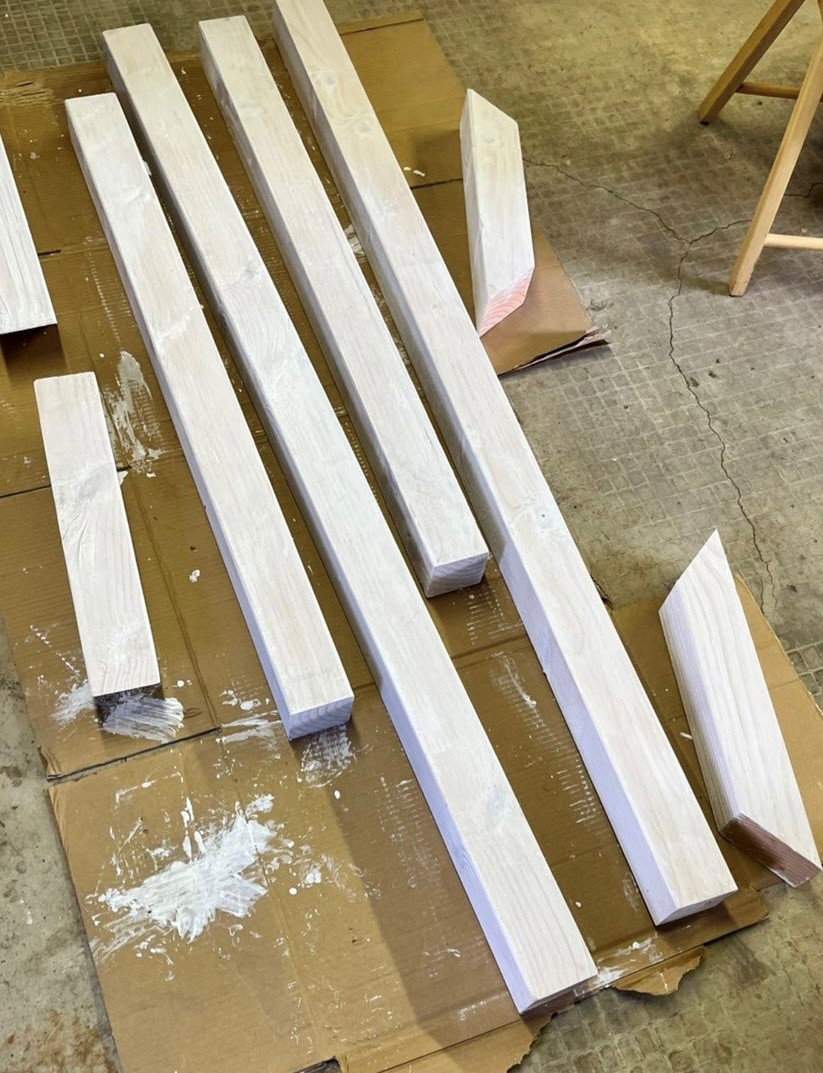
Once the post was assembled, I decided to stain the wood with Behr Premium Solid color waterproofing stain and sealer semi-transparent stain in white. It’s a bit thicker than regular wood stain. Of course, I made a mess and stain got all over my hands in the process.
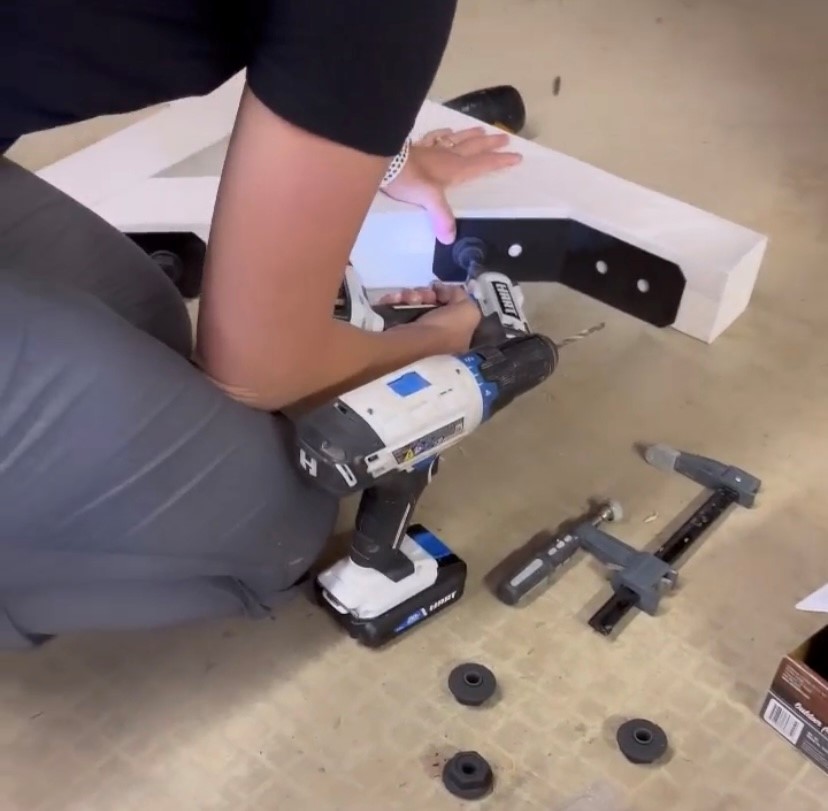
Once all the pieces were stained, they were ready to assemble. I used the Outdoor Accents decorative knee brace connector to easily attach the knee brace to the post. I then screwed it in with the Simpson Strong-Tie Outdoor Accents structural wood screw along with the Outdoor Accents hex-head washer. These screws drive like butter! But if you don’t have an impact driver, it definitely helps.
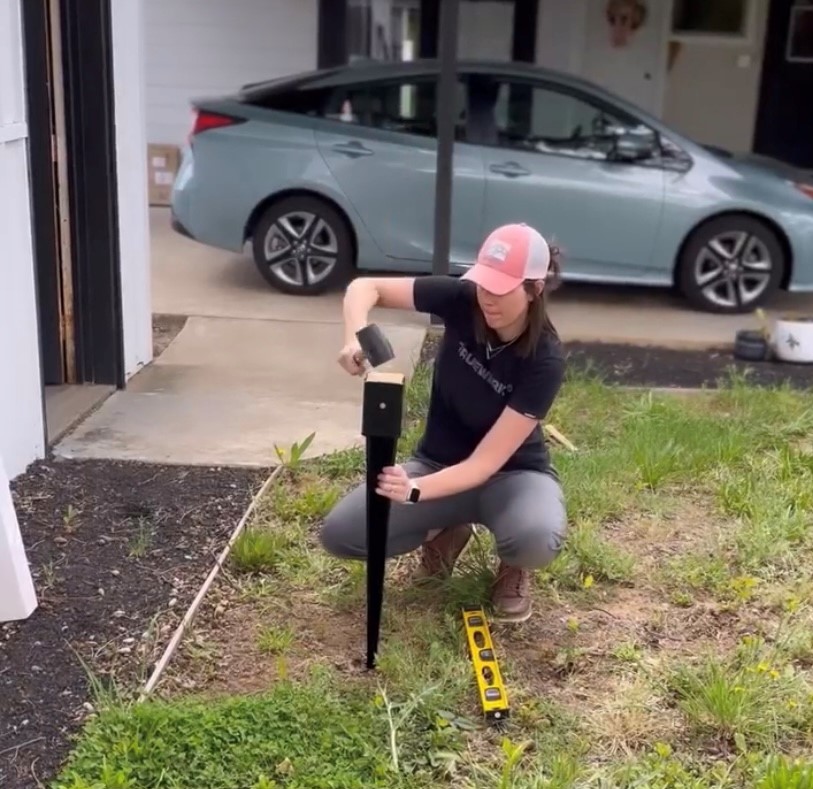
I really did not want to have to dig a huge hole and use cement, so I wanted to see how well the works. When it was time to put in the E-Z Spike, I had to channel my inner Thor. As you hammer the stake into the ground, keep checking that it is level as you go. I tried a different hammer after the first one split my wood block. I also brought in the big guns to help hammer in the second E-Z Spike™ — thanks, Dad!
Simpson Strong-Tie’s line of Outdoor Accents hardware made this project a breeze! The E-Z Spike™ eliminated the need to dig a huge hole to bury the post, the knee braces made joinery so simple, and the screws and hex–head washers added those really cool–looking accents to the project. I loved getting to work on this project for my grandma! She kept saying, “it looks so professional!” A simple project with a big impact.
Disclaimer: The E-Z Base and E-Z Spike products should not be used for solid fences in excess of 4′ in height or that are unprotected from wind forces. These products are not rated for uplift loads, and should not be used with posts for overhead structures or any other structure that requires resistance to wind uplift loads. If using the E-Z Spike for a similar project, please consider whether you are in a region prone to high winds.


