
Sketch Up design of the chicken coop shedOur land was vacant when we purchased it five years ago. So far, we have built a DIY house aka Fletcher Creek Cottage, a pavilion, and a greenhouse; we’ve also broken ground on our dream home; and this spring we have been working on building up our garden space by adding a chicken coop!
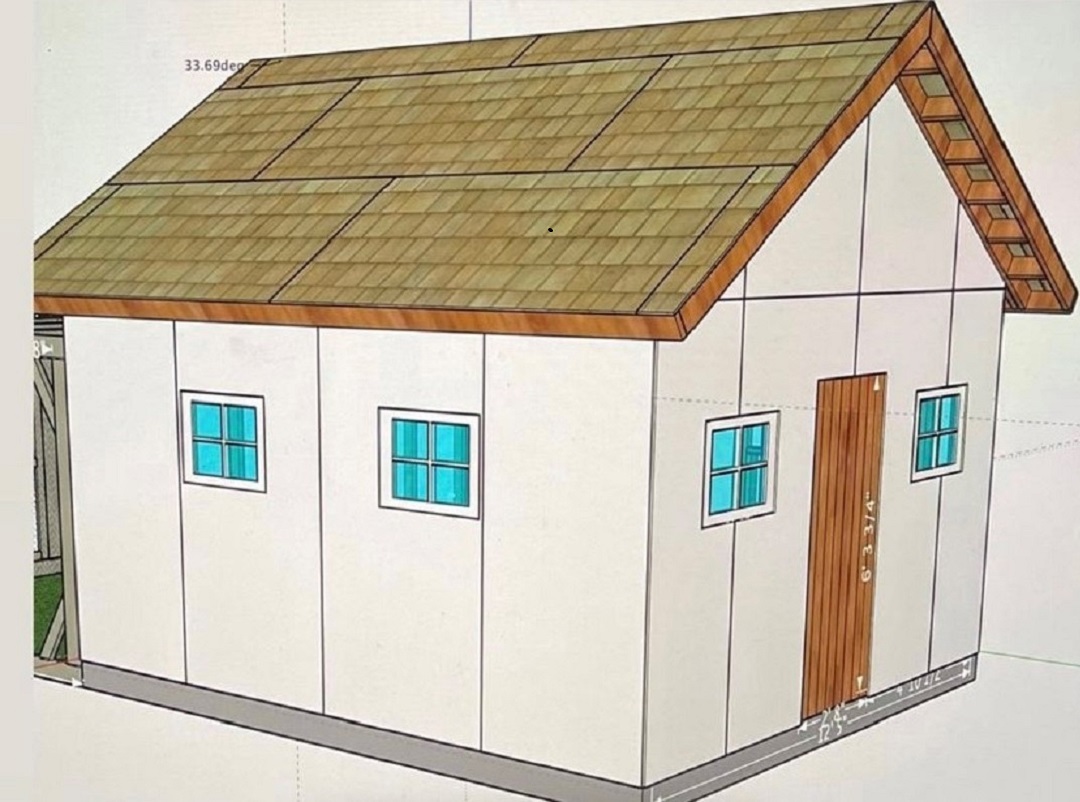
I designed our chicken coop shed to be 13×15. We already had a concrete slab poured last fall, so now it’s time to start building the coop. The coop will have eight walls and six working windows.
It will also have a front door and a large outdoor chicken run. I’m adding a couple of metal mesh screen doors to access the inside and outside chicken areas, along with nesting boxes that we can access from the inside.
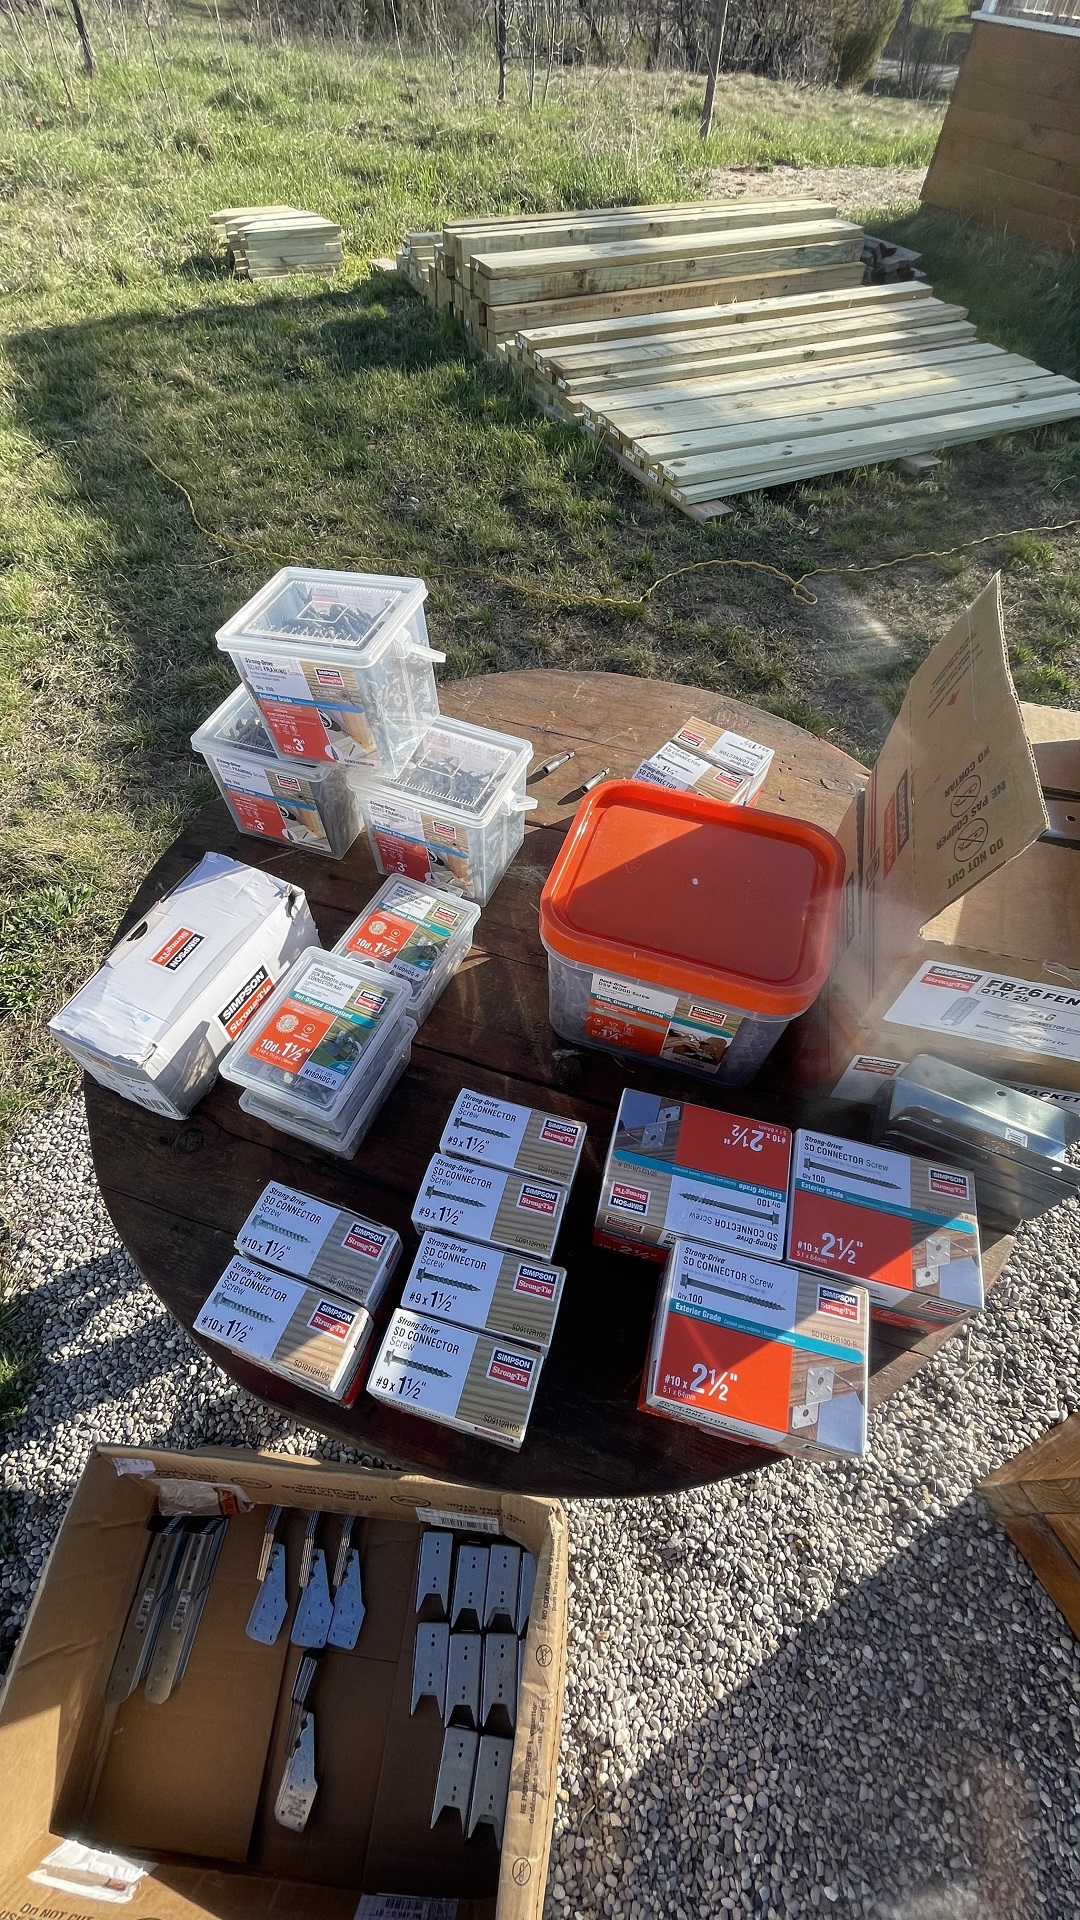
We are framing the entire structure using Simpson Strong-Tie® framing screws, connectors, hangers, and hurricane ties, as well as using the Titen HD® concrete screw anchors to secure the walls to our concrete slab because we want this structure to stand the test of time. Our property gets very high winds, and we want our chicken coop shed to last.
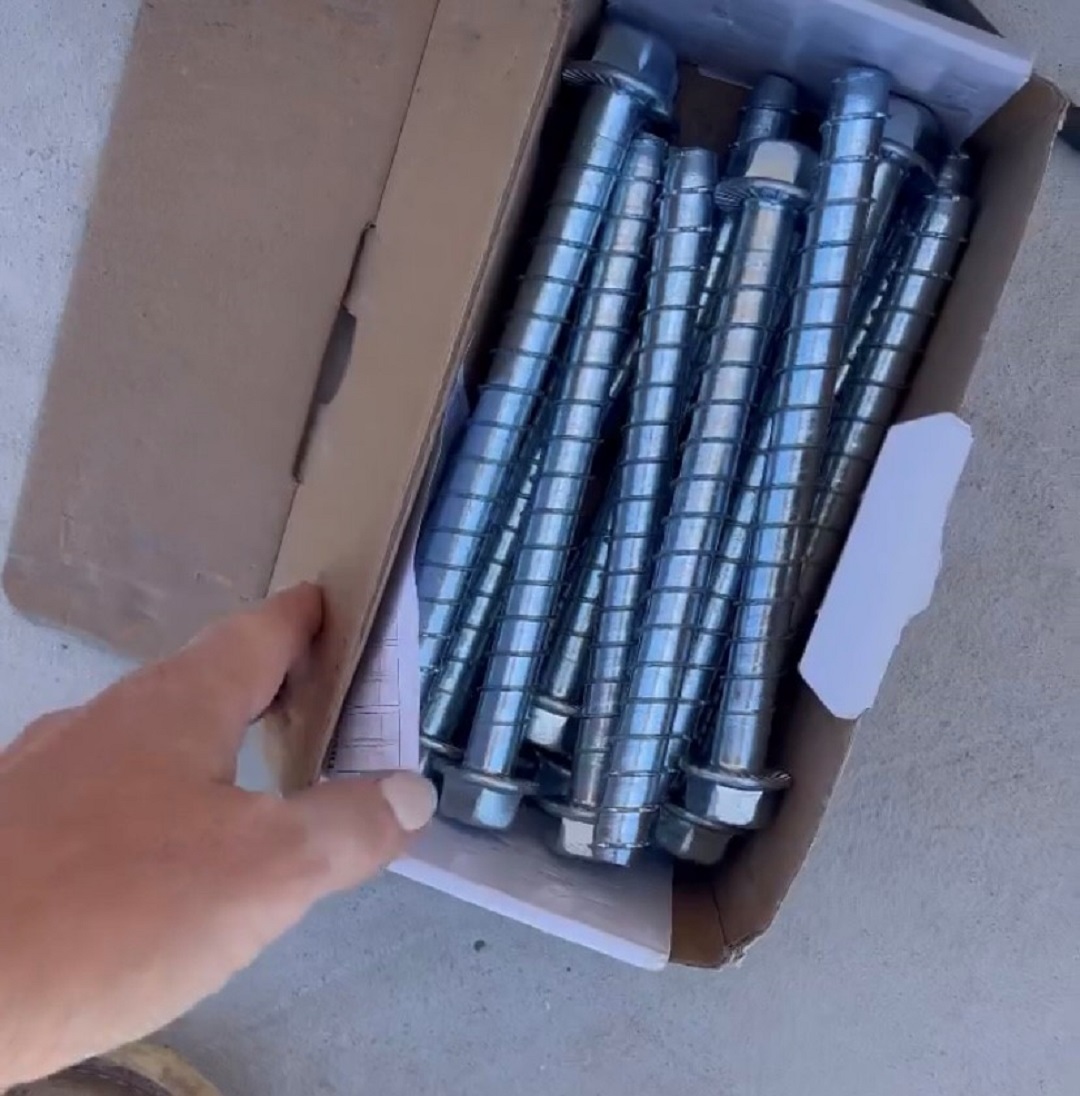
The Titen HD screw anchors are amazing. We drilled holes on the bottom plate of the wall, drilled out the concrete and then used these anchor bolts and washers to secure the wall to the foundation. It worked so well! I installed them myself while my husband and son held the wall in place.
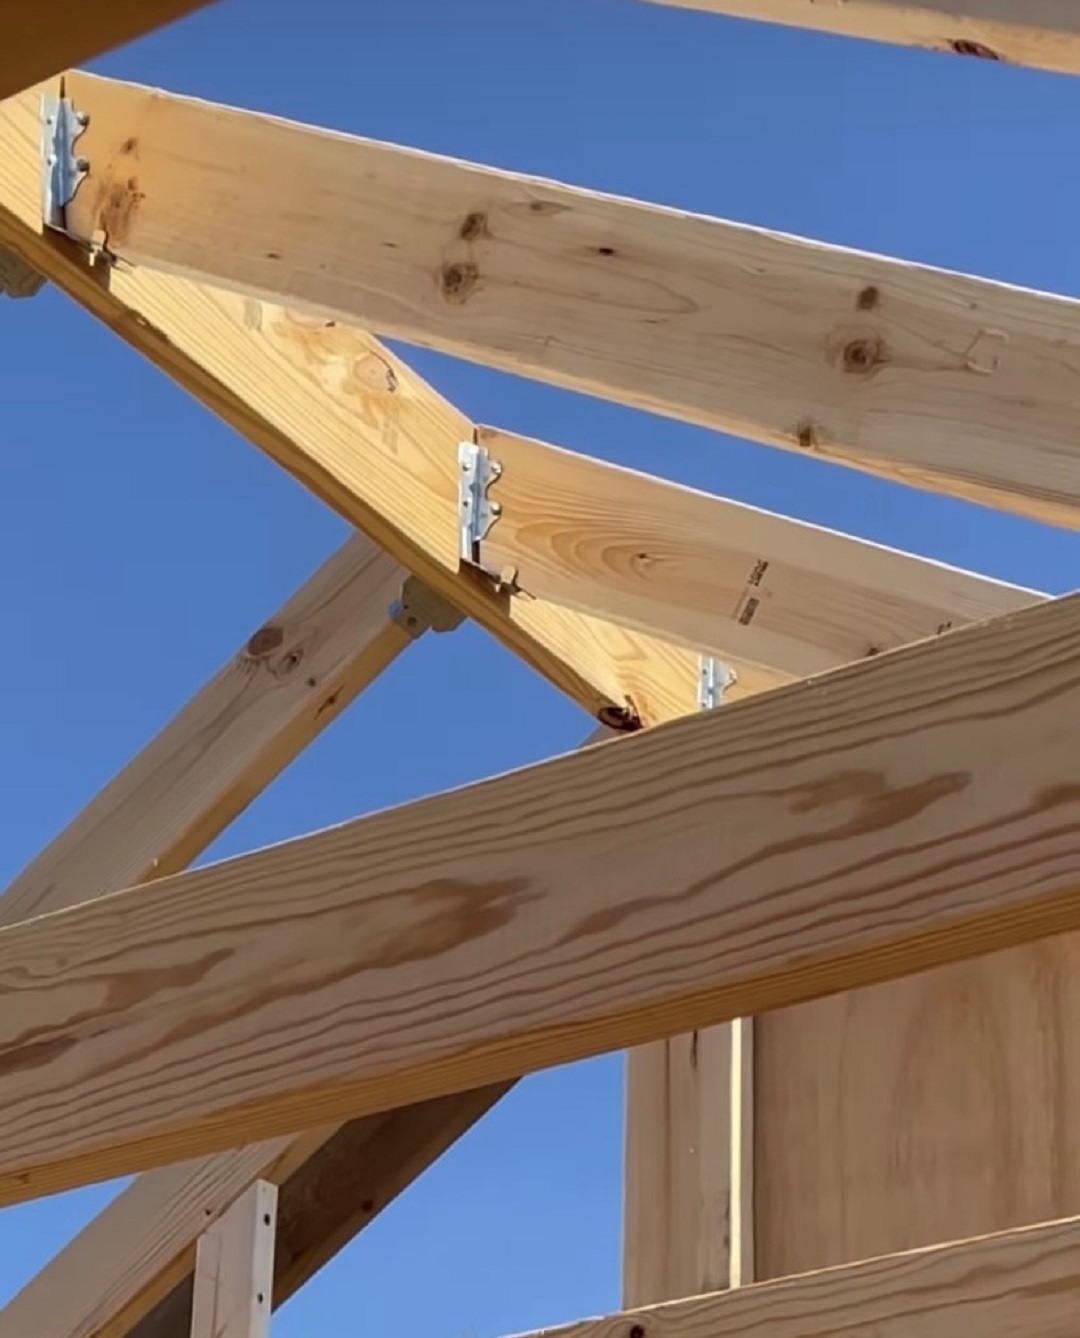
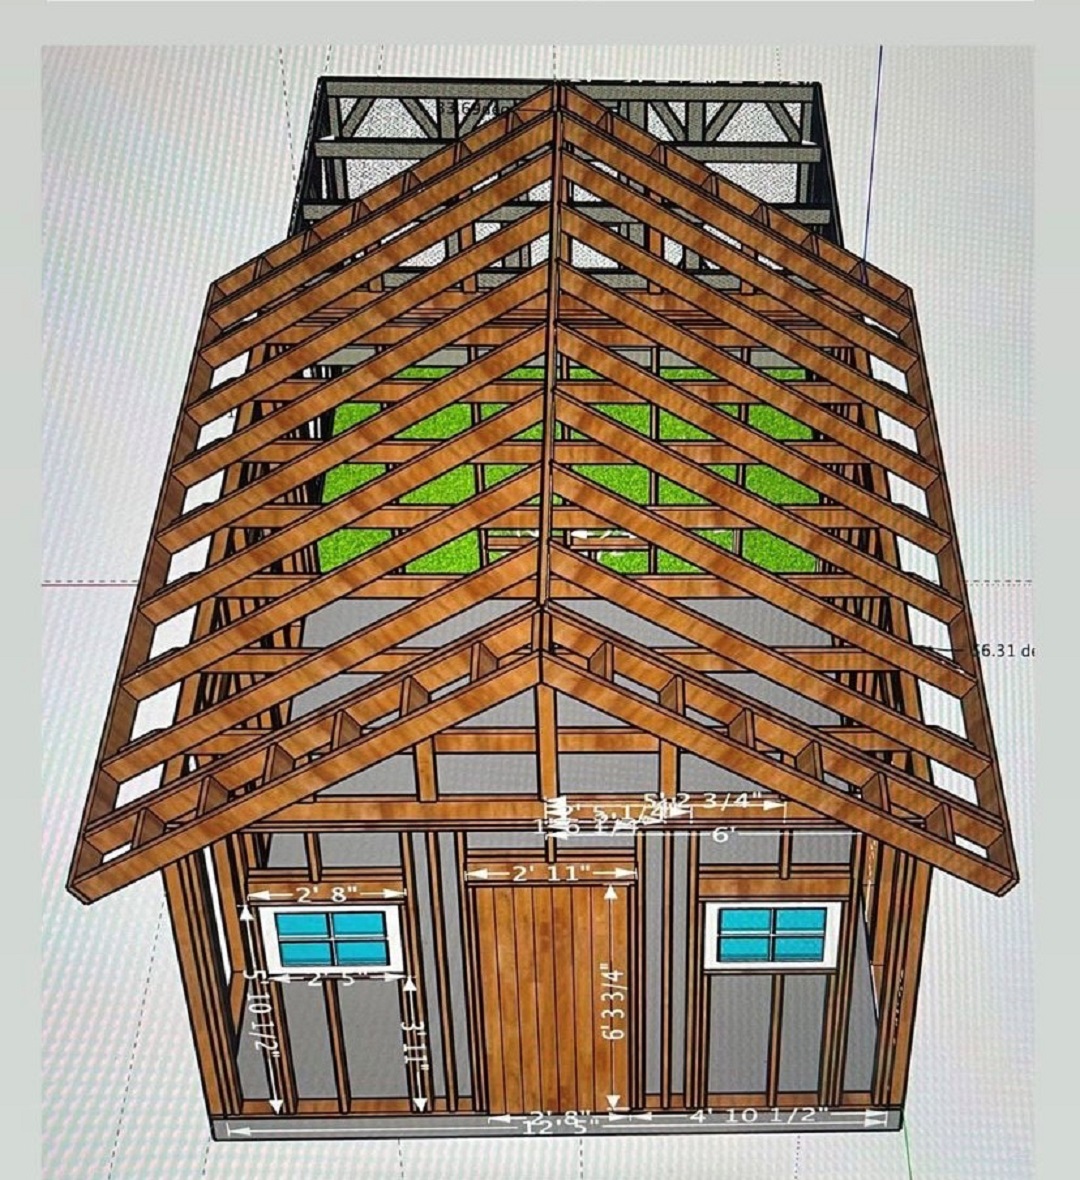
We made a support on each end to steady the front and back trusses before we set them up one at a time. The ridge beam is a 2×8 with Simpson Strong-Tie Face Mount LRU26Z adjustable hanger connectors connecting the joist to the ridge beam.
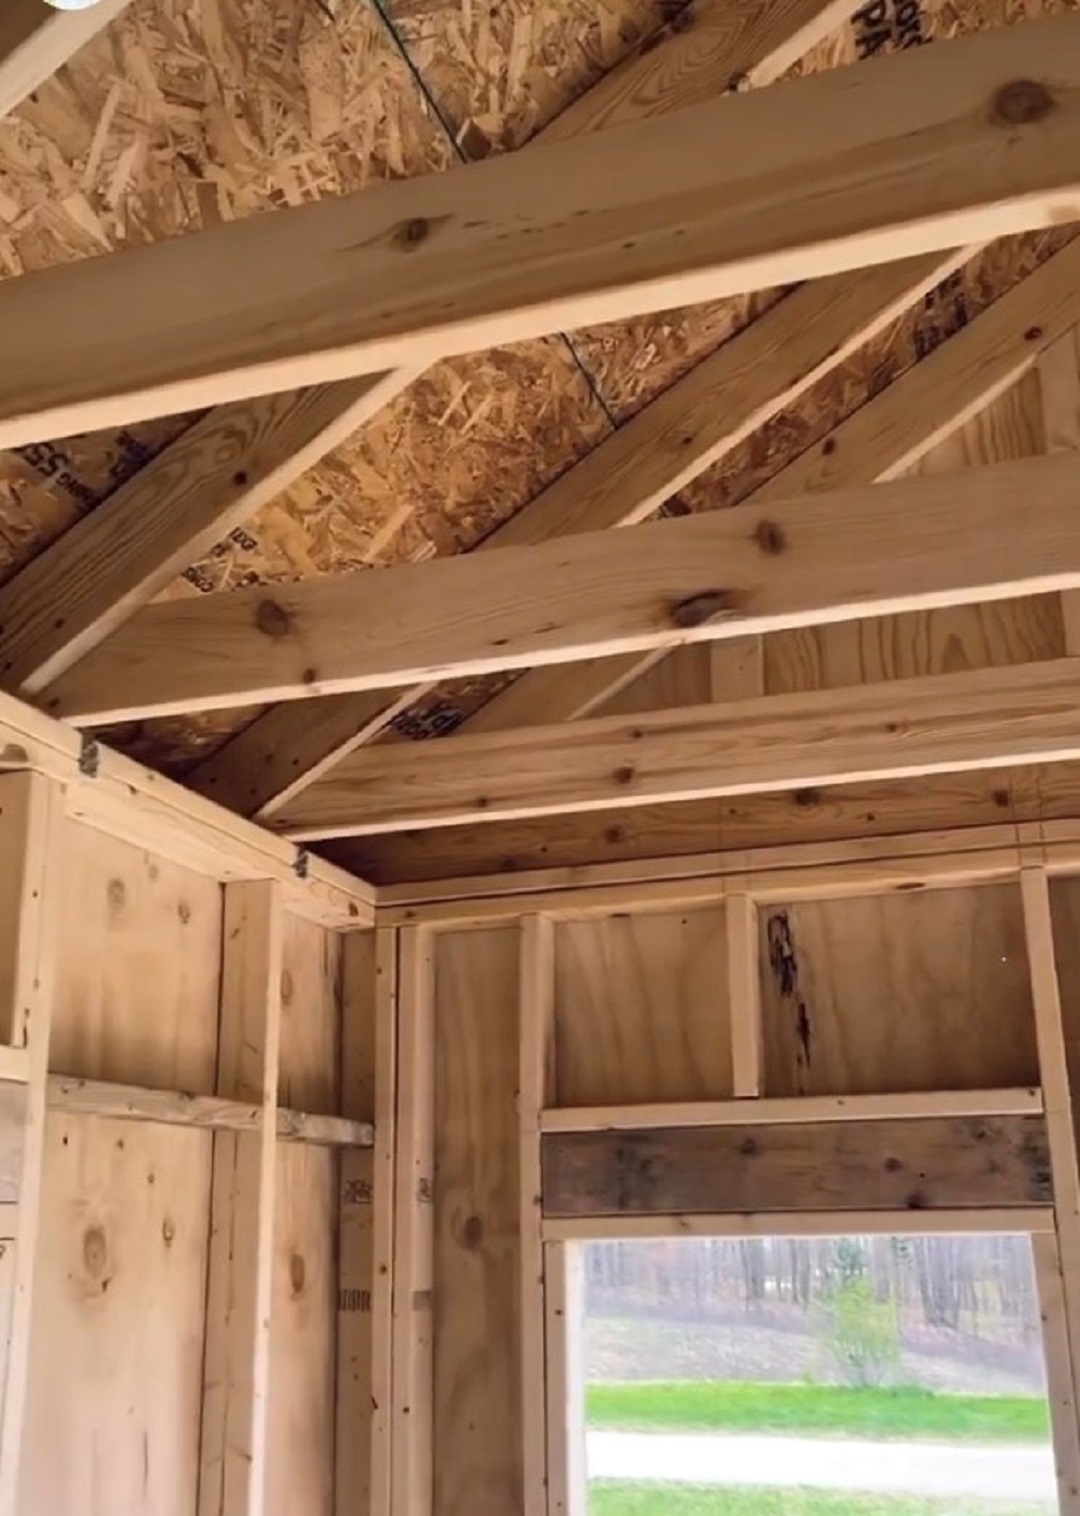
The entire structure needs to be trimmed out with four-inch trim and all the two-inch battens (every eight inches), so it’s going to be a lot of work. But I’m so excited about this project. We’ve waited years to have chickens again, and I’m so glad we’re squeezing this project in this spring.
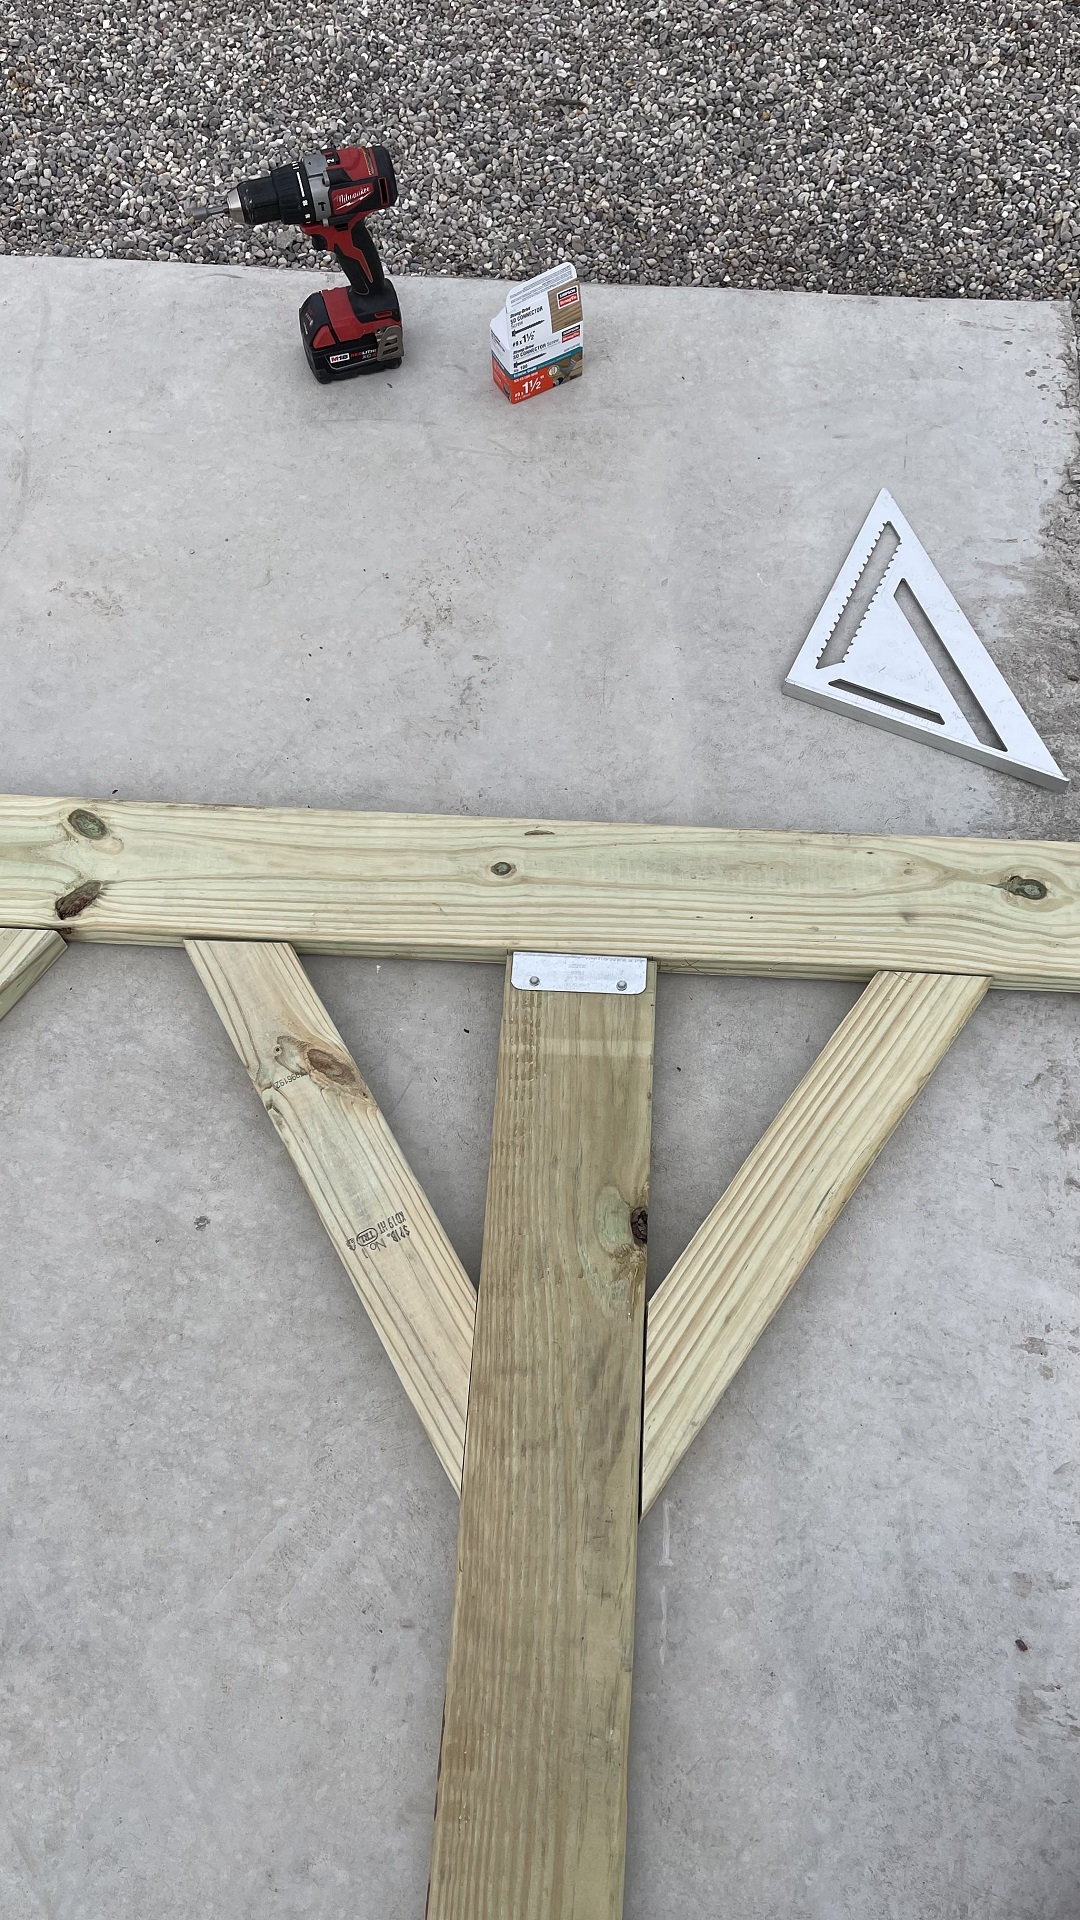
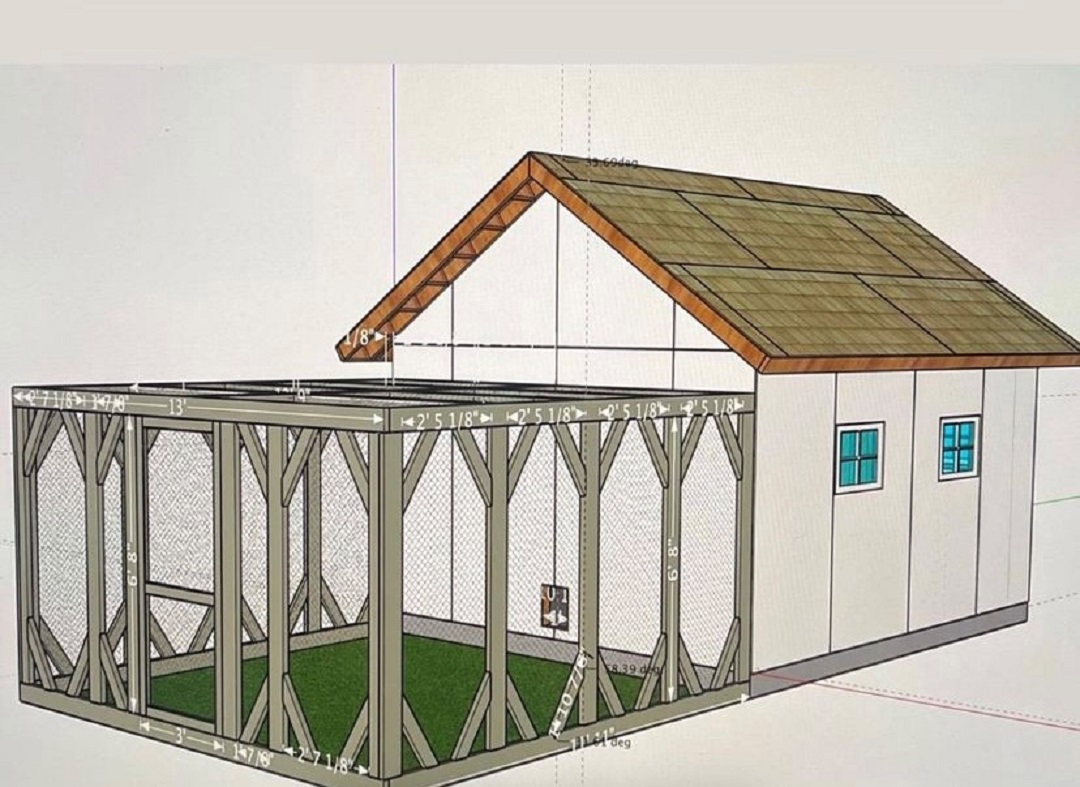
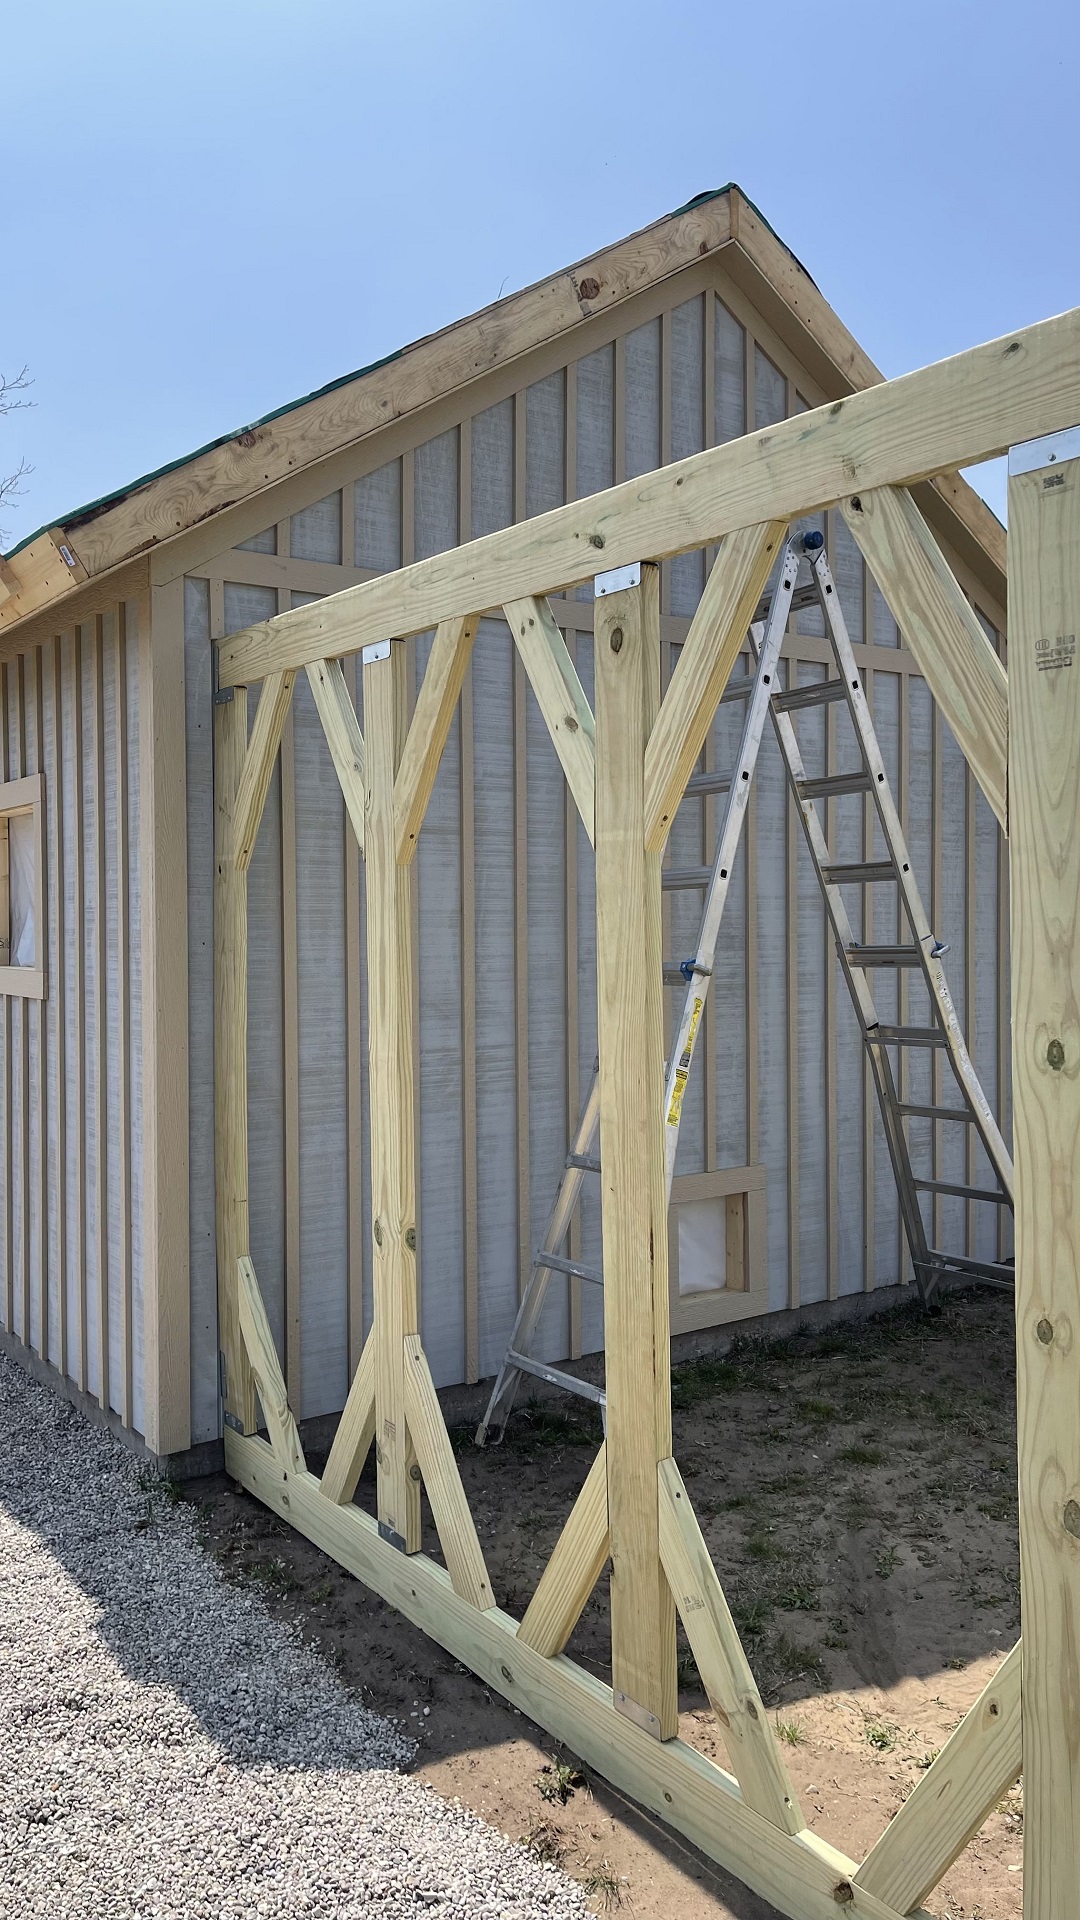
Now that the structure of the coop is up, it is time to build the chicken run frame. I designed this with corner supports to match the look on our pavilion and the door of the greenhouse. Both buildings have the same angled corner bracing, so hopefully it will all look cohesive. I’m using treated lumber for the entire chicken run.
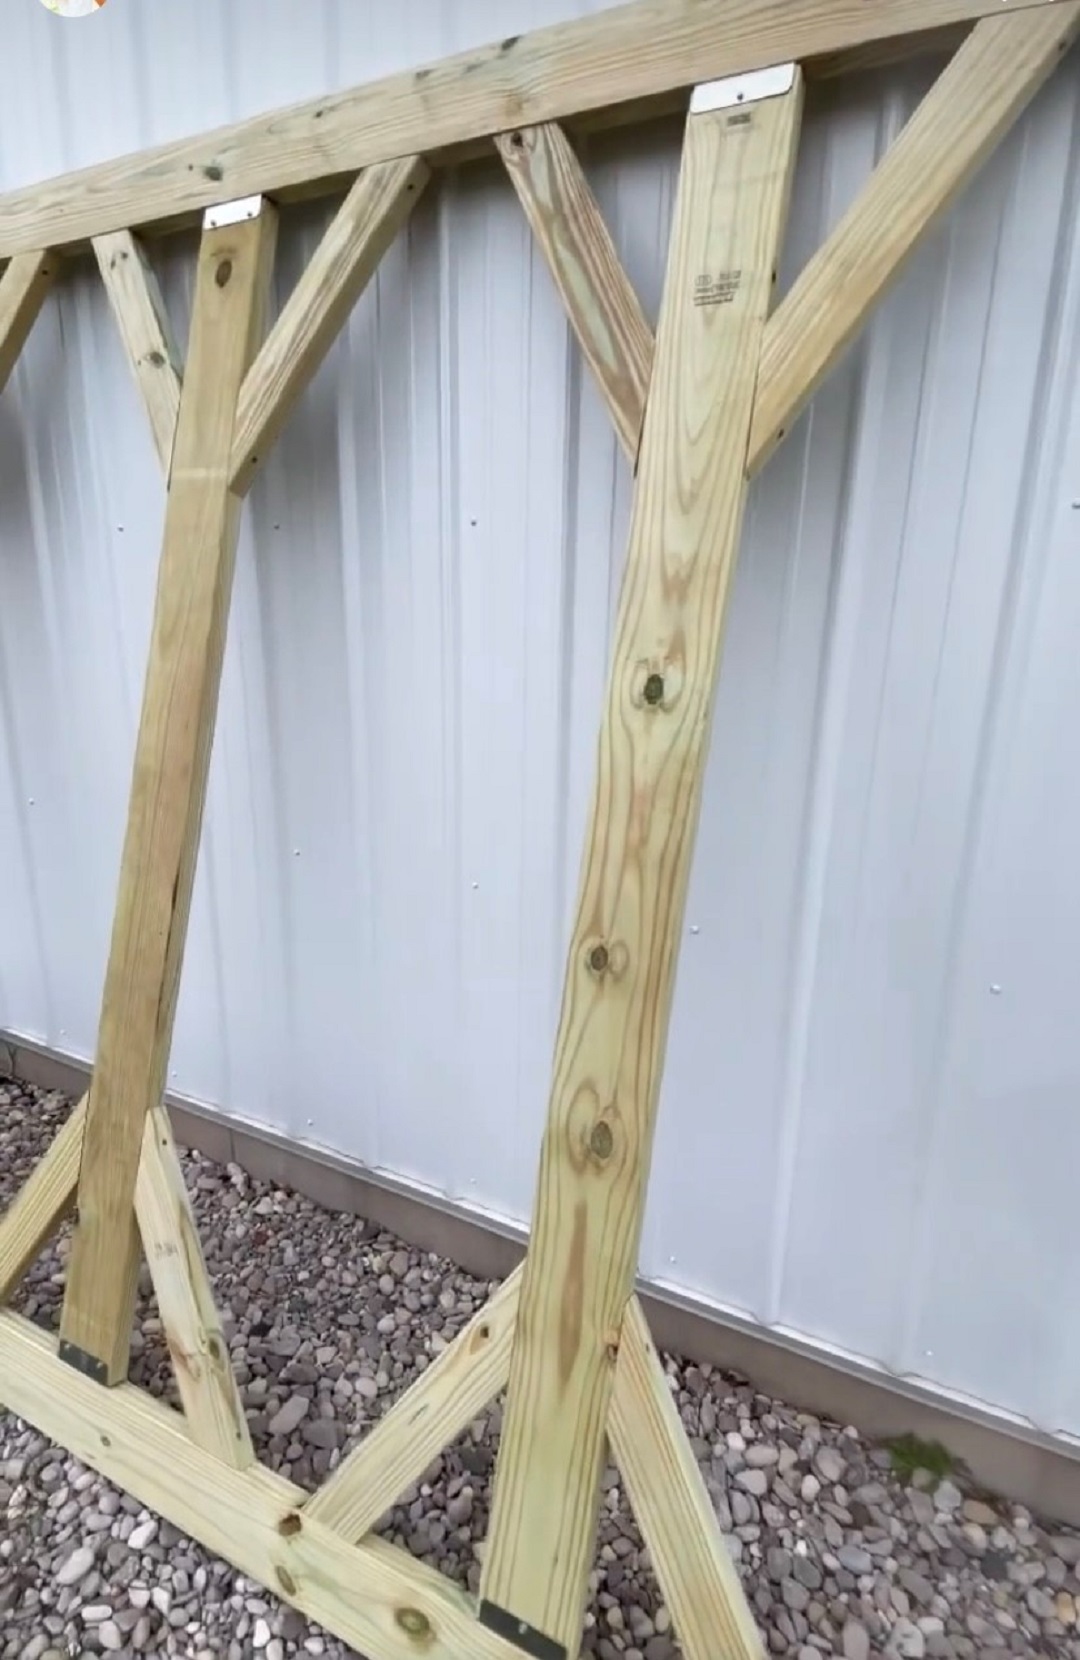
I used Simpson Strong-Tie FB26 brackets and Strong-Drive® #9 1½” screws to secure the vertical 2×6 boards to the top and bottom plate of the wall. This will not be holding any weight, but it will have hardware cloth stapled to it on the walls and the top of the chicken run.
I’m trimming out the six windows on the chicken coop with LP® SmartSide® 4” trim and then I’ll add the vertical 2” batten. Clamps are probably my most-used tool when I’m working alone.
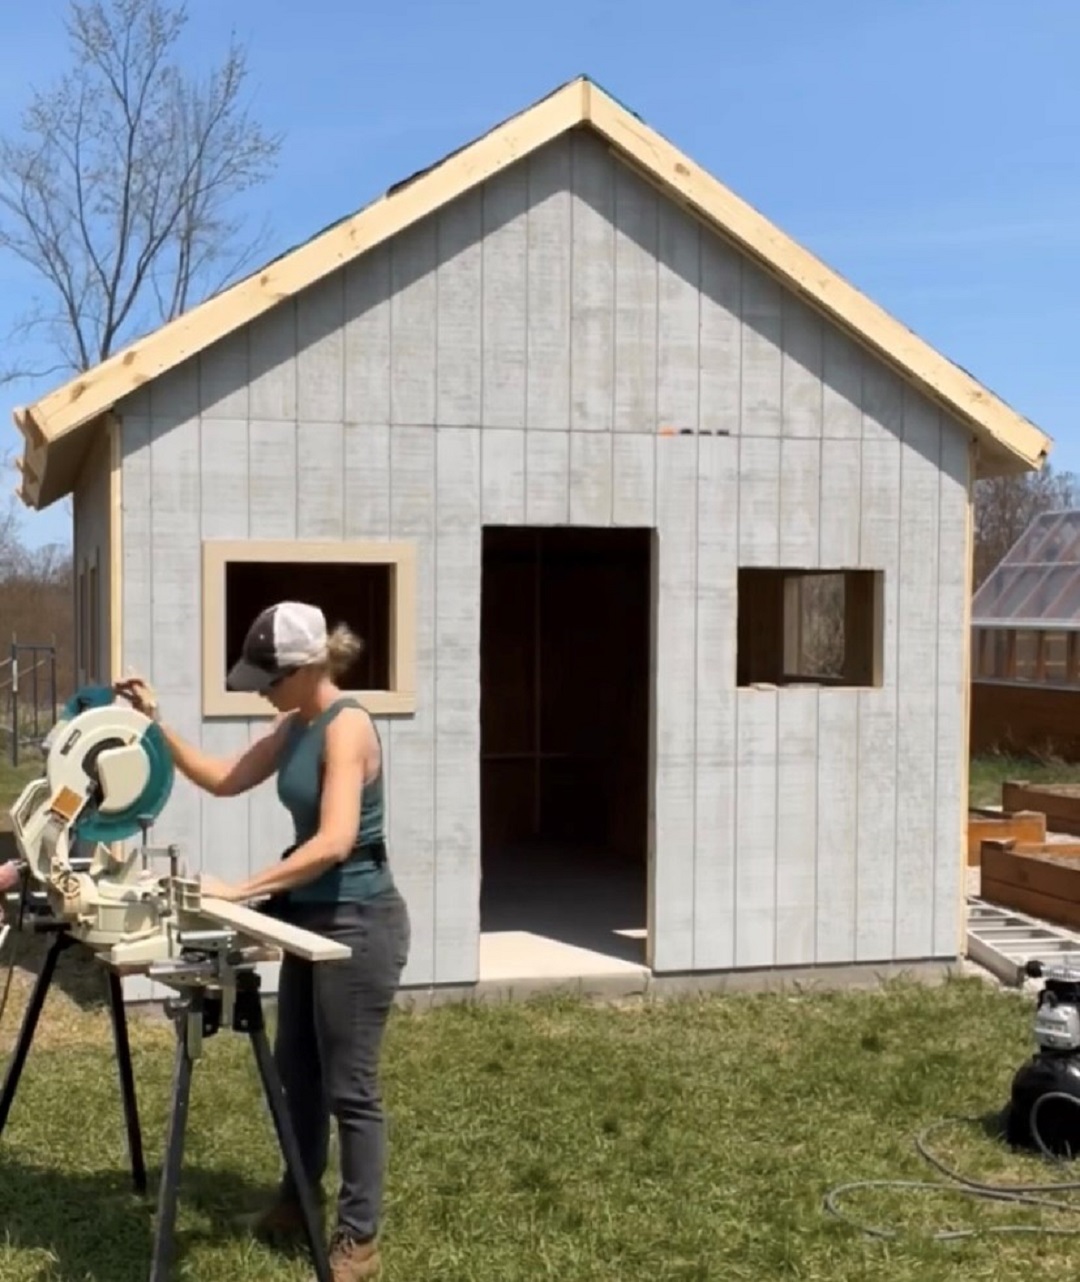
Here’s a look at the windows all trimmed out and the chicken run area in the back. Simpson Strong-Tie brackets, screws and connectors made this job so easy and quick. We built it in two days!
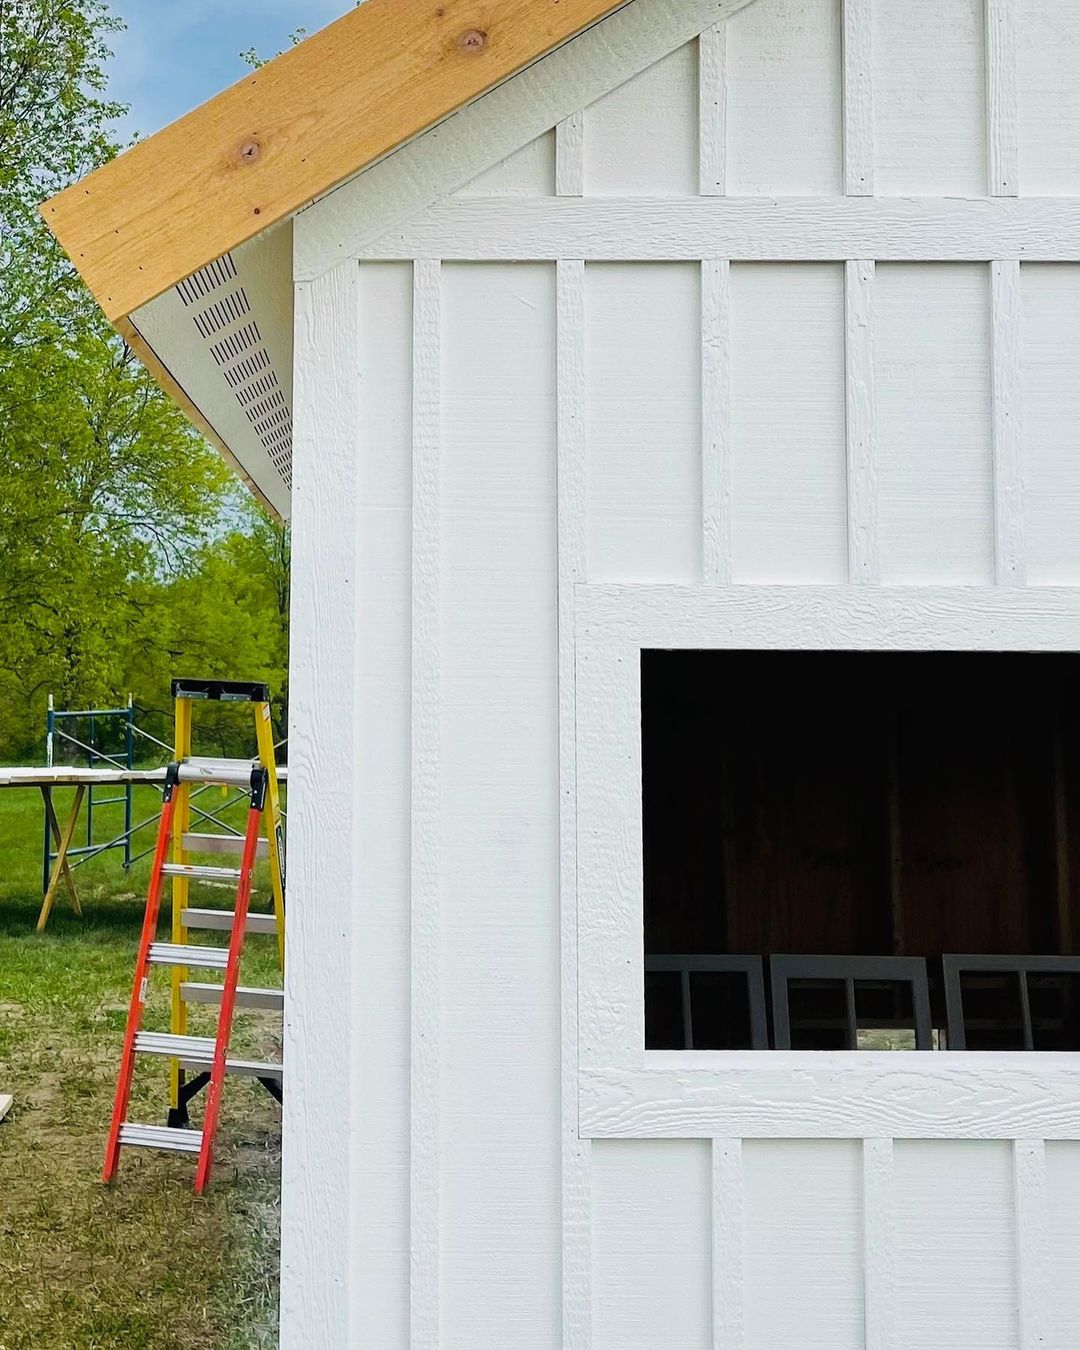
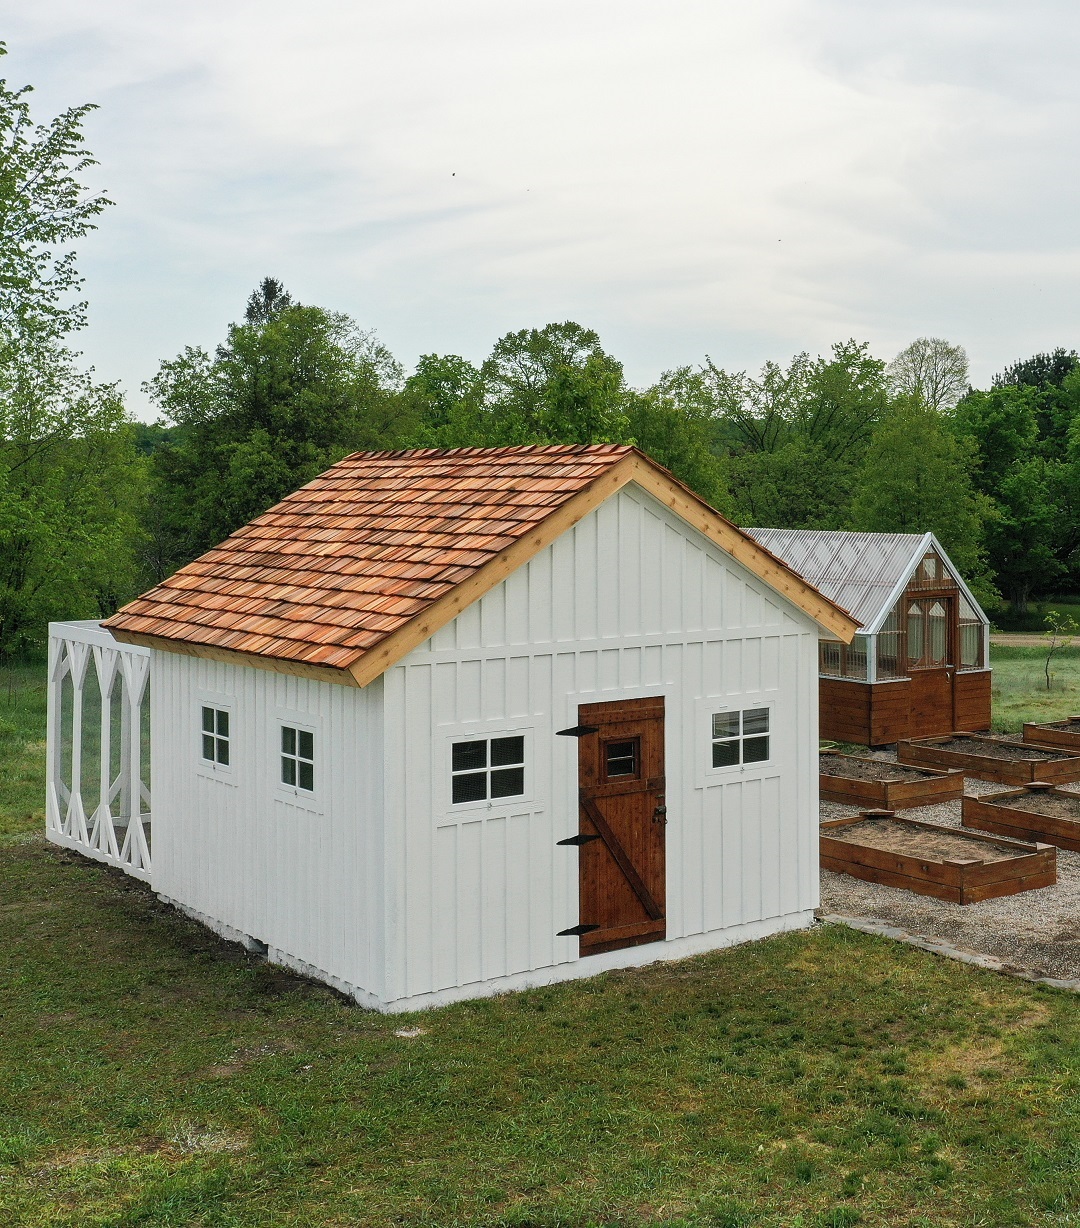
I’m all done painting the chicken coop! I used Behr paint exterior marquee in the color “Whisper White.” The roof is all trimmed out in cedar fascia, and the white soffit, window and door trim and battens are all from LP® SmartSide®
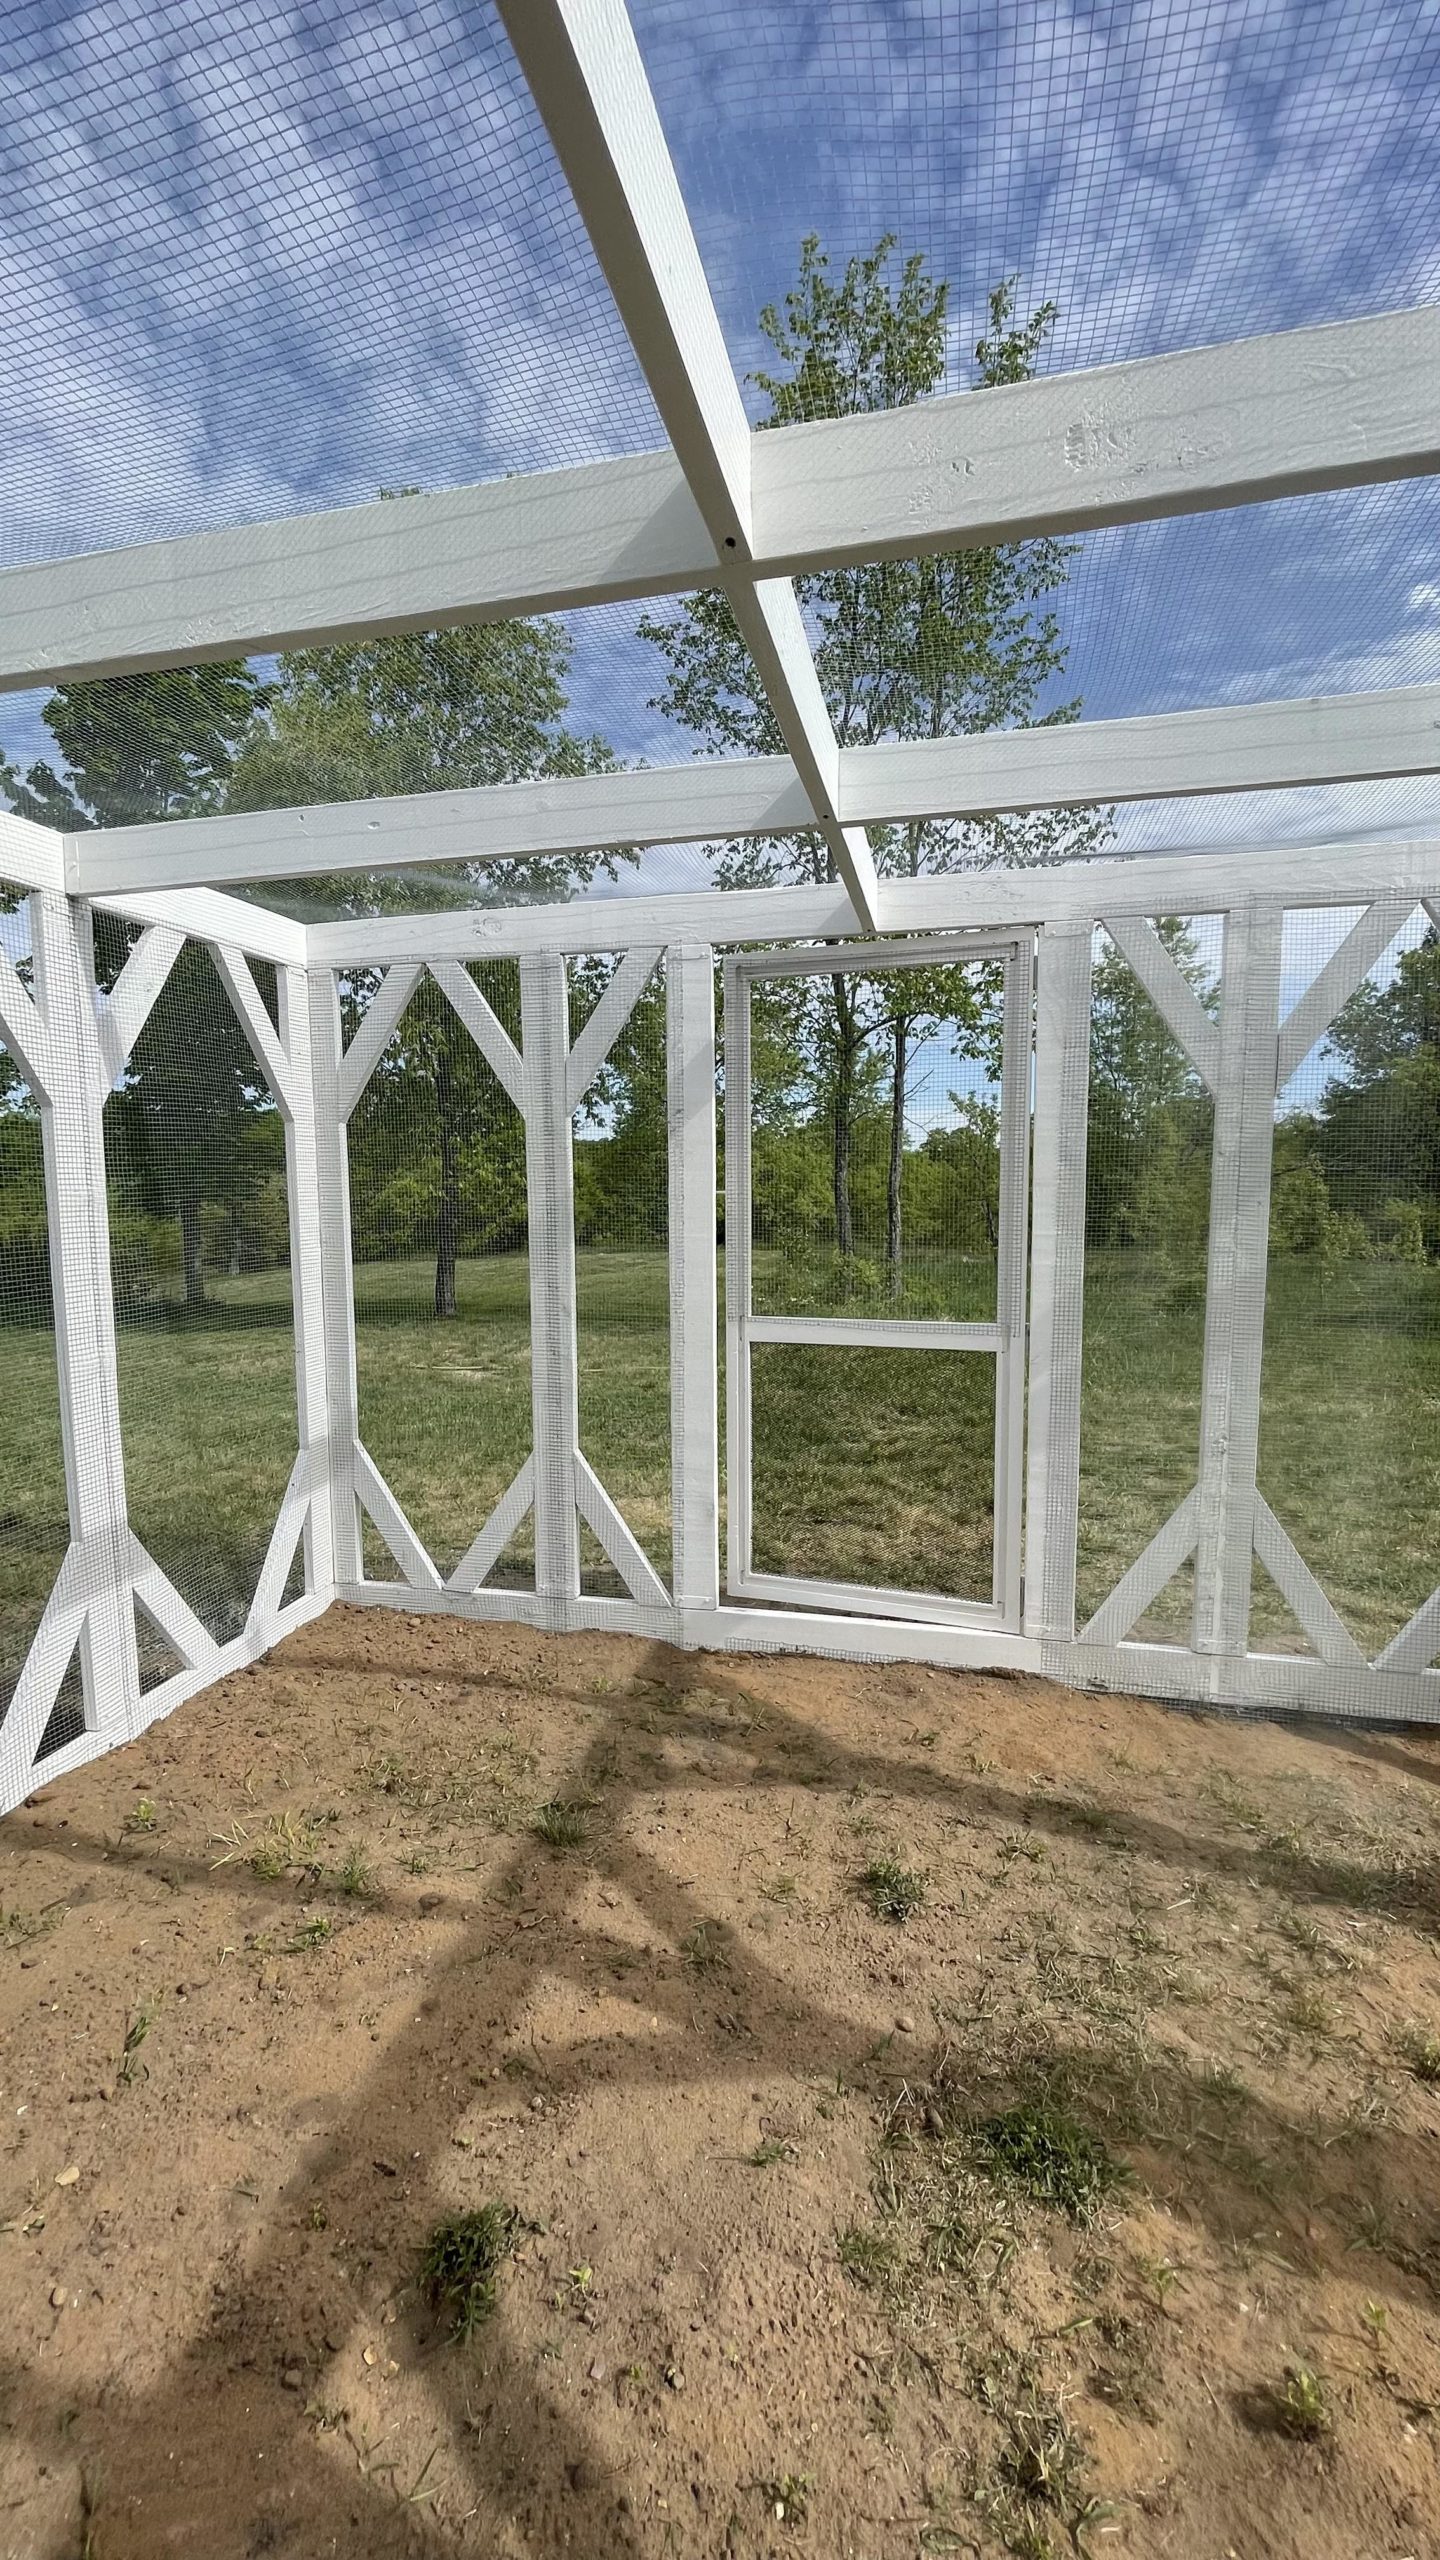
I installed the hardware cloth in the chicken run on the ceilings and the walls. I carried it down way past the ground level and bent it into the “L” and buried it to keep predators out. We also found that pouring the perimeter with concrete for the chicken run helps, too, so we’re well prepared.
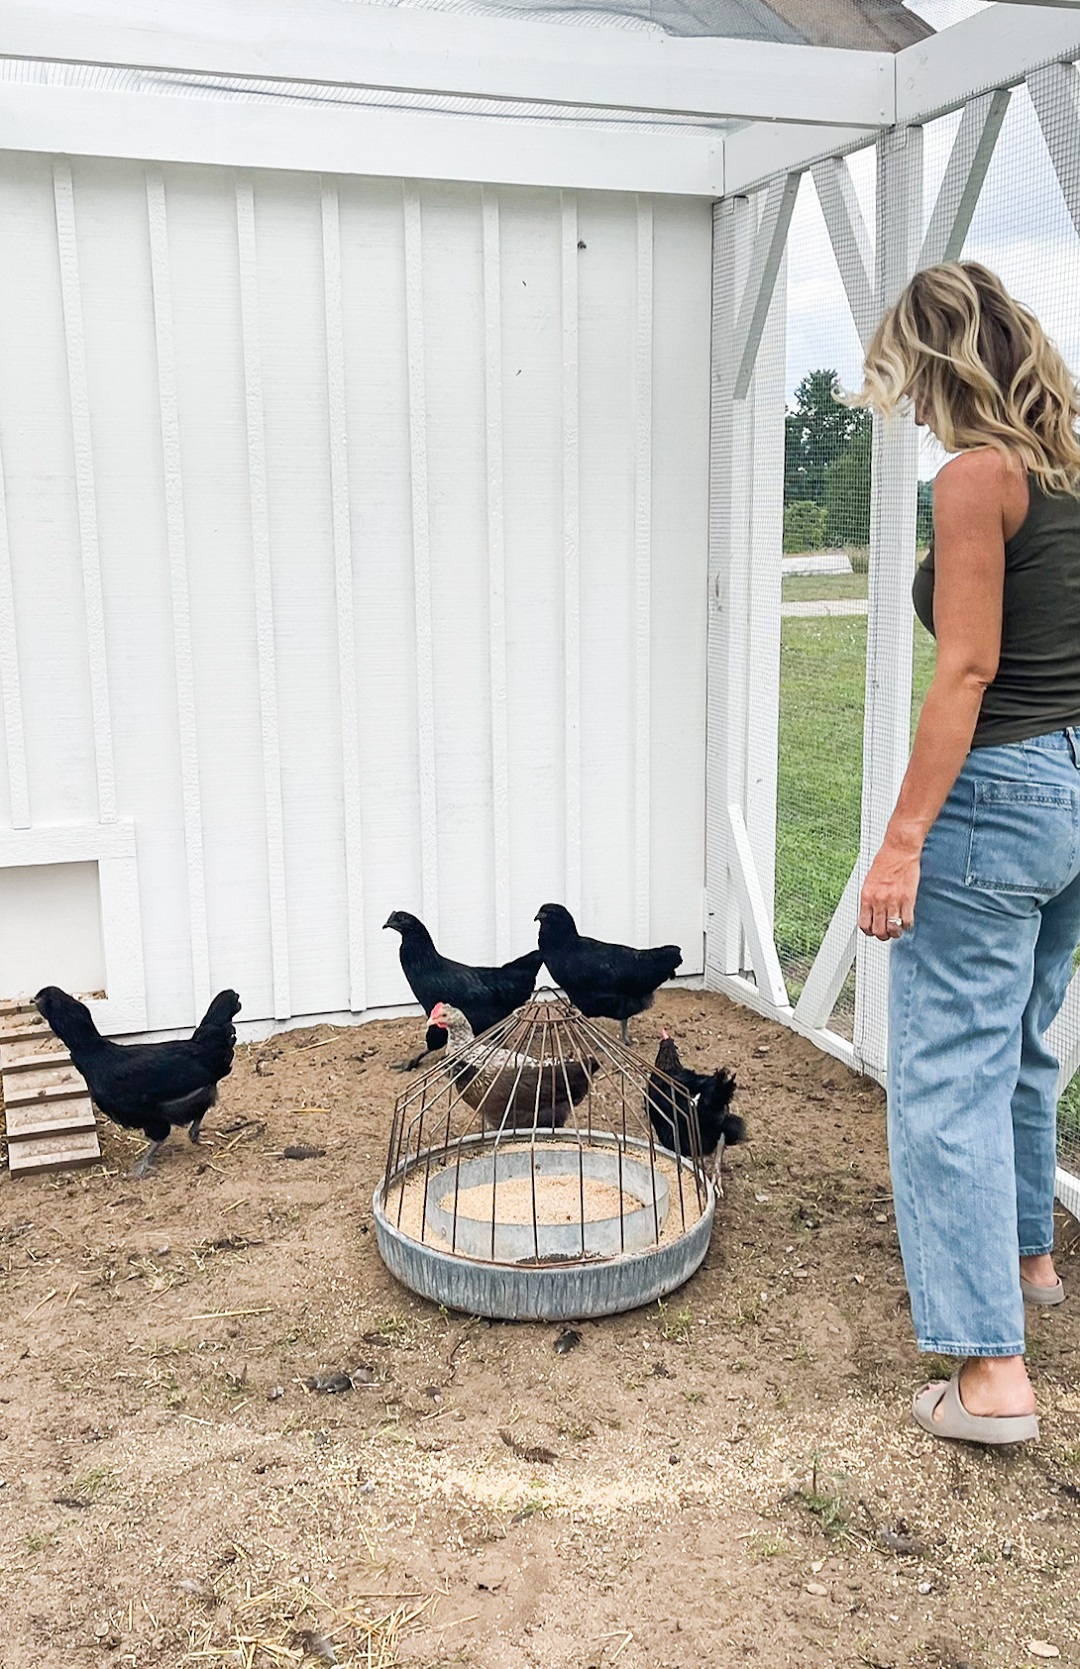
The chicken run is the full width of the back of the building at 13 feet. We also added a little ramp outside for the chickens, and we have a little door for them to enter. Inside, we have a pulley system that my husband rigged up.
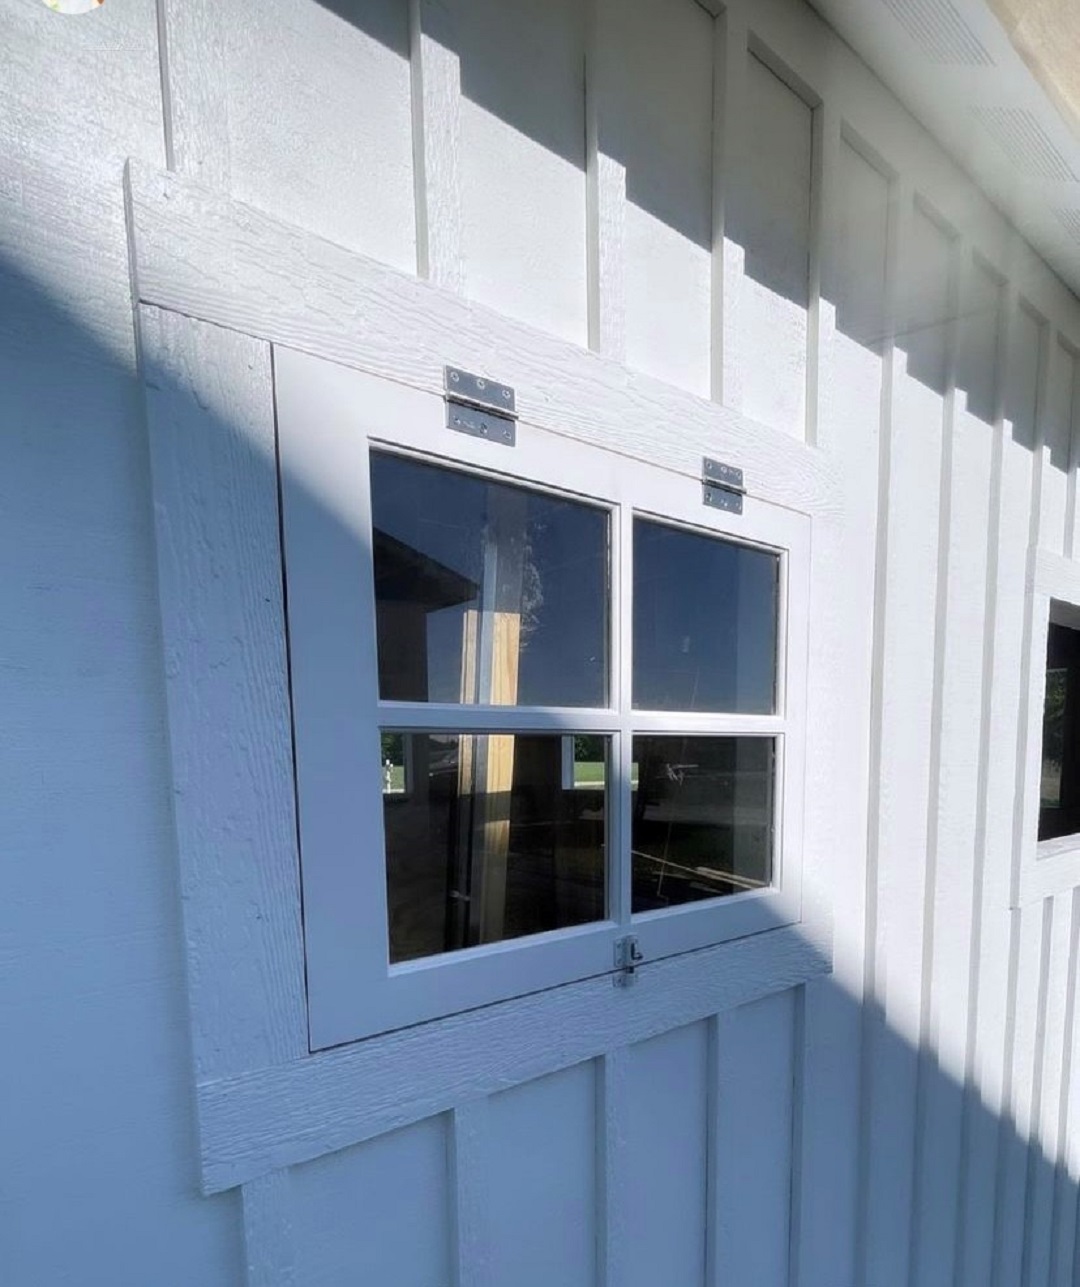
I’ve also got all six windows installed. The windows are wood and were primed and painted before I hung them from two hinges. I also added the hardware cloth underneath and a little weather-stripping. My favorite part of the entire project is the hand-split cedar shake roof.

I found the front door locally at an antique store. The hinges did come with the door, and we ended up trimming around the hinges to use them for the door.
There are lots of ways to build a chicken coop. We wanted a strong shed with a chicken coop inside that was built with high winds in mind (common in our area) and that would withstand the test of time. My husband is an engineer, and we have 20+ years of building experience. It’s super-important to make sure this structure will last. It took around 21 days to build from morning to sunset. Building the structure and sheathing took only two days. The most time-consuming parts were priming, painting and the batten.
It’s so fun seeing our vision for our garden space/backyard come to life. So much thought and careful planning goes into every structure we build here. This is our forever homestead, so we design and build everything with the goal of having it last a lifetime.
Below, watch Dena build her chicken-coop shed from the ground up. You can also learn more about this project on her blog.


