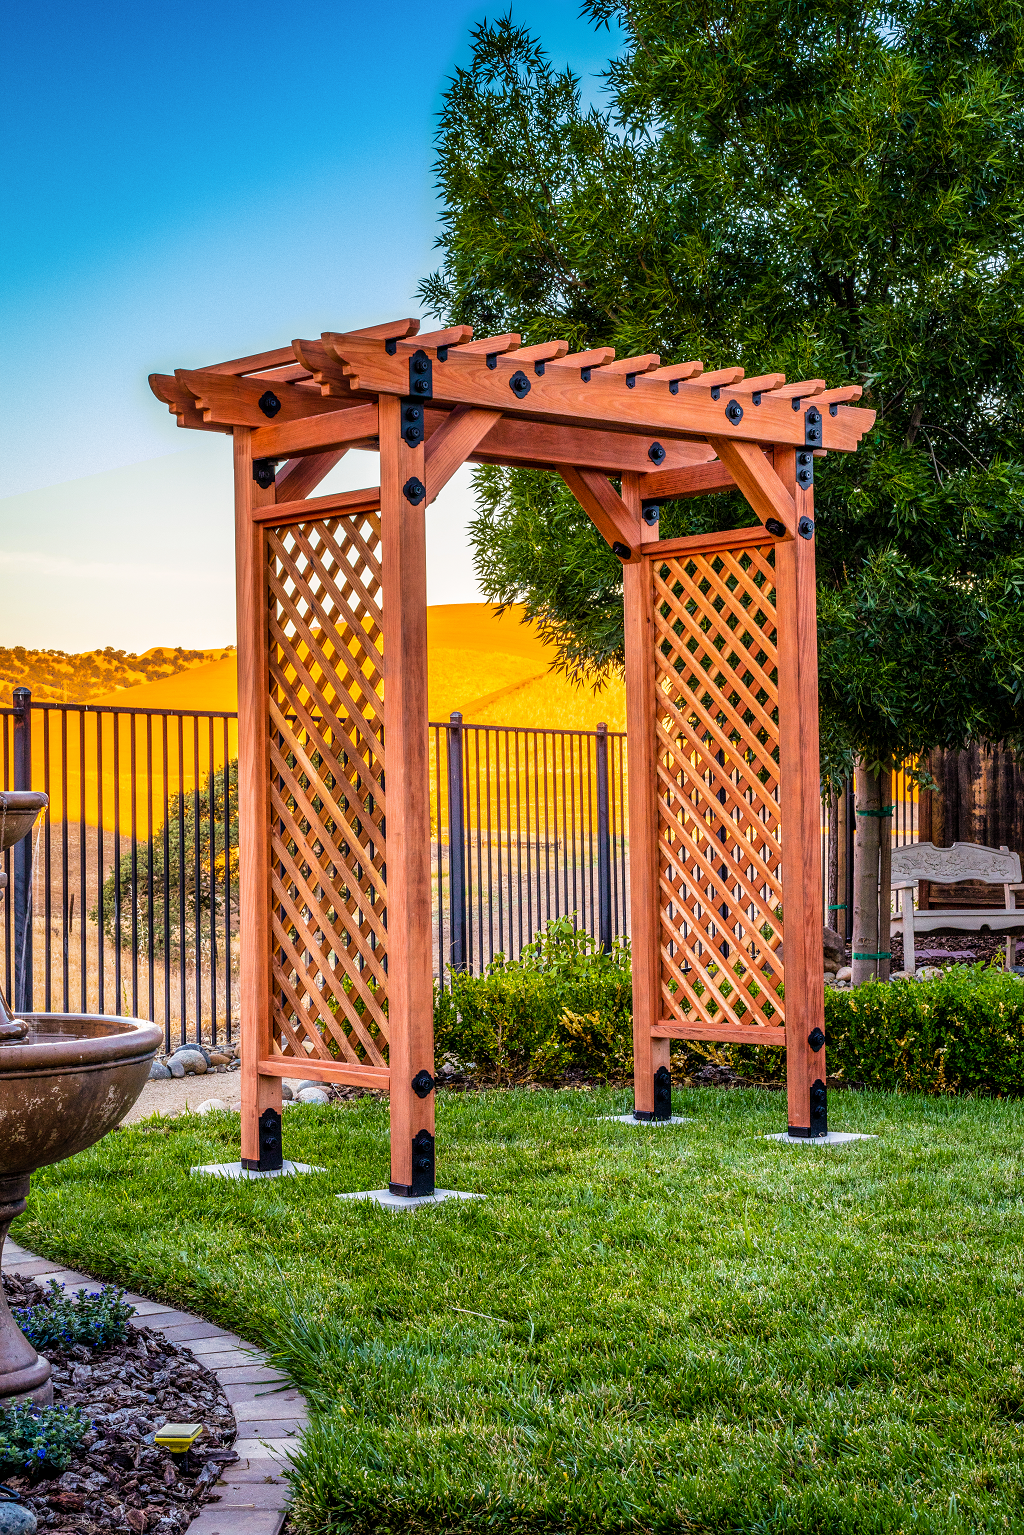
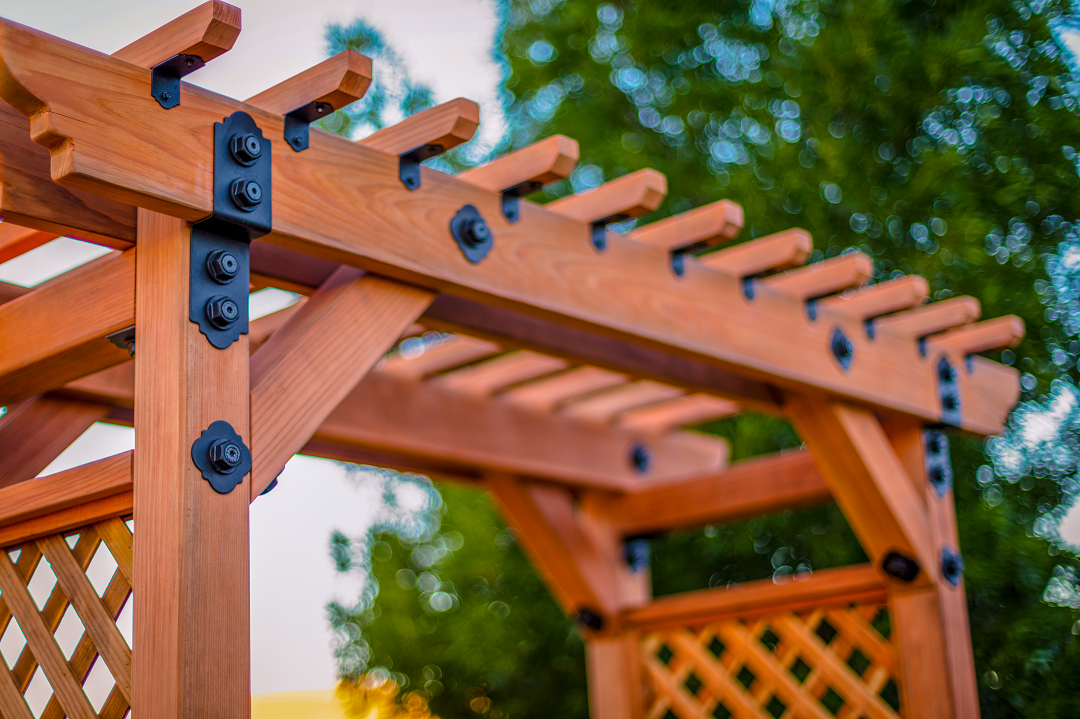
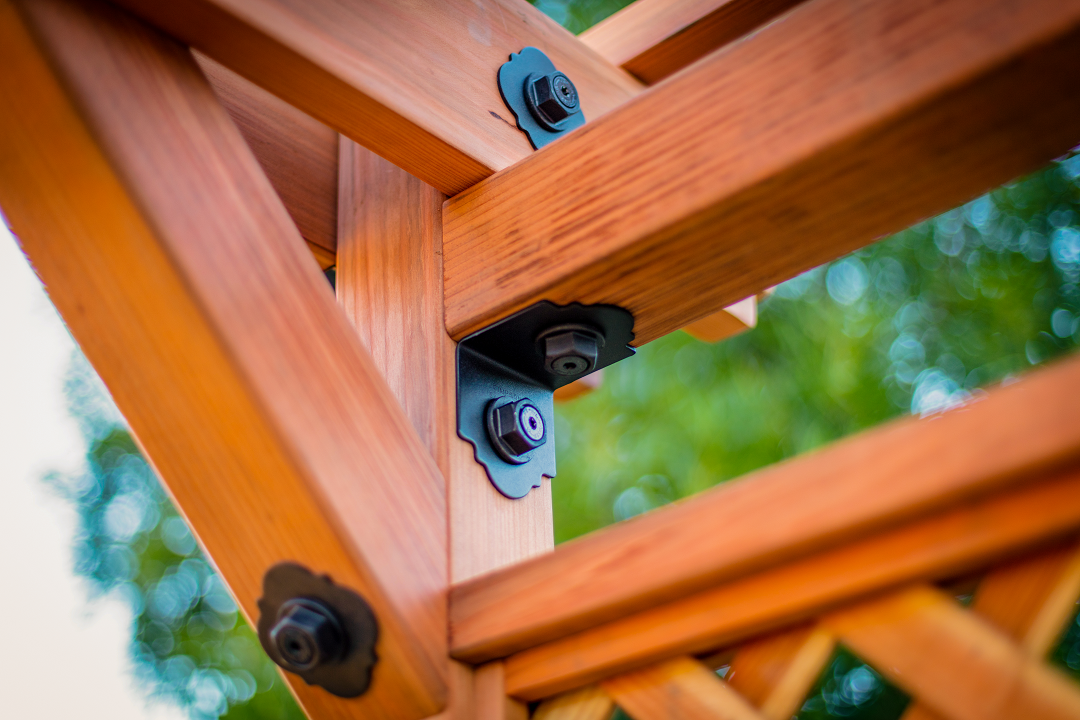
Encourage your greenery to scale the heights with this latticed garden arbor. Assembled with Outdoor Accents connectors and fasteners, this beautiful arbor adds sophistication to your yard.
Download the plans for this Outdoor Accents® Arbor.
Tools Needed
• Saw
• Screw gun
• Tape measure
• Clamps
• Framing square
• Straight edge

Installation Instructions
1. First cut the lattice to size.
2. Cut lumber to size. Use the lattice pieces (I) to determine the length of the lattice support rails (E) and top rail (C).
3. Install lattice. Prior to lattice installation, attach (C) to vertical posts (A) with APA4. Attach lattice support rails (E) near the top and bottom of (A) with 5 1/2″ Outdoor Accents structural screws and APDMW decorative washers. Approximately 3/4″ from the inside edge of vertical posts (E), attach 1×1 lattice trim (G) and (H), using 1 1/4″ finishing nails to attach (G) and (H) pieces to (E) and (A) respectively. Place lattice (I) on top of (G) and (H), securing the lattice snugly with a second, top layer of 1×1 lattice trim also attached with finishing nails into (E) and (A). Repeat lattice install on the other side of the arbor.
4. Attach posts. Level and square vertical posts before anchoring (APB44 shown). Visit strongtie.com for more information.
5. Attach rails and braces. Attach inside long rails (D) to the inside of the vertical posts (A). Then connect the outside long rails (D) to the outside of the vertical posts above the top support rail (C) with (1) APDJT2-4 deck joist tie. Then, on each pair of vertical posts (A), measure down 3 1/2″ from the top and attach the short rails (B) to the inside and outside of the posts with 3 1/2″ Outdoor Accents structural screws. (Offset screws so they don’t run into each other.)
6. Attach rafters. Place rafters (F) 5 1/2″ apart, using a 2×6 for spacing. Start in the center and work outward. Make sure rafters stick out 4″ from outer rails. Attach each rafter to outer rails with (1) APA21 90° angle fastened with (2) 1 1/2″ Outdoor Accents connector screws.

Hardware Needed
• (4) Outdoor Accents APA4 angles
• (22) Outdoor Accents APA21 angles
• (4) Outdoor Accents APB post bases (5/8″-diameter anchor bolt recommended for installation)
• (44) Outdoor Accents connector screws
• (52) Outdoor Accents 3 1/2″ and (12) 5 1/2″ structural screws and (64) hex-head washers
• (24) Outdoor Accents APDMW decorative washers
• (4) Outdoor Accents APDJT2-4 deck joist ties

Lumber Needed
• (5) pieces 4×4 x 8′
• (8) pieces 2×4 x 8′
• (6) pieces 2×2 x 8′
• (8) pieces 1×1 x 8′
• (4) pieces 2×6 x 8′
• (1) piece of 4′ x 8′ lattice
Cut List
Cut from 4×4 x 8′
- (4) 87 1/2″ vertical posts
- (4) 20″ post braces (45° each end)
- (2) 24″ short rails
Cut from 2×6 x 8′
- (4) 84″ long rails
Cut from 2×4 x 8′
- (4) 24″ lattice support rails
Cut from 2×2 x 8′
- (11) 41 1/2″ rafters
Cut from 1×1 x 8′
- (8) 58 1/2″ long lattice trim
- (8) 24″ short lattice trim
Cut from 4′ x 8′ Lattice
- (2) 24″ x 60″ lattice pieces
Find more do-it-yourself project plans at strongtie.com/diy.


