Building a deck has been my dream for a long time, and I’m so thankful that Simpson Strong-Tie collaborated with me on this project. I had never built a deck before, but with their free deck planning software I knew I could. This project was challenging, but boy was it rewarding in the end.

I planned this build with Simpson Strong-Tie Deck Planner Software. It’s great to help you design your own backyard deck. It gives you all kinds of options for putting your deck design together. You can print off your design, your material list, cut sheet, etc. I found it very helpful to have something tangible in hand to refer to in my deck build. I encourage you to take a look at it if you are in the market for building a deck.
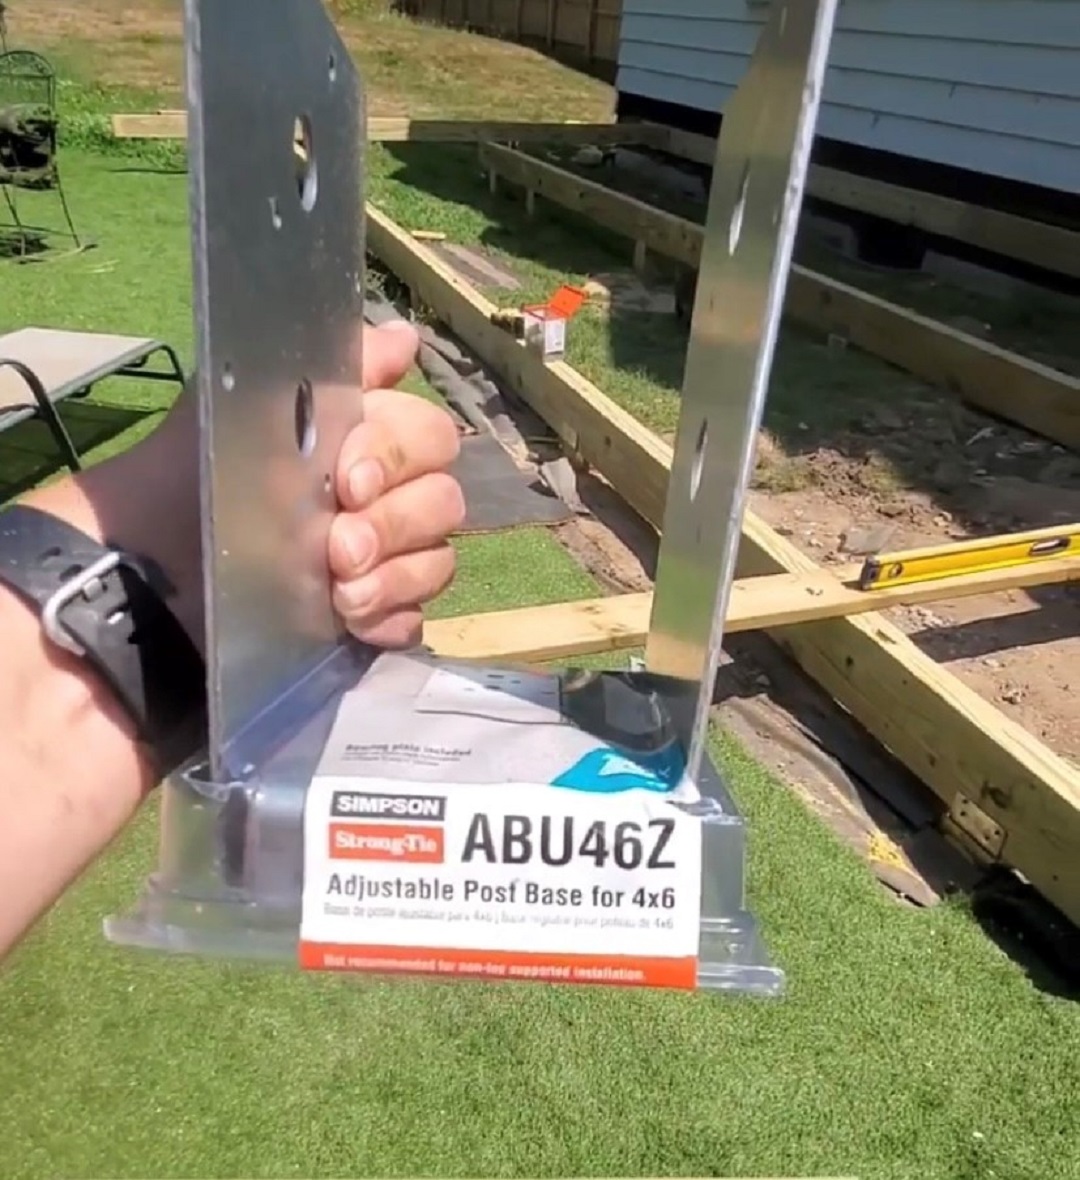
For my deck build, I attached my beams to my post using Simpson Strong-Tie Adjustable Post Base with Uplift (ABU26Z). In regions where there are strong winds or earthquakes, you typically use cement columns. Here in Michigan, we usually use 4×4 or 4×6 posts. I was able to talk with someone at Simpson Strong-Tie and I was able to switch out my post caps for one that we would typically use here in Michigan.
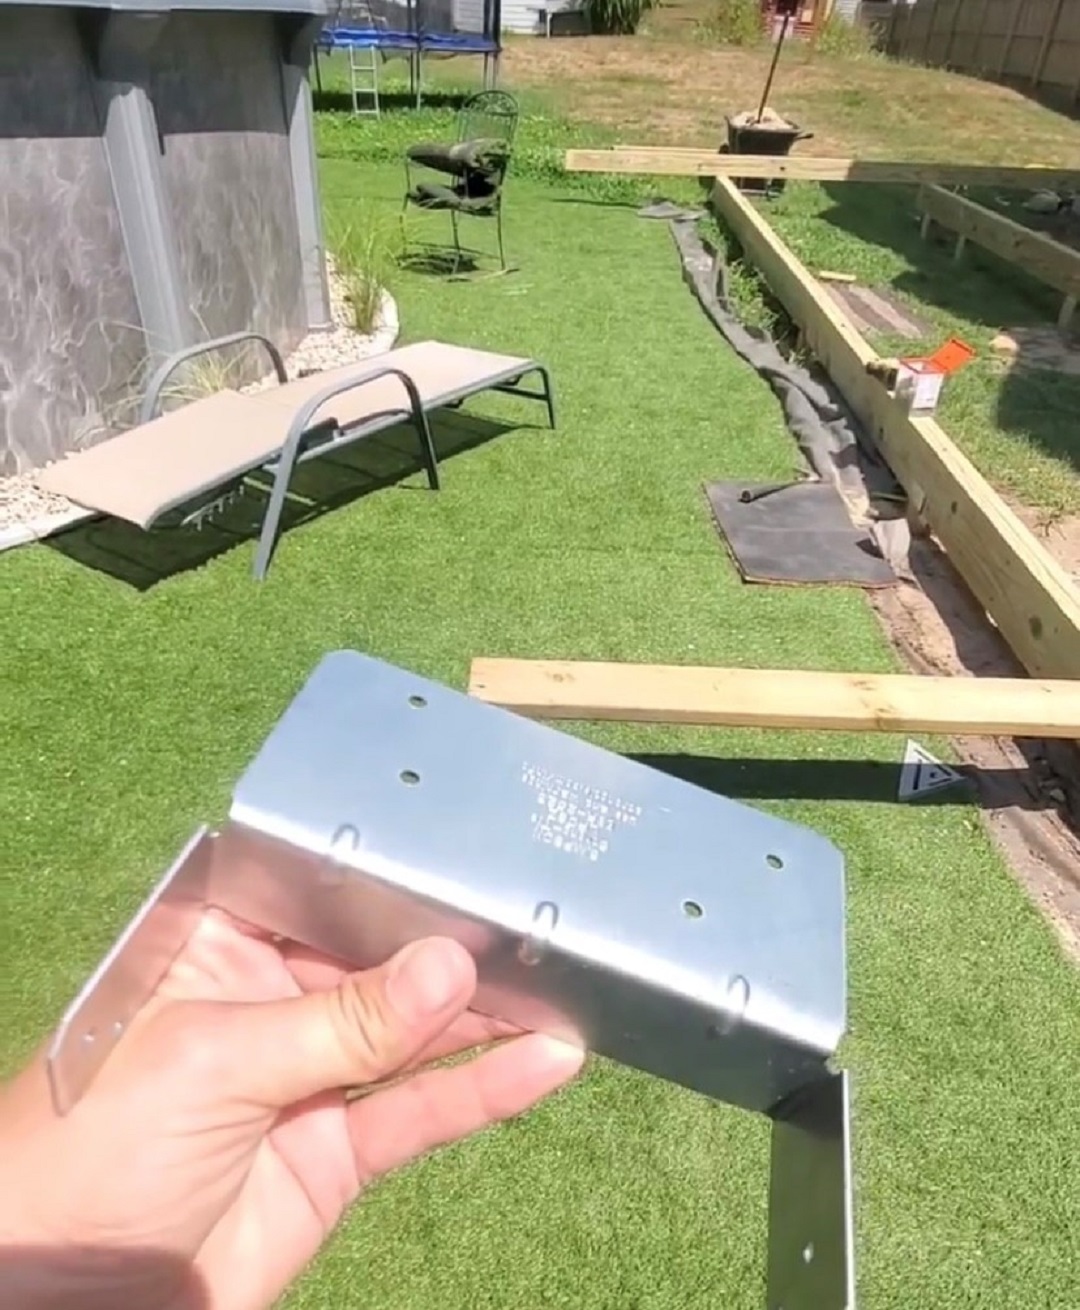
So, for my deck project, I used the Simpson Strong-Tie Light Post Cap (LPCZ). You use one of these on each side of your post. Eight screws go into each cap. I am super glad that we were able to come up with an alternative, since the cement column would have been overkill in my region. But you could absolutely use them if you prefer.
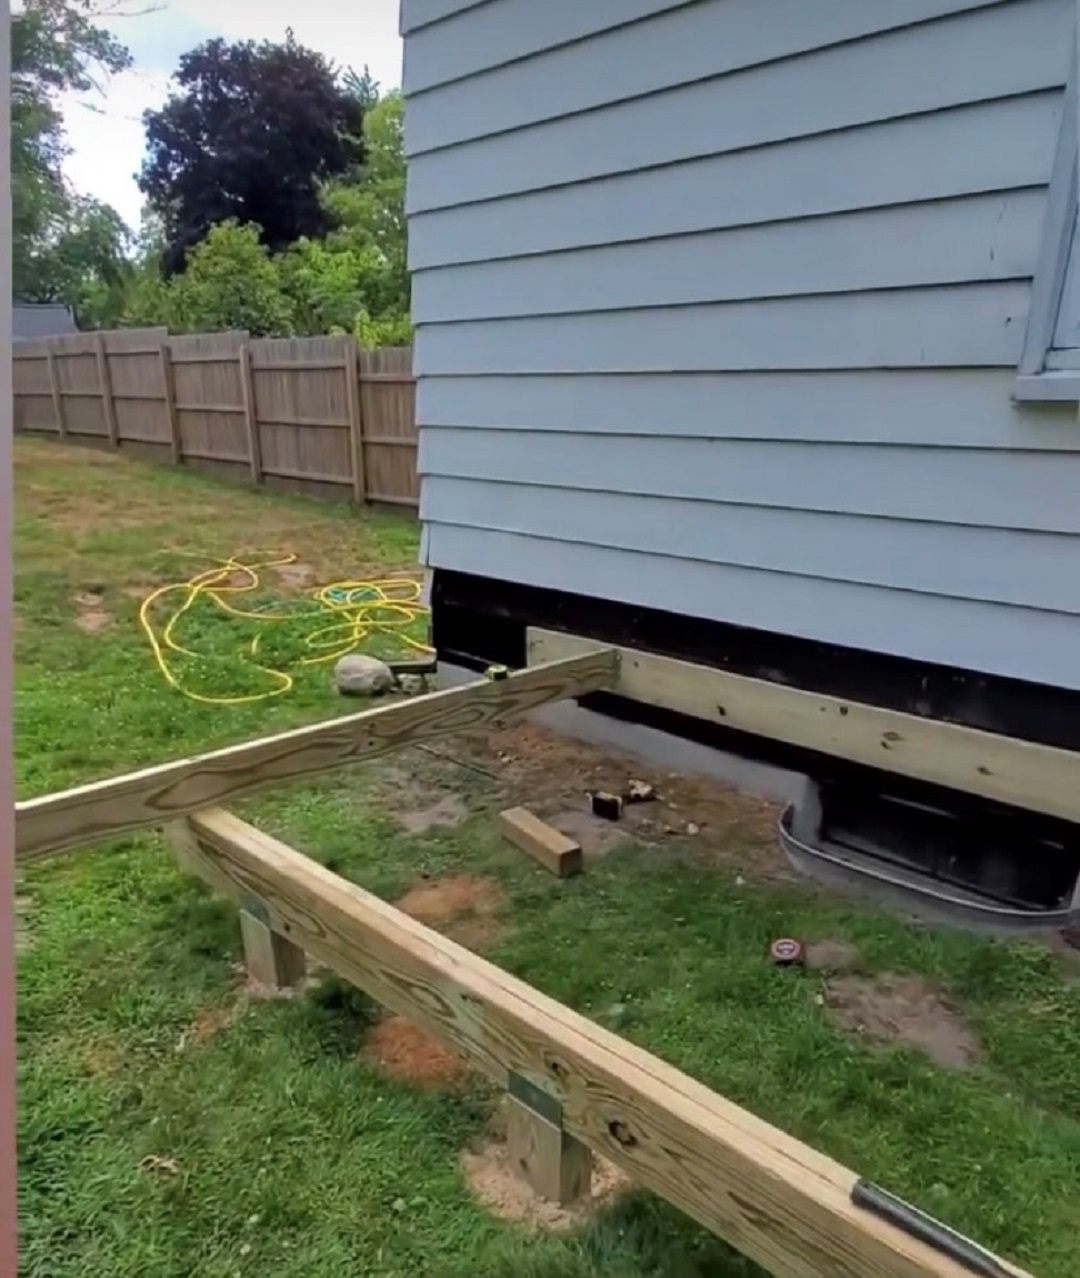
Once I have all my post caps in place, I set my first joist and mark where the rest go so I can finish attaching the ledger board.
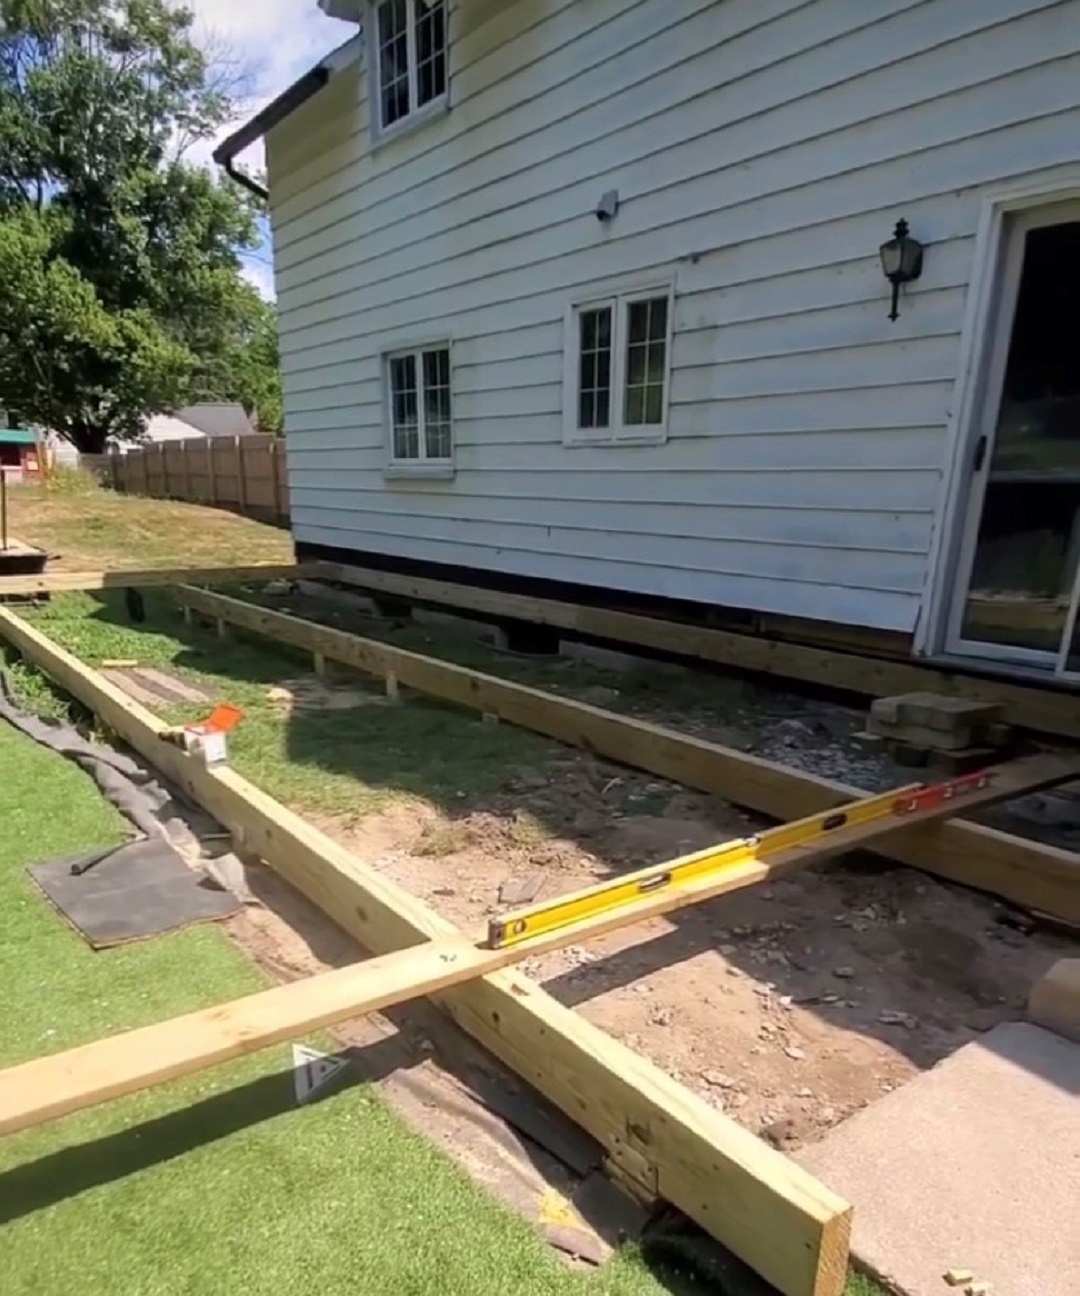
I used a 6-8-10 method to square up the deck joist. Once the first joist is in place, I can mark 16 on center for the rest of the joist. At first, I only use enough screws to hold the ledger in place.
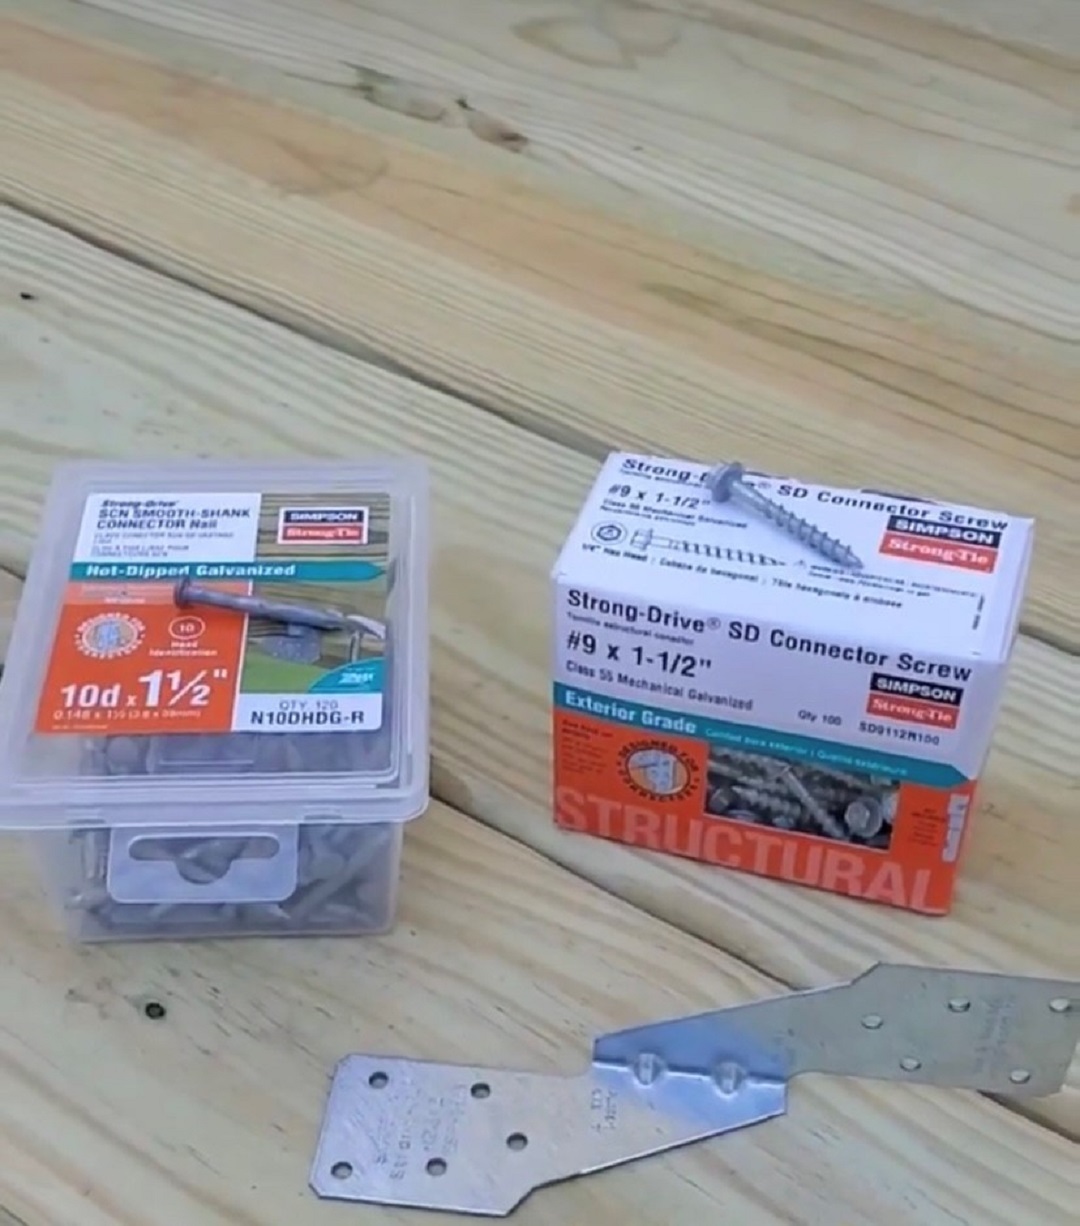
For fastening, I used the Simpson Strong-Tie Strong-Drive® SDWS Timber screw. That meant I didn’t have to use heavy-duty nuts and bolts. I really like the graphic on the back of the box because it gives you the spacing. You’re not supposed to put one on top of the other.
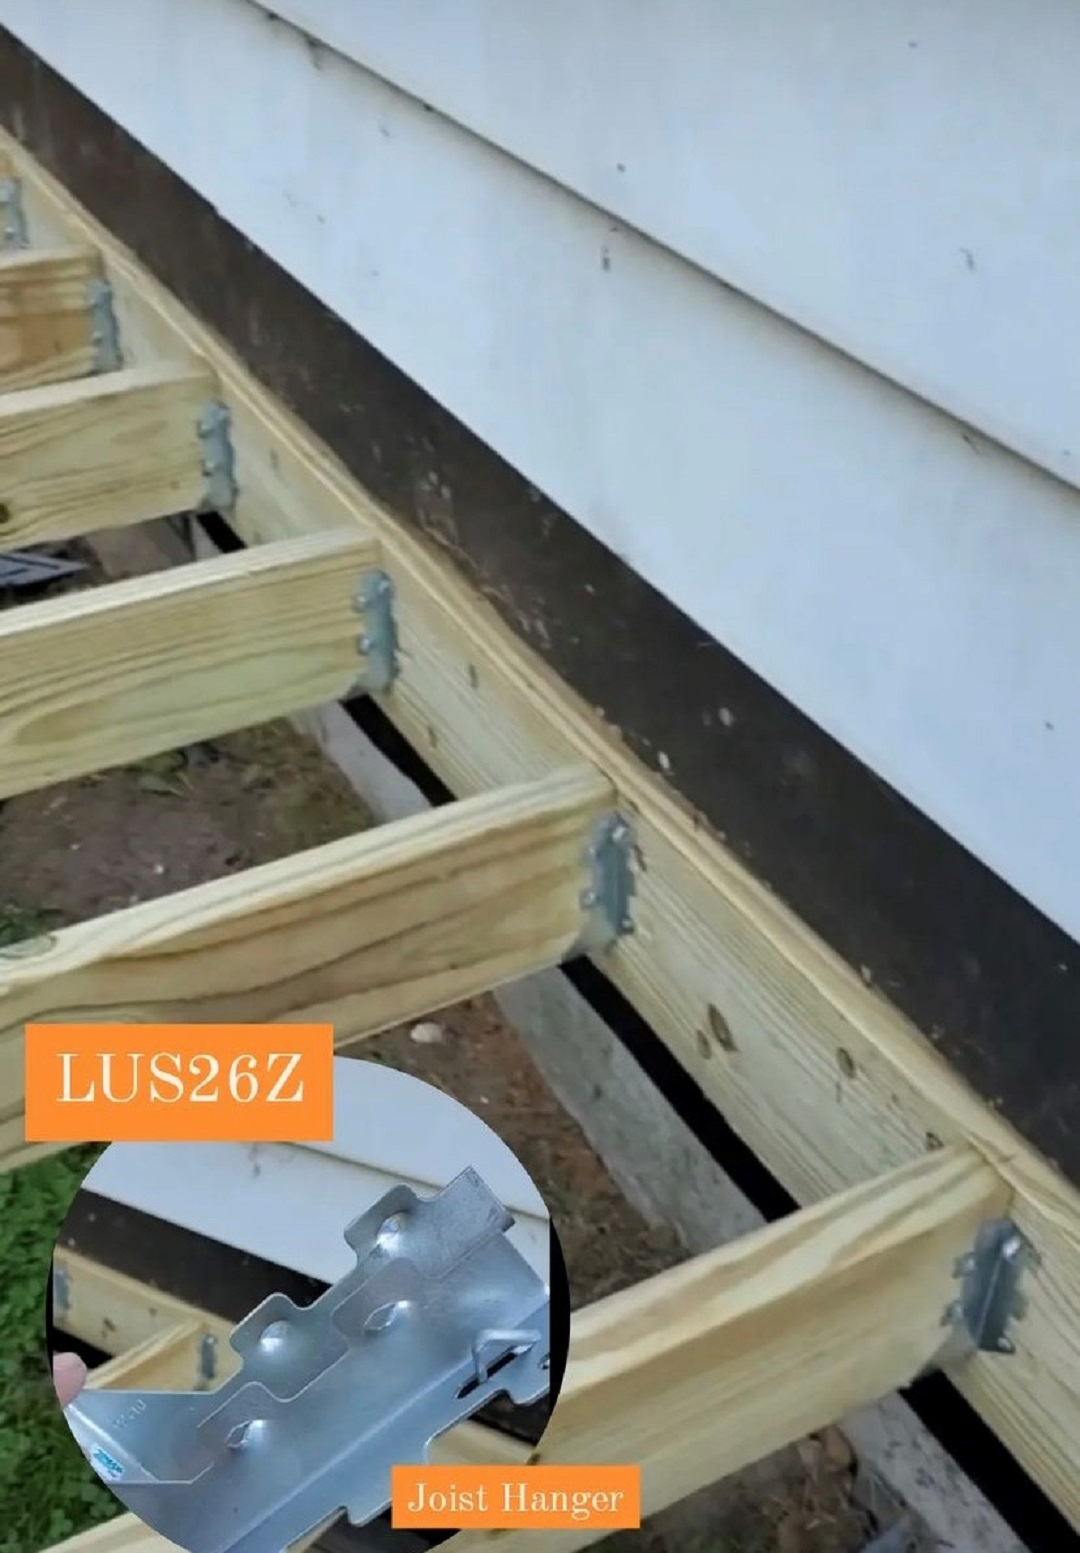
To hang the joist, I used Simpson Strong-Tie LUS36Z joist hangers. They come in a number of sizes. I pinch them together and add two screws to the top and then use the galvanized shank nails.
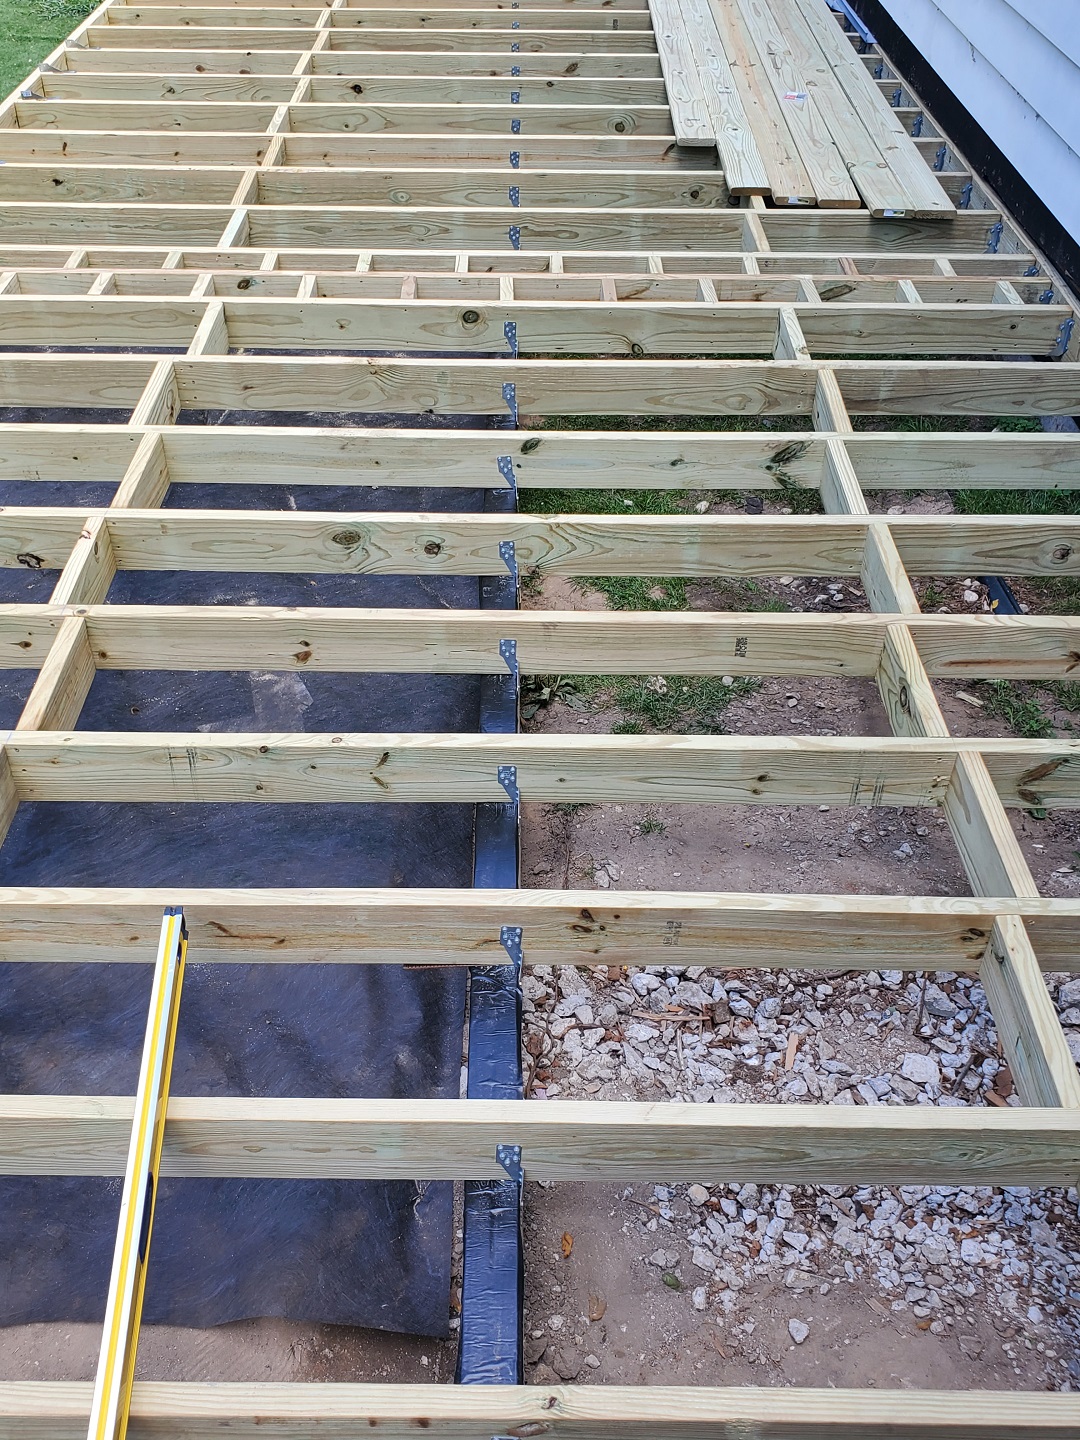
To connect my joist to my beams, I used Simpson H2.5AZ Hurricane Tie. You can fasten them with either the Strong-Drive® SCN Smooth-Shank Connector Nail or Strong-Drive® SD CONNECTOR Screw. I prefer the screws because I can remove them if I make a mistake. Both are perfectly acceptable.
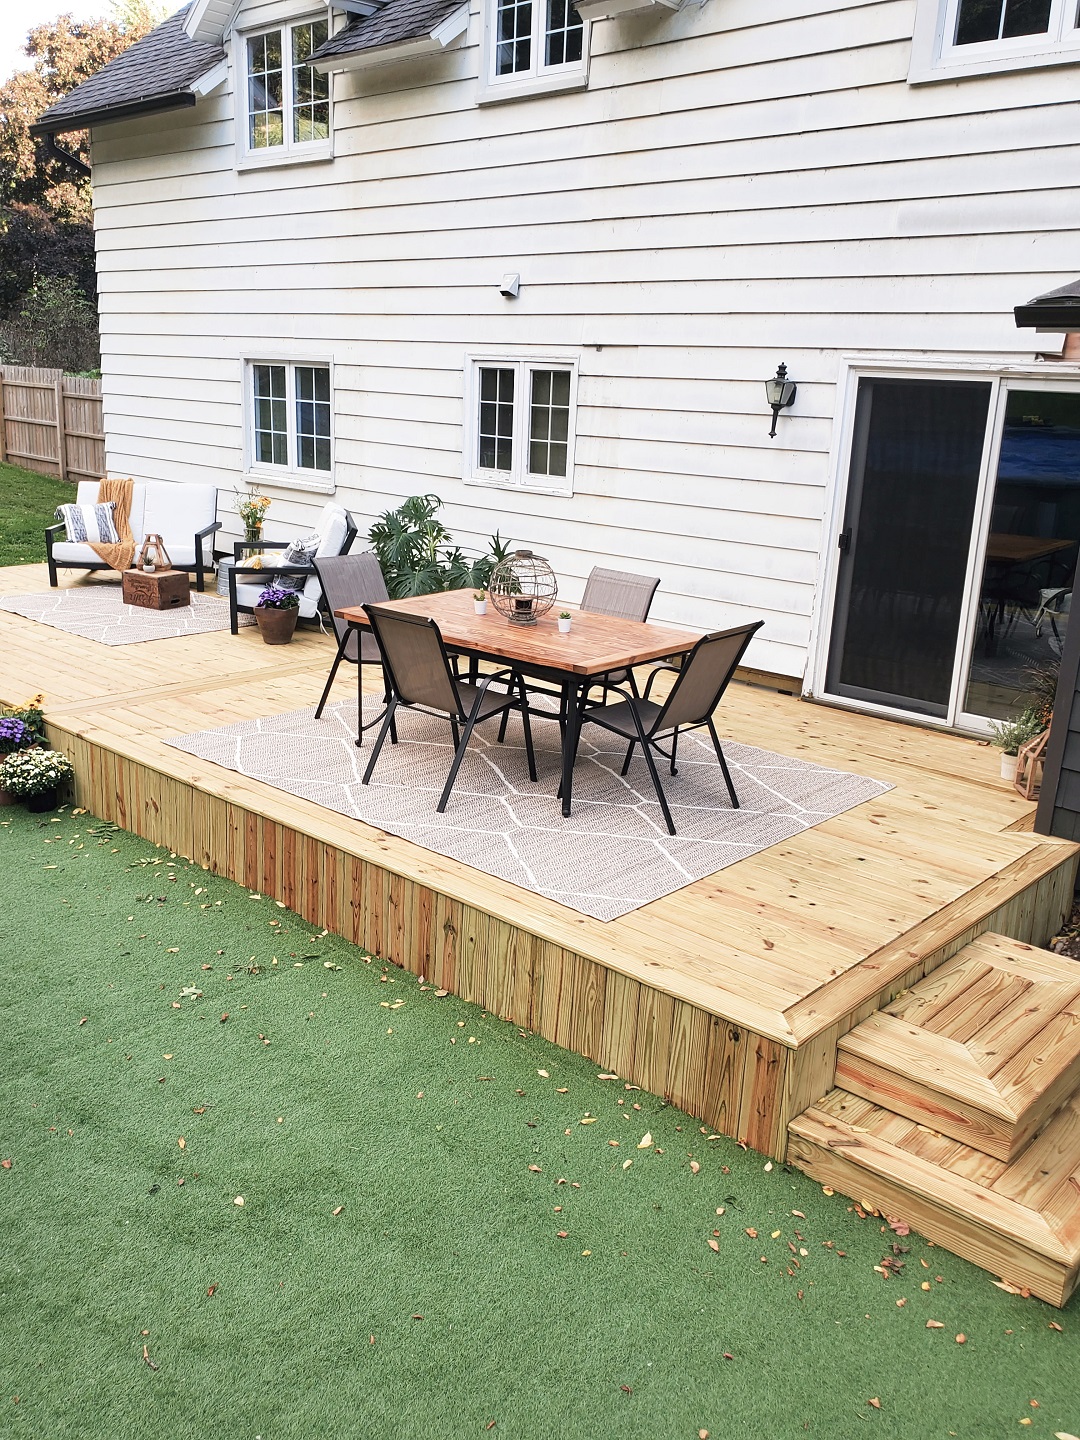
After finishing my last set of steps I’m going to let the lumber dry out for another week or two. And then I’ll put apply Cedarshield wood treatment and finish with Thompson WaterSeal wood stain. So much time, effort, thought, planning and hard work went into this project, and I did it all myself and I’m absolutely thrilled with how it turned out.

I can’t wait to spend time with my family and friends out here. Thank you to Simpson Strong-Tie for working with me on this project. If you’re looking to build a deck, I highly recommend you check out Simpson Strong-Tie’s Deck Planner Software and all their great hardware.


