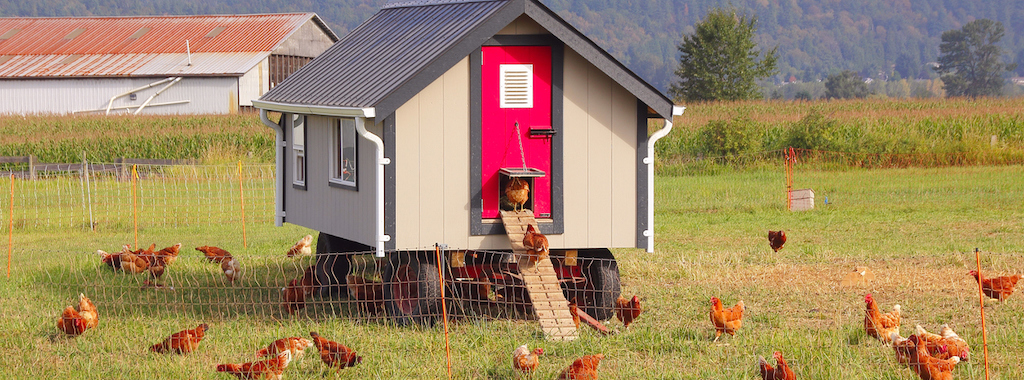
So, you’ve decided to build a chicken coop for your yard — congratulations! But now you’re probably thinking, “Where do I even start? What materials do I need? How many chickens can I put inside?” Simpson Strong-Tie has partnered with the backyard chicken experts at Chickens and More to answer these questions and many more.
Building a chicken coop doesn’t have to be an intimidating or impossible project. As long as you have some basic woodworking skills (or a willingness to learn them), space, time, and determination, we’ll guide you through the rest!
1. Decide how many chickens you want
Chickens are flock-oriented birds and need to be housed in a group. Thus, you should start with no fewer than 3 chickens. If you have never kept chickens before, you should start smaller, with 3-4. If you have some experience and a larger family who will go through more eggs, 5-6 hens would be ideal for you.
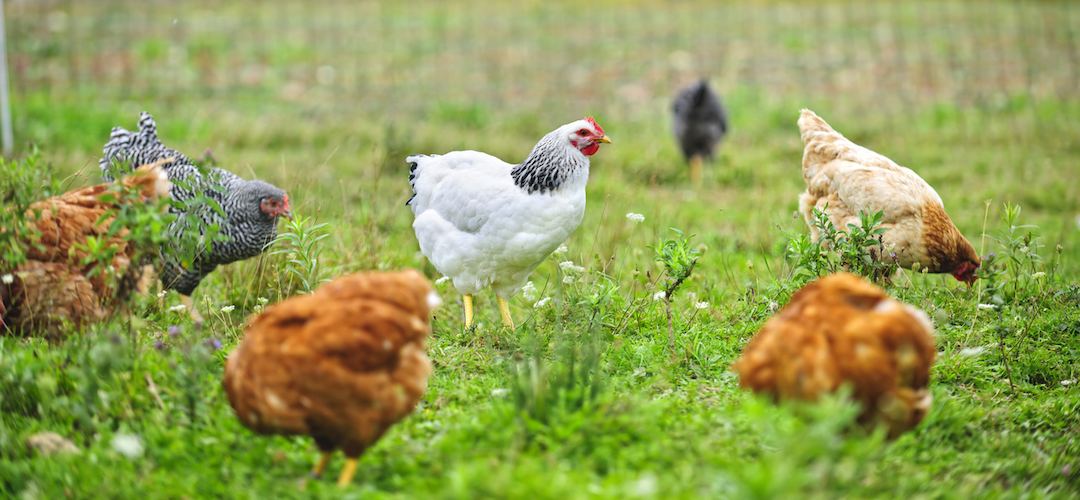
Unless you want to hatch eggs or are okay with eating fertilized eggs, you should not get a rooster to go with your hens. Raising chicks is an adorable and rewarding experience, but you will need special equipment and space, so we do not recommend it for first-time bird owners.
Don’t get more chickens than you are able to safely accommodate — we’ll discuss this more in the next section.
2. Figure out how big the coop needs to be
The size of your coop will depend on how big the outdoor area is for the chickens, and whether they will be partially free-range. If they have plenty of yard to roam about year-round, the coop should be about 2-3 square feet per bird, at a minimum.
If you have cold winters or are limited with the size of the run you can give the birds, you’ll need more space inside the coop — about 5-10 square feet per bird.
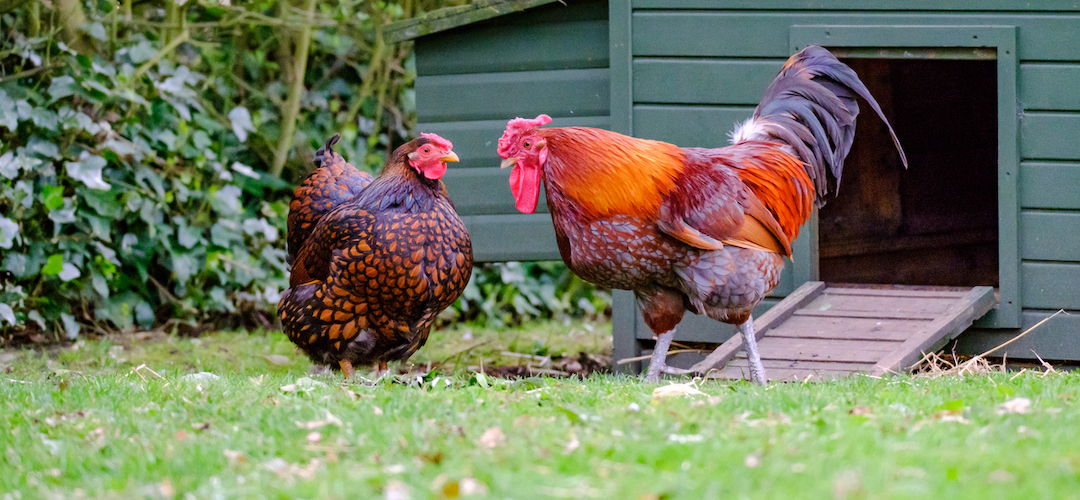
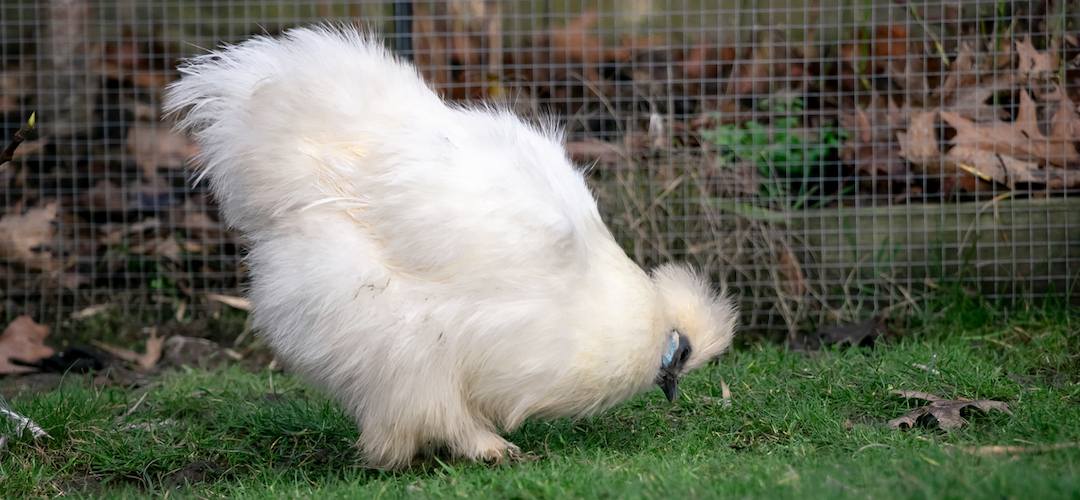
The size of your birds will also influence how much space they need. Bantams, for example, will not need as much space as standard hens. Jersey Giants, on the other hand, will need much more room to move around.
Remember, bigger is better when it comes to housing. Cramped birds are unhappy birds, and lack of space can contribute to a whole host of problems, including bullying-related injuries, illness, parasites, and laying issues.
3. Think about design features
The most important function of a chicken coop is security. You want to know that your chickens will be safe from predators such as foxes, coyotes, raccoons, and dogs. The coop should also be rat-proof, to aid in the prevention of disease.
Chickens, like most birds, like to perch at night. They will require roosts which ideally, will be square and have rounded edges. These will generally be 1.5-3 feet off the ground, depending on the breed and size of chicken you have. Leg injuries are common in chickens whose perches are too high and have a long jump to get down to the floor.
Nesting boxes are also essential, for the chickens to lie down in and lay their eggs. Generally, you’ll need one nesting box for every 4 hens.
The coop has to be insulated, especially if you live somewhere with cold winters, and weatherproof, to ensure the chickens stay warm and dry at all times.
4. Build your chicken coop!
In terms of materials, you’ll need to decide between plastic and wood. Wood is easier to work with and has been used for chicken coops for thousands of years. Plastic is easier to clean, but will be more difficult for an amateur to build with.
For these reasons, we recommend building with wood. Plywood is cheap and strong, and you can use wire to deter predators like owls and hawks. The roof can be made of shingles or simply a piece of sheet metal.
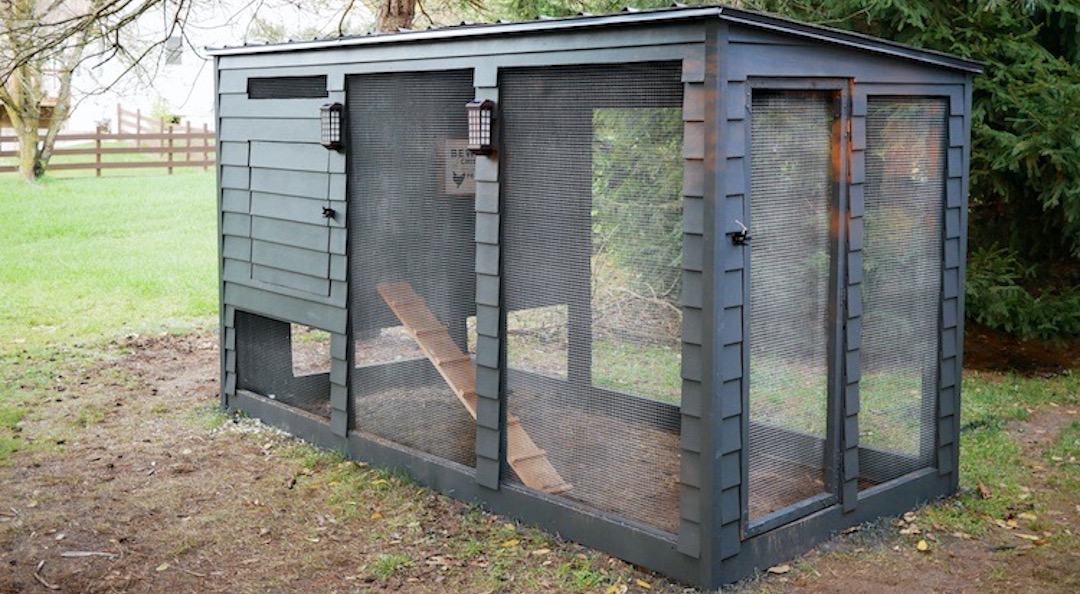
As long as your coop contains all of the features listed in the previous section, you can choose from any number of designs. Keep in mind that the more complex the design, the more difficult and time-consuming it will be to construct.
Before you start cutting wood, be sure to sketch out the design with measurements. Don’t forget to include a door and a floor in the plans. The door can be simple, as long as it opens inwards on a hinge and lets you easily access the coop to gather eggs and clean.
As you get into the actual building process, remember the saying: “measure twice, cut once.” This tip has saved countless people in home craft and improvement projects!
5. Adding the chickens
The chickens will be a little stressed and on edge upon arrival; this is normal for anything that has traveled and has to adjust to a new environment.
Before you unpack the birds, make sure the coop is fully prepared, with water and chicken feed already inside.

As gently as possible, pick them up one at a time and place them in the coop. Check each for injuries or problems they might have sustained during travel. Once all the chickens are inside, close the door and leave them for at least 12 hours. It will be tempting to want to interact with and check on your new pets, but try to resist. This initial period will help the hens get acclimated to their new space.
The next morning, place separate food and water outside in the run (to encourage the chickens to come outside, and to let them know that’s where food and water will usually be), and then let the chickens loose.
Summary
Constructing a homemade chicken coop doesn’t need to be a daunting challenge! Just be sure to follow these five steps, and you’ll have your backyard poultry farm up and running in no time!
Have you built your own chicken coop? How did it turn out? Let us know in the comments section below!
If you’re seeking DIY inspiration, be sure to check out the complete selection of Simpson Strong-Tie free Do-It-Yourself plans.


